My crust scapebot bike build (Full parts list and photos)
How I Ended Up Building This Bike in Tampa
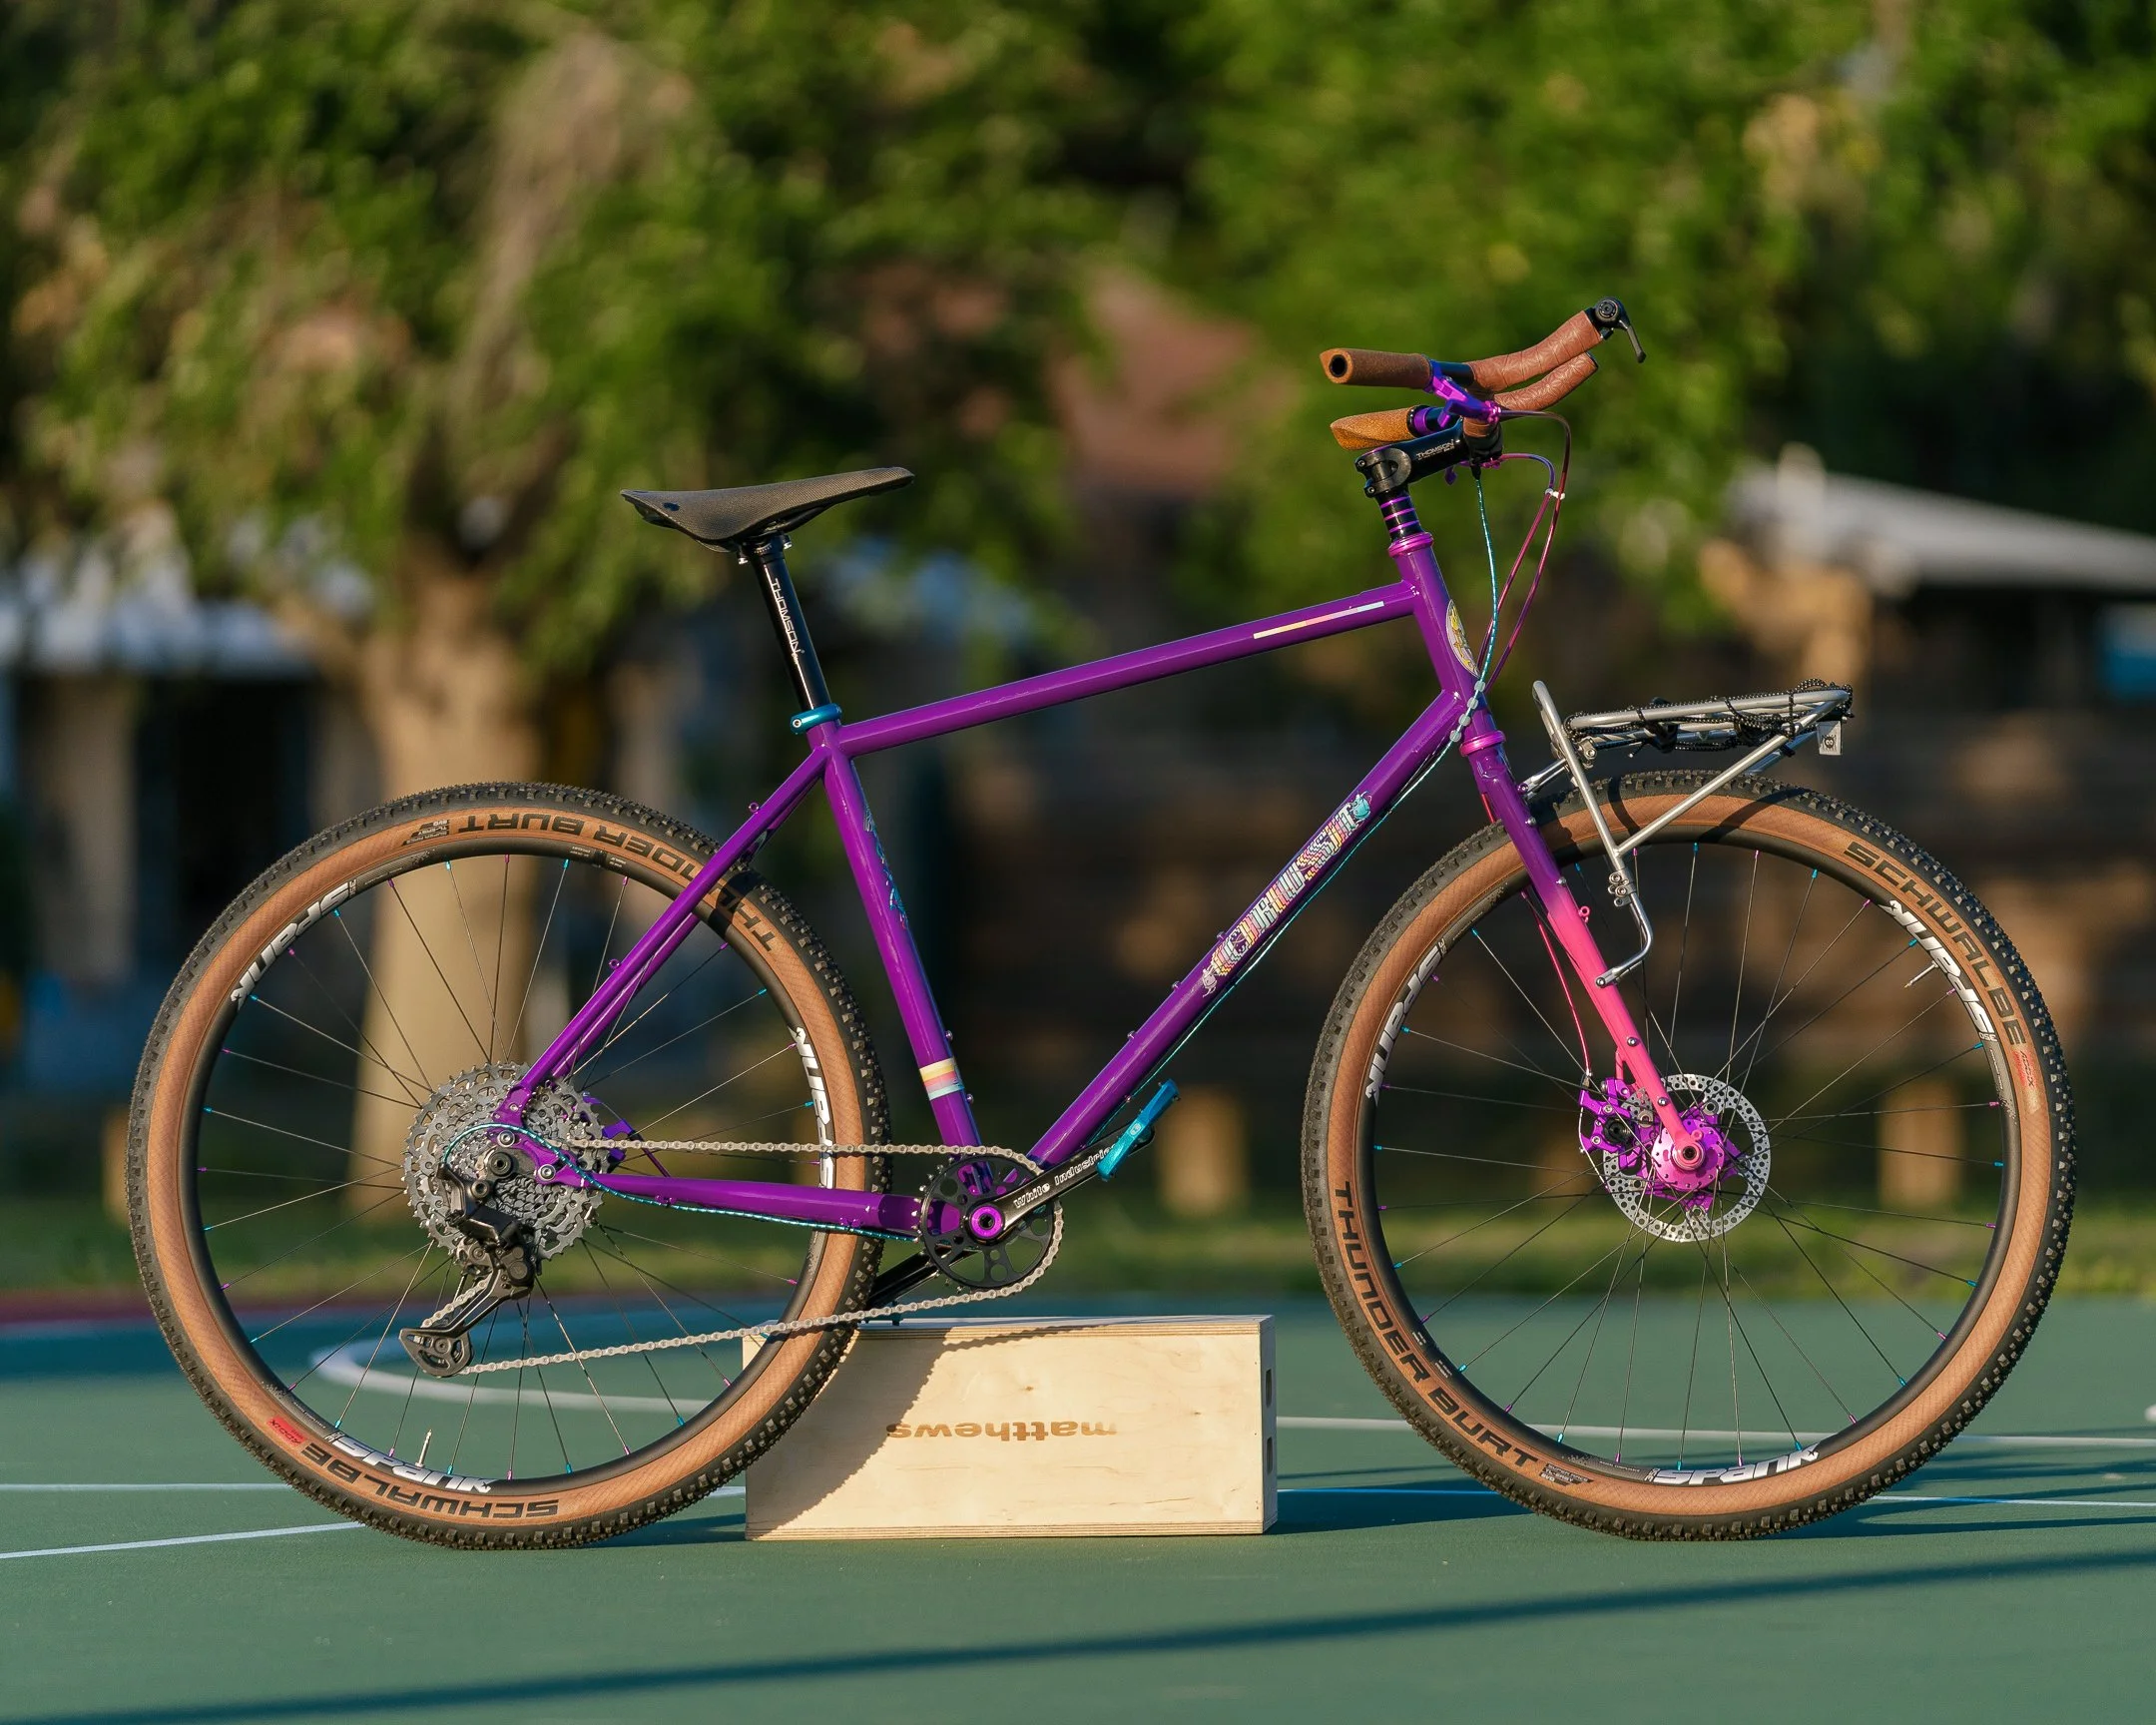
My Crust Scapebot
I haven’t written a blog in a minute, but this one felt worth it.
I just finished building out a new bike and figured it made sense to document the whole thing. Partly because I’m stoked on how it turned out, and partly because when I was figuring this build out, I was digging through forums and random Reddit threads trying to piece everything together.
If you’re in Tampa and thinking about building up a bike, or you’re just deep in the rabbit hole of Crust bikes and adventure setups, this should help.

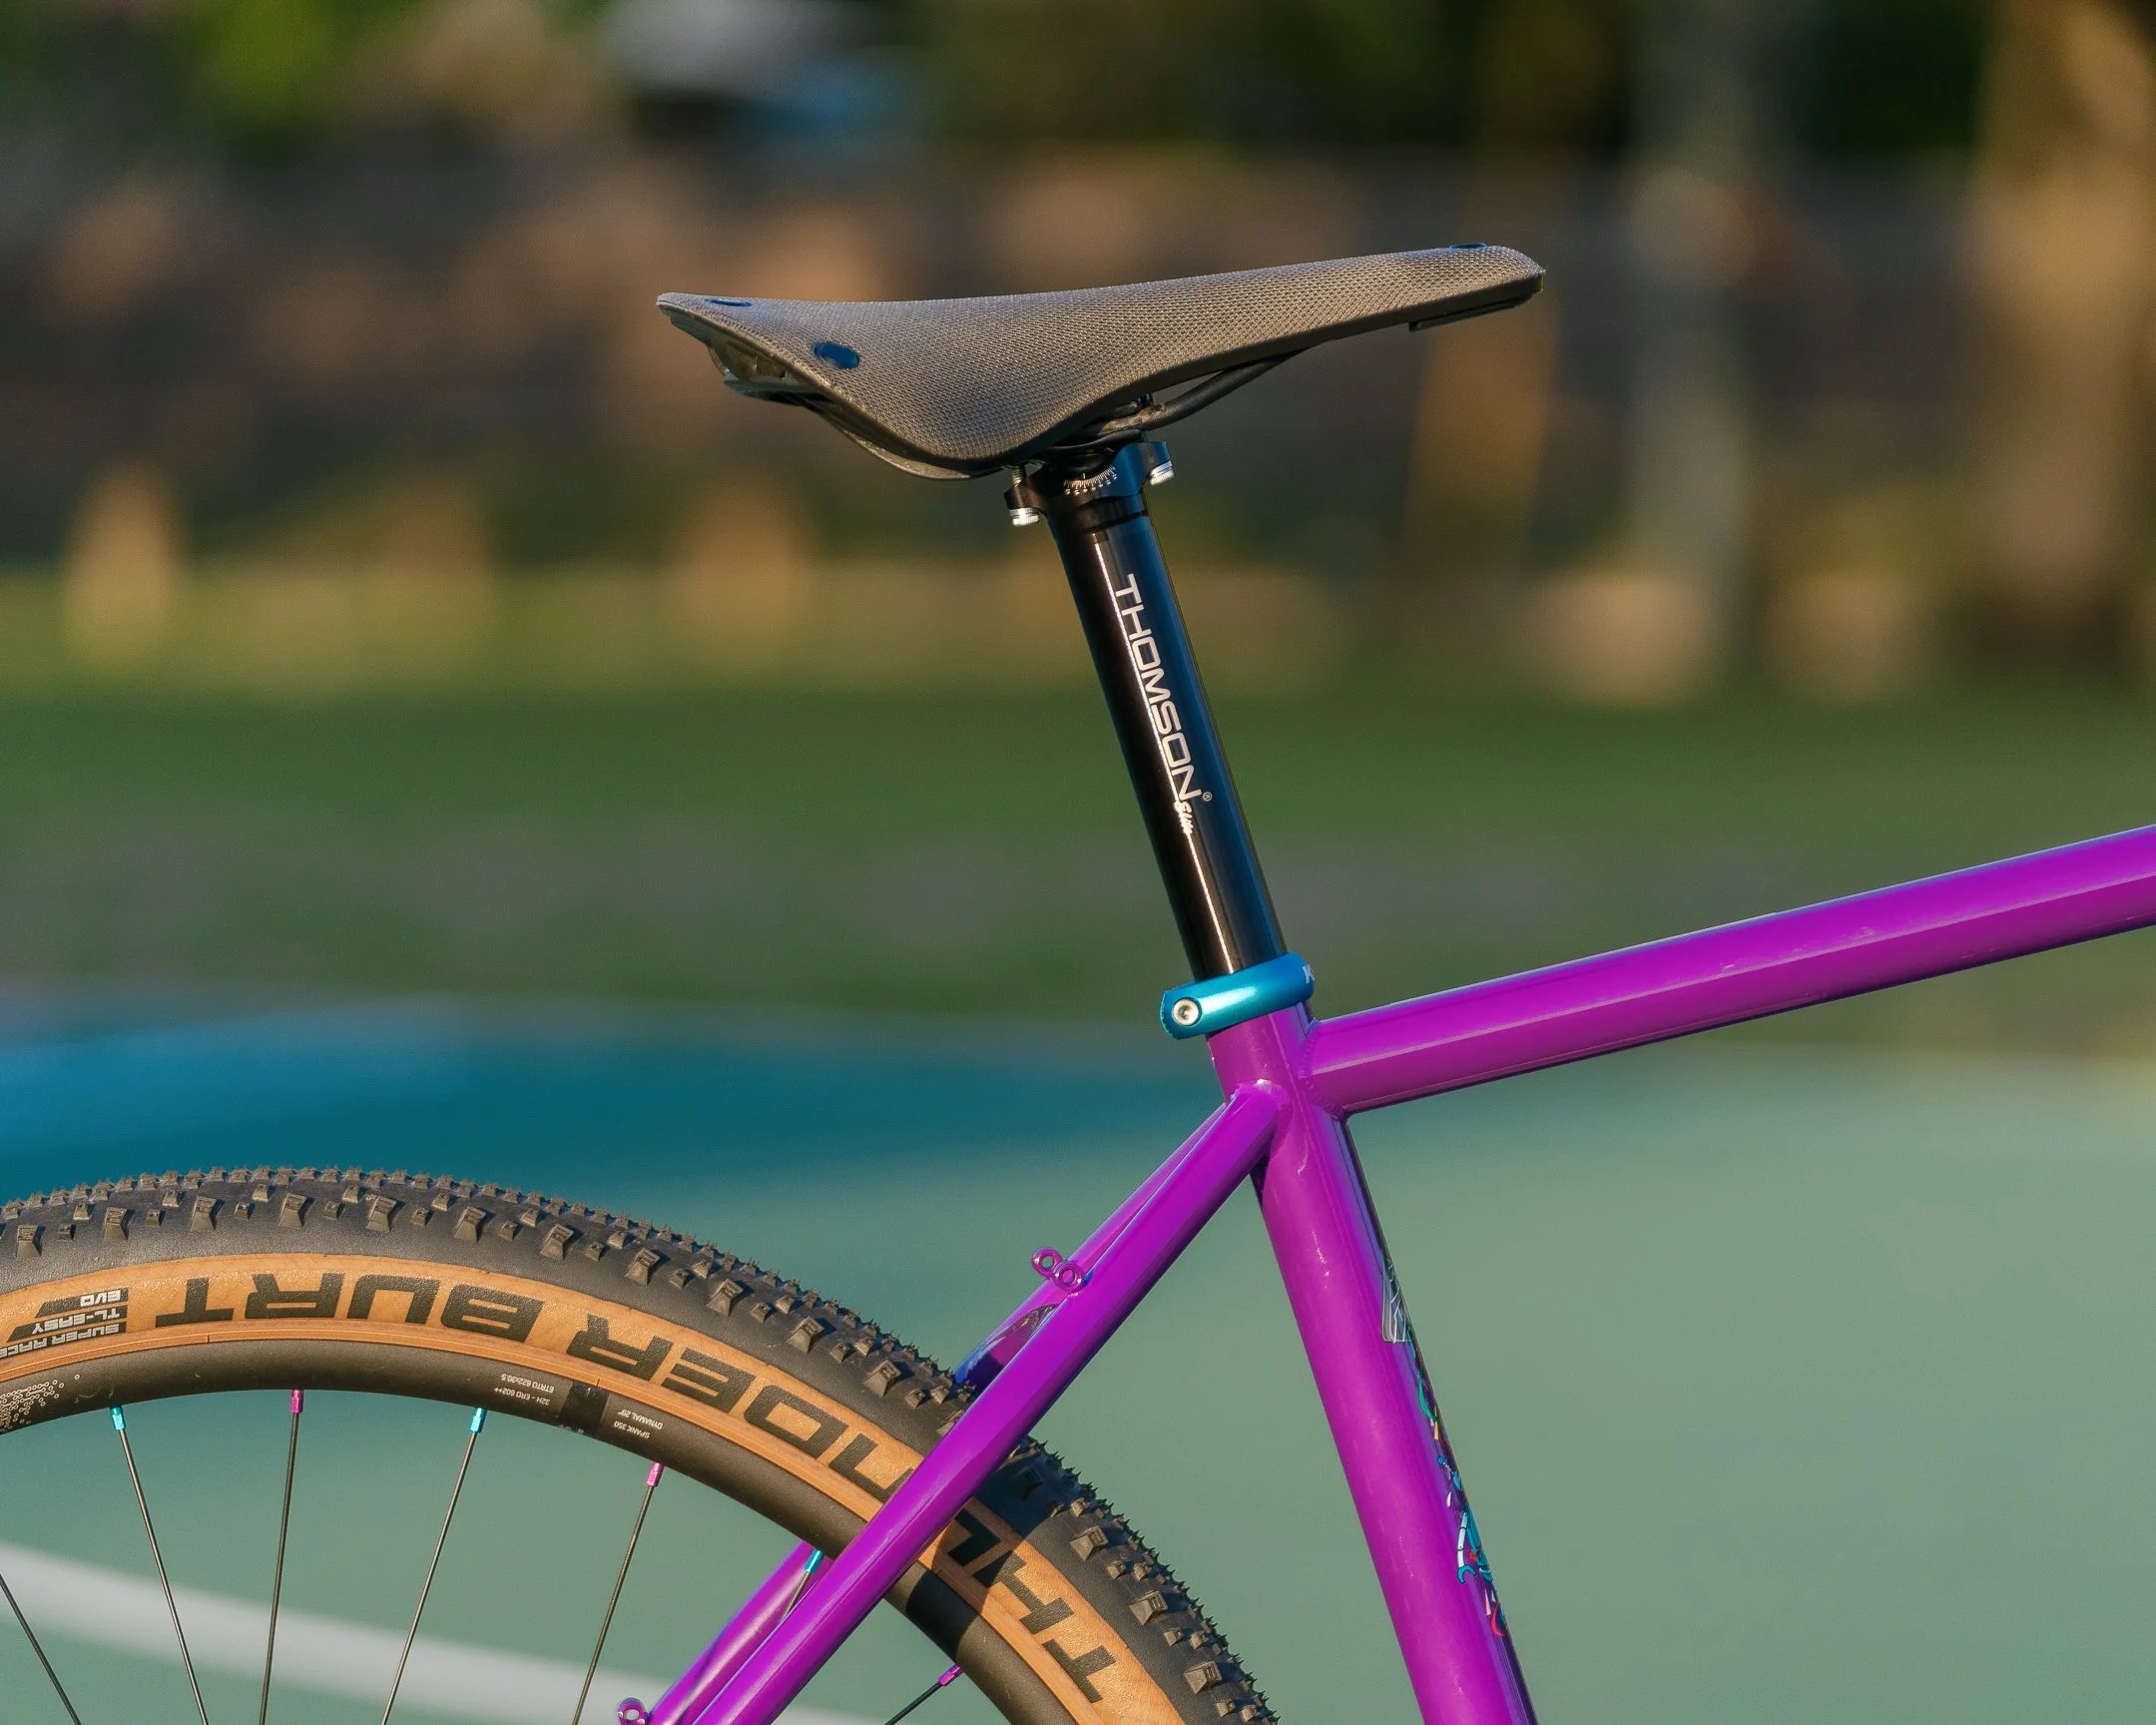
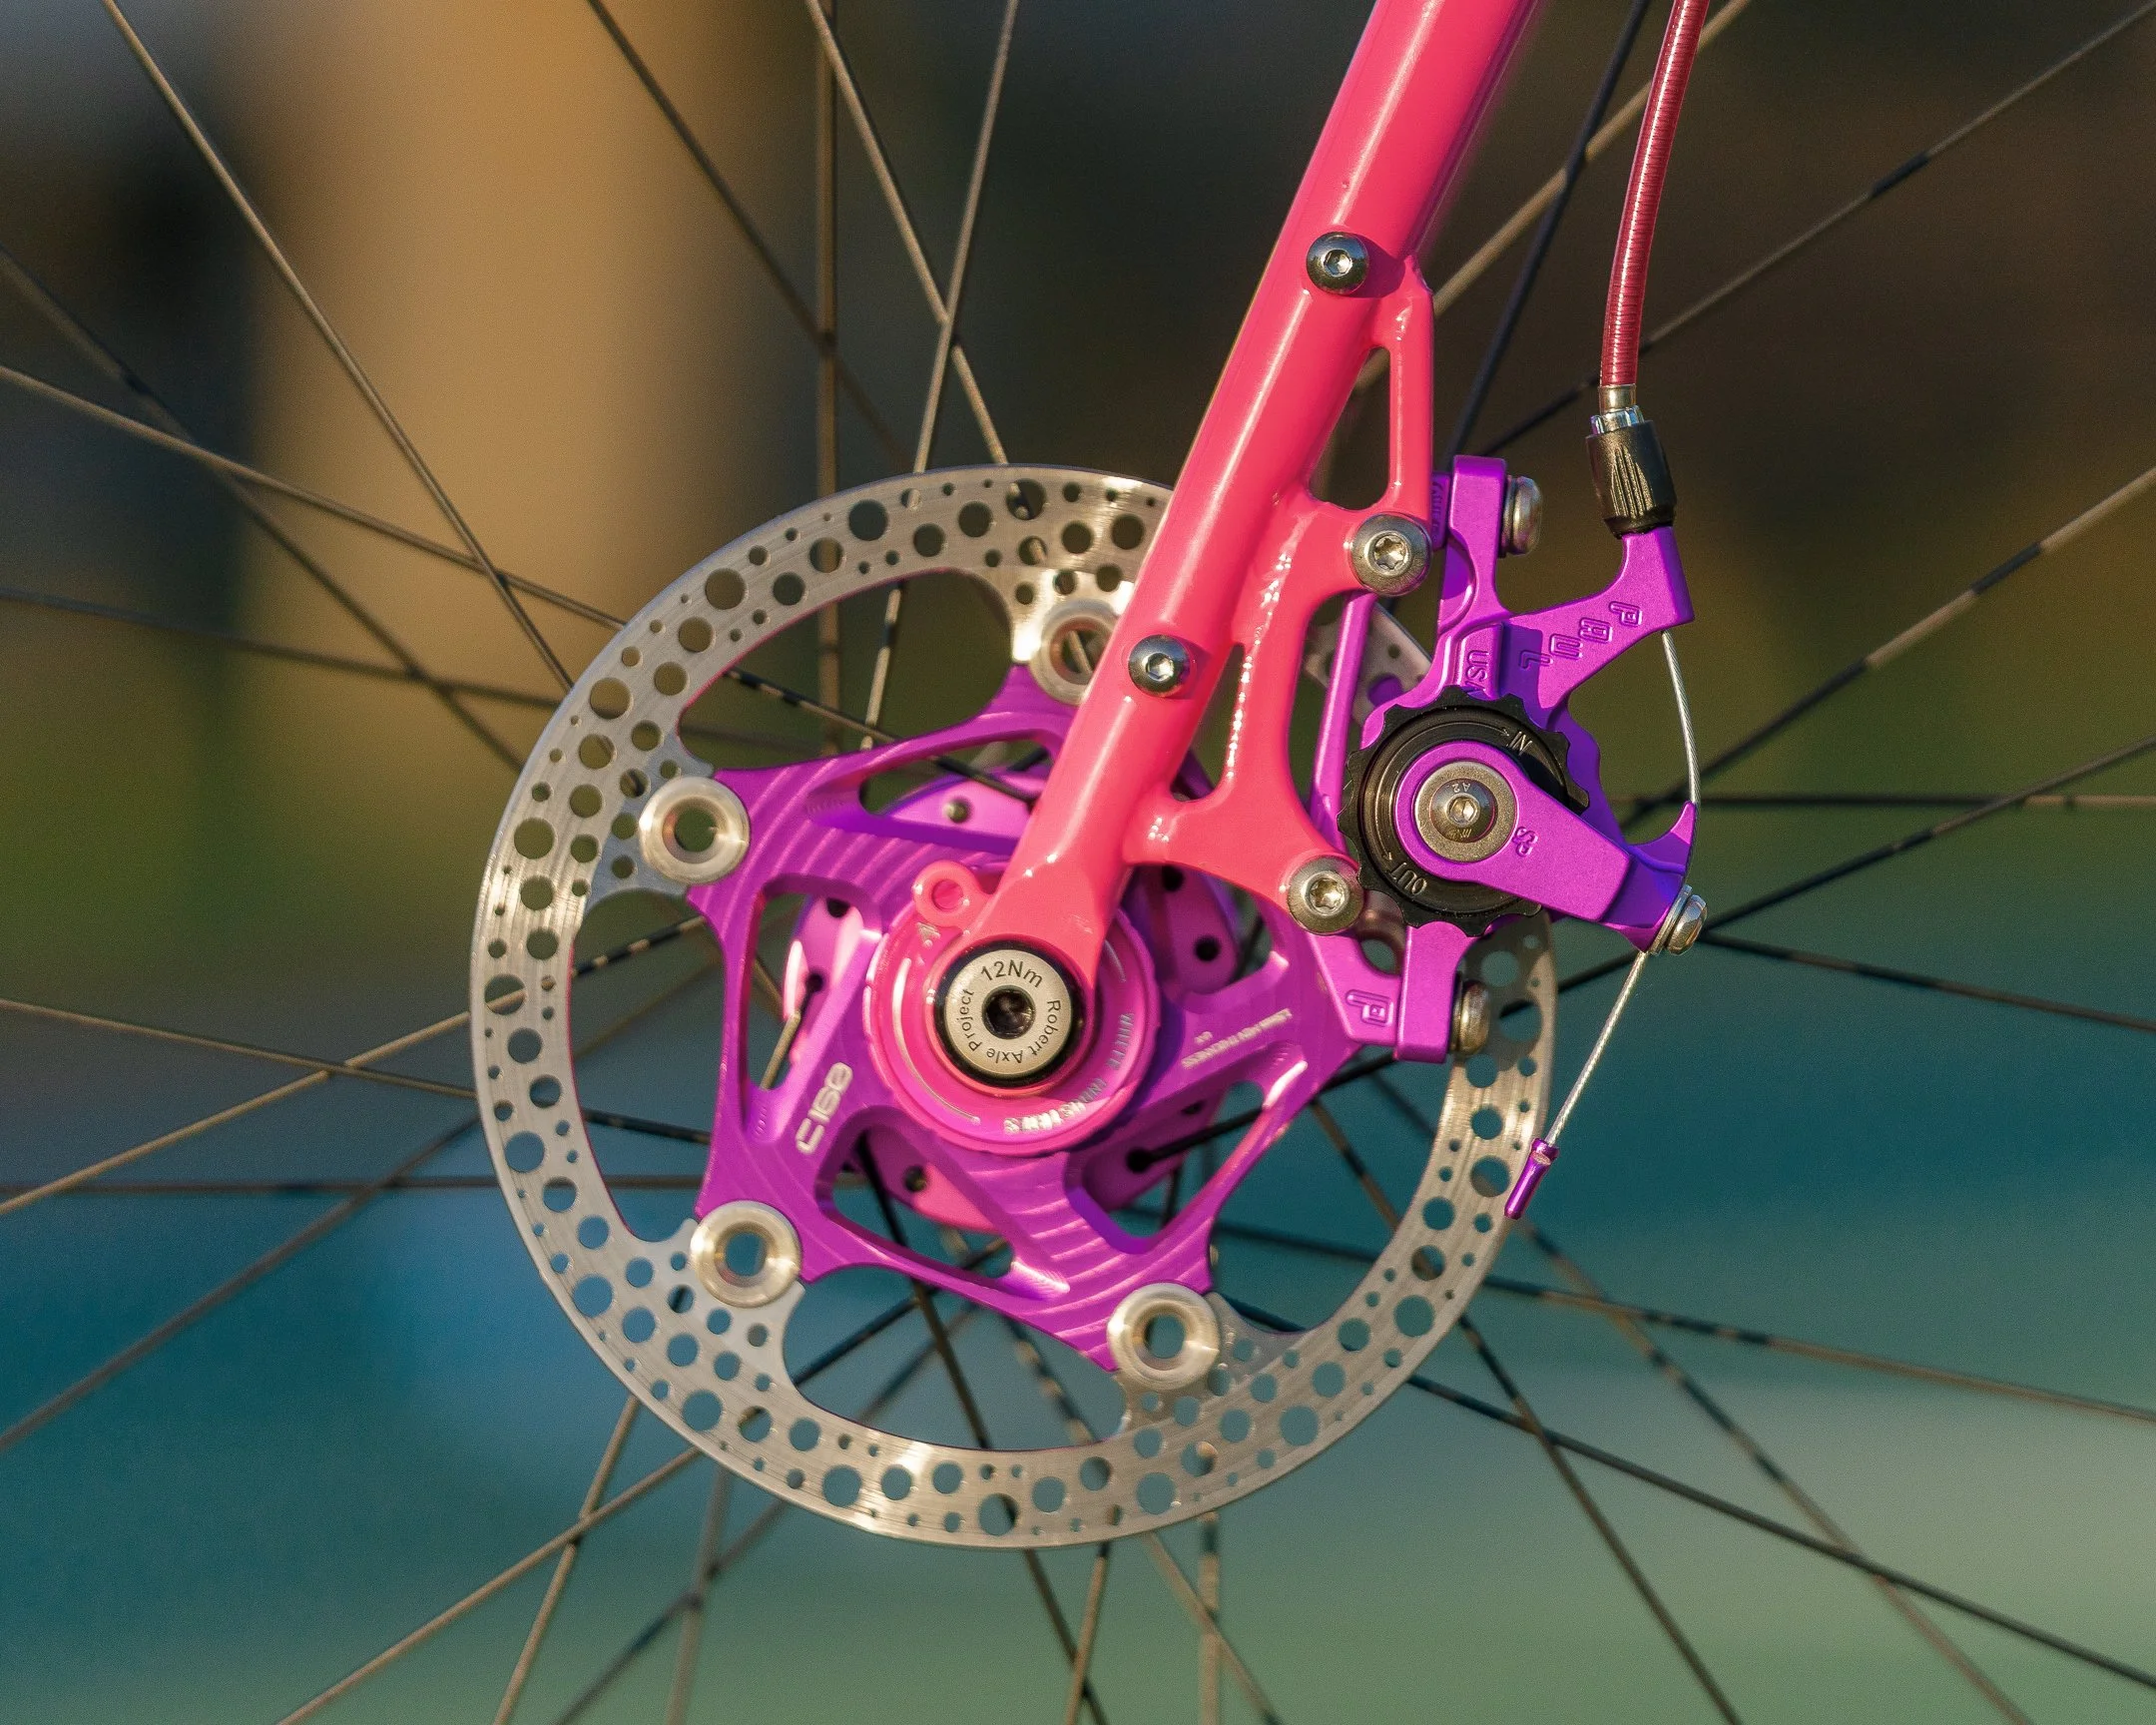
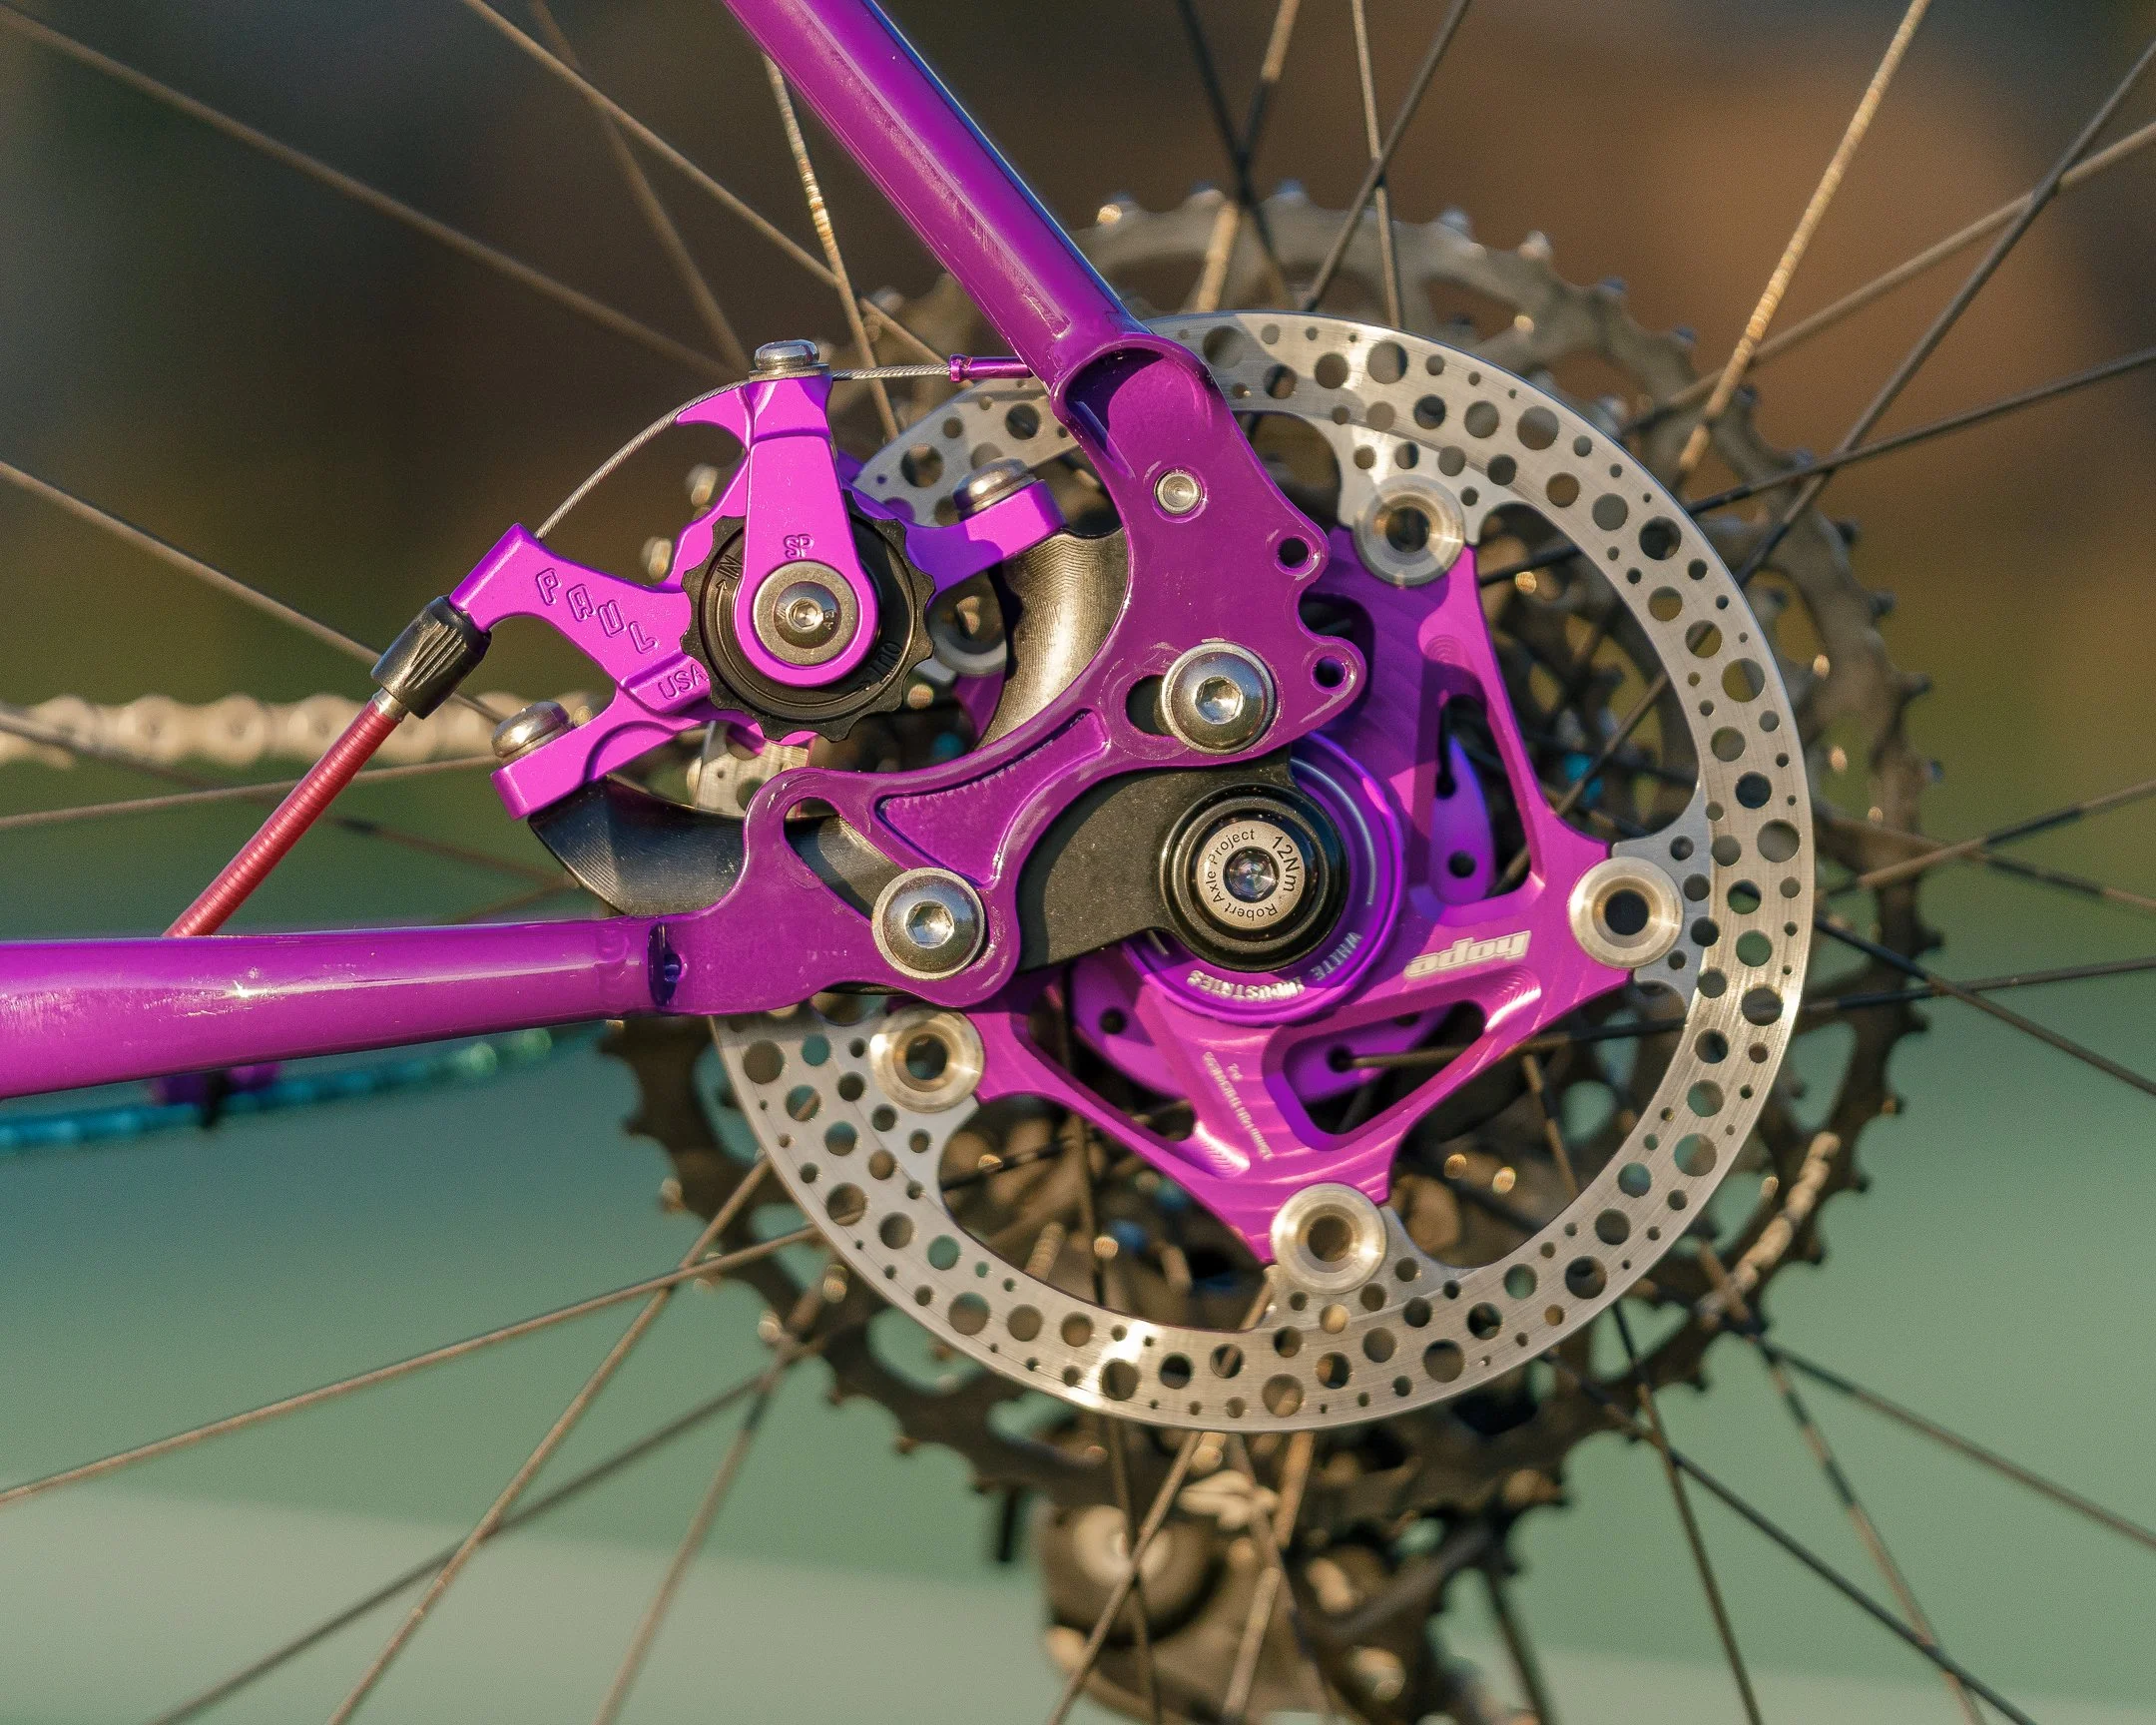
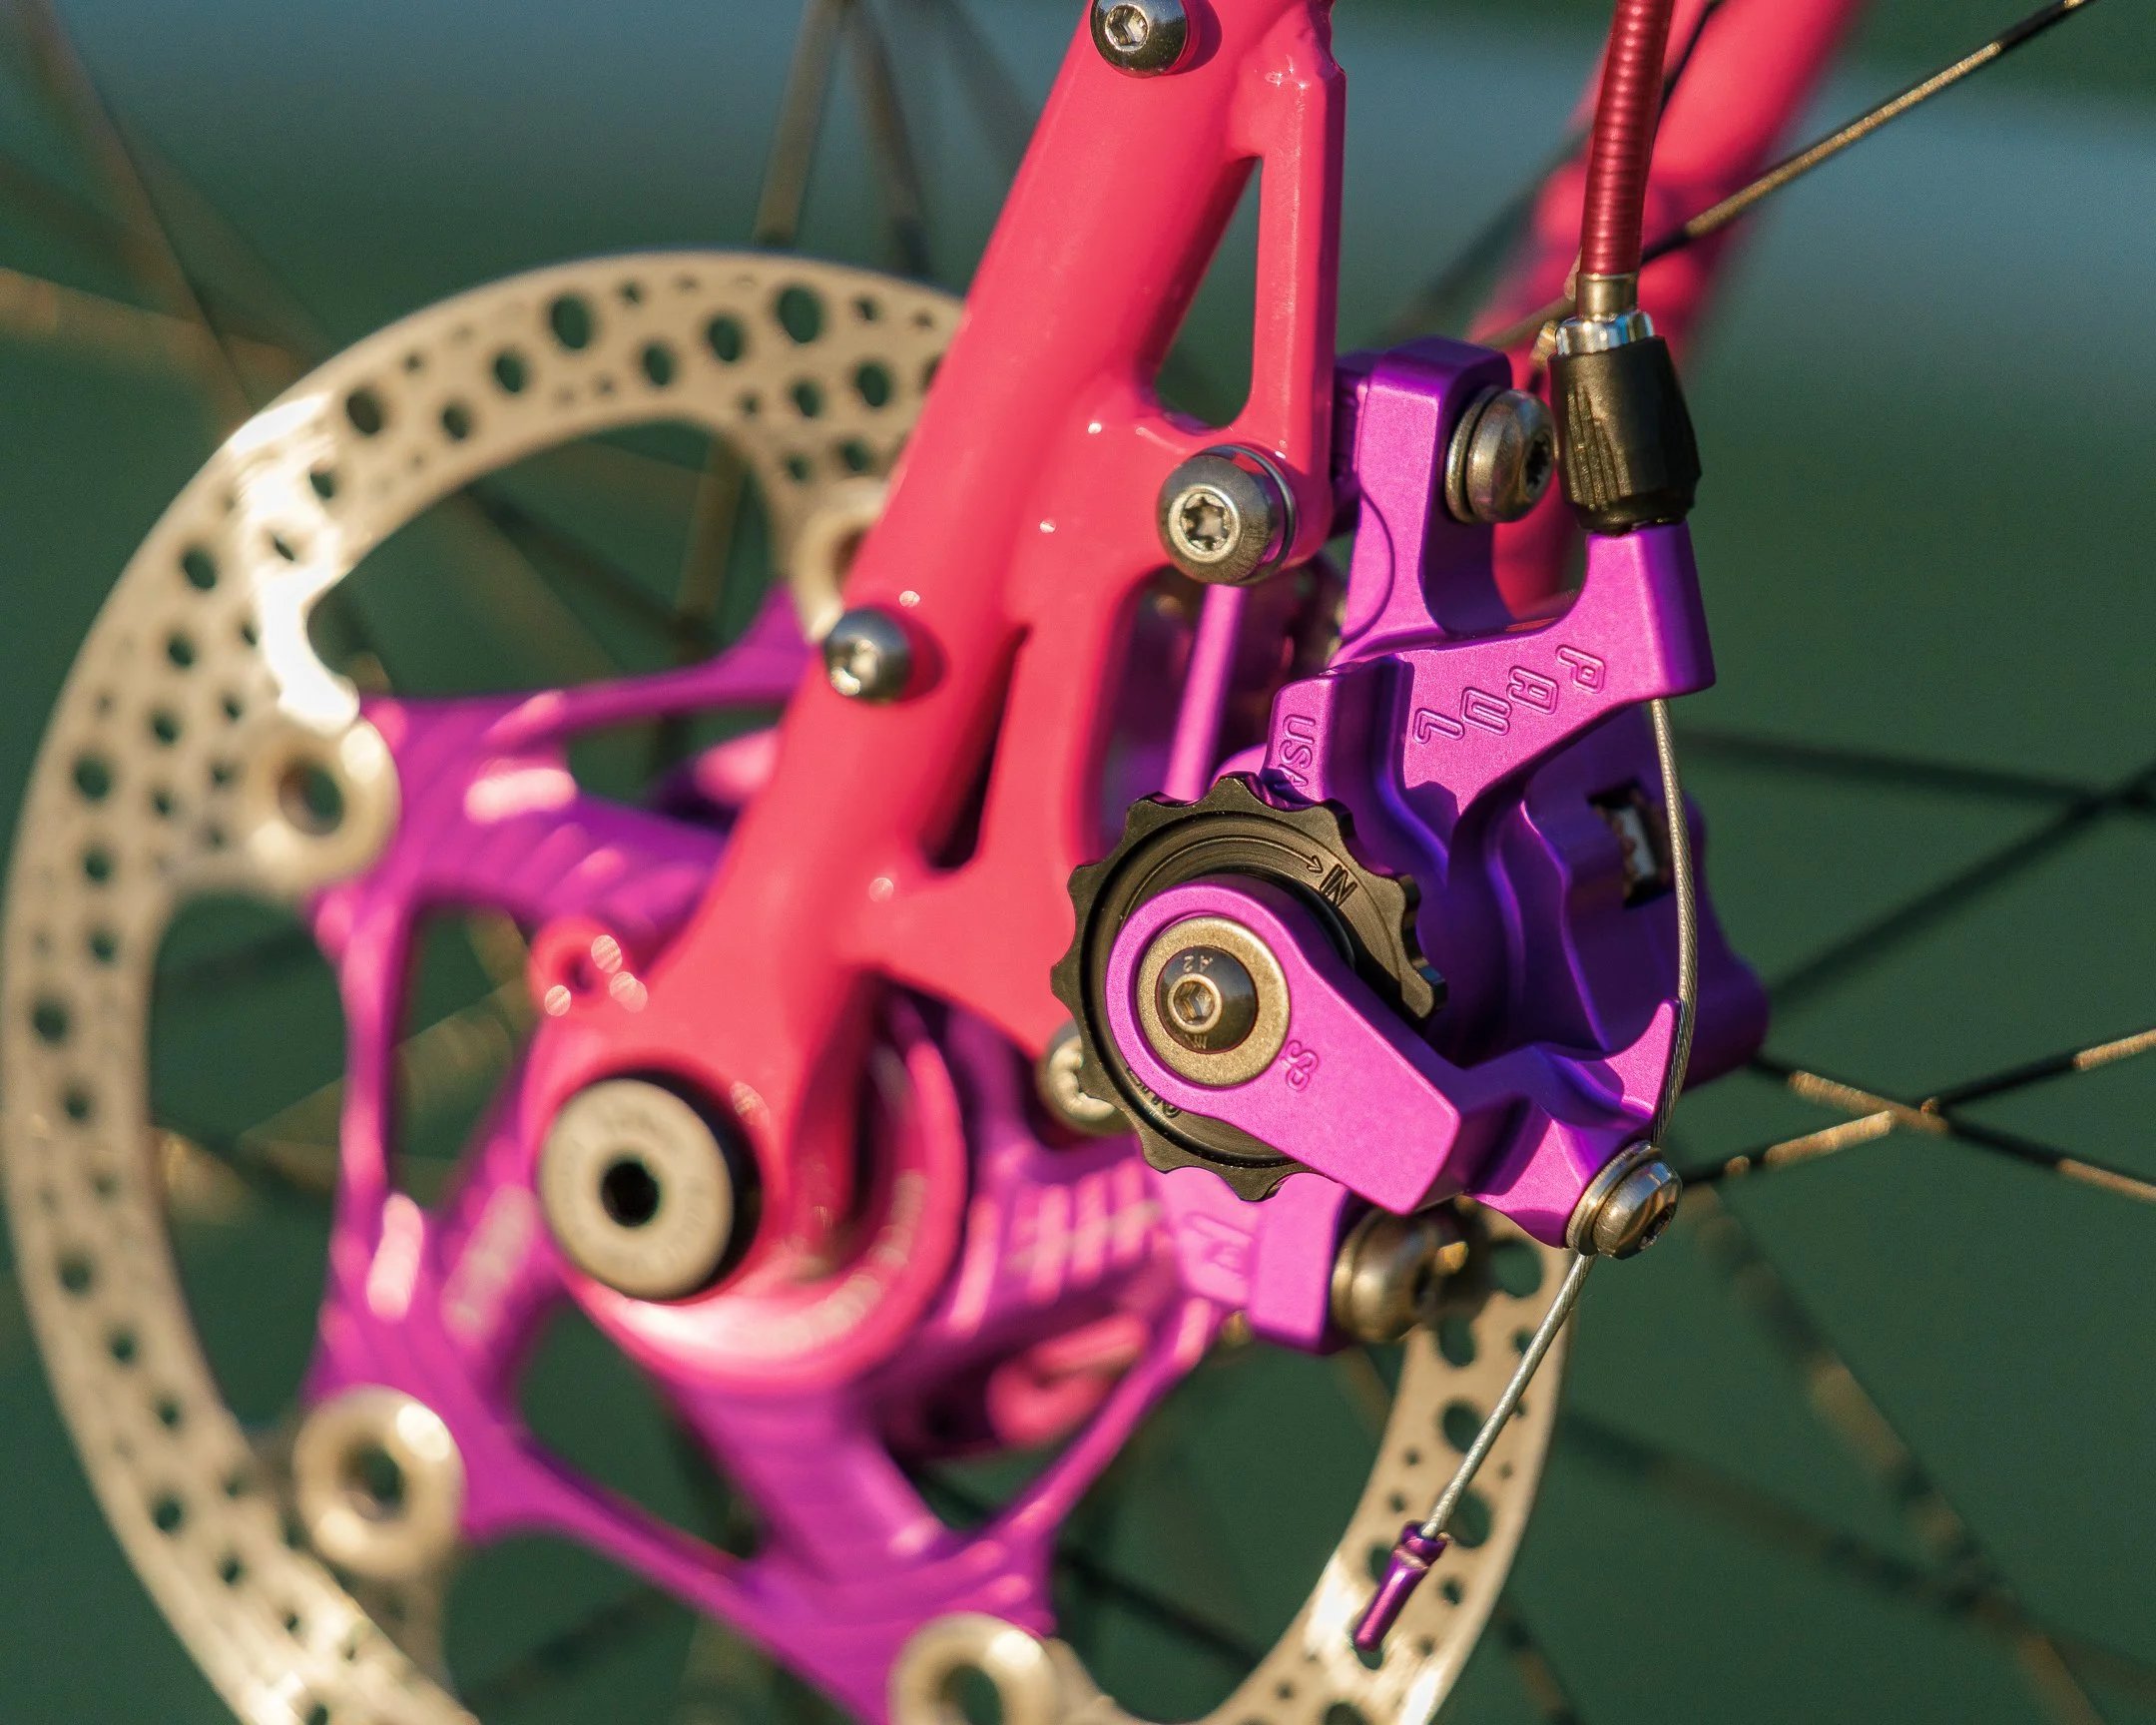
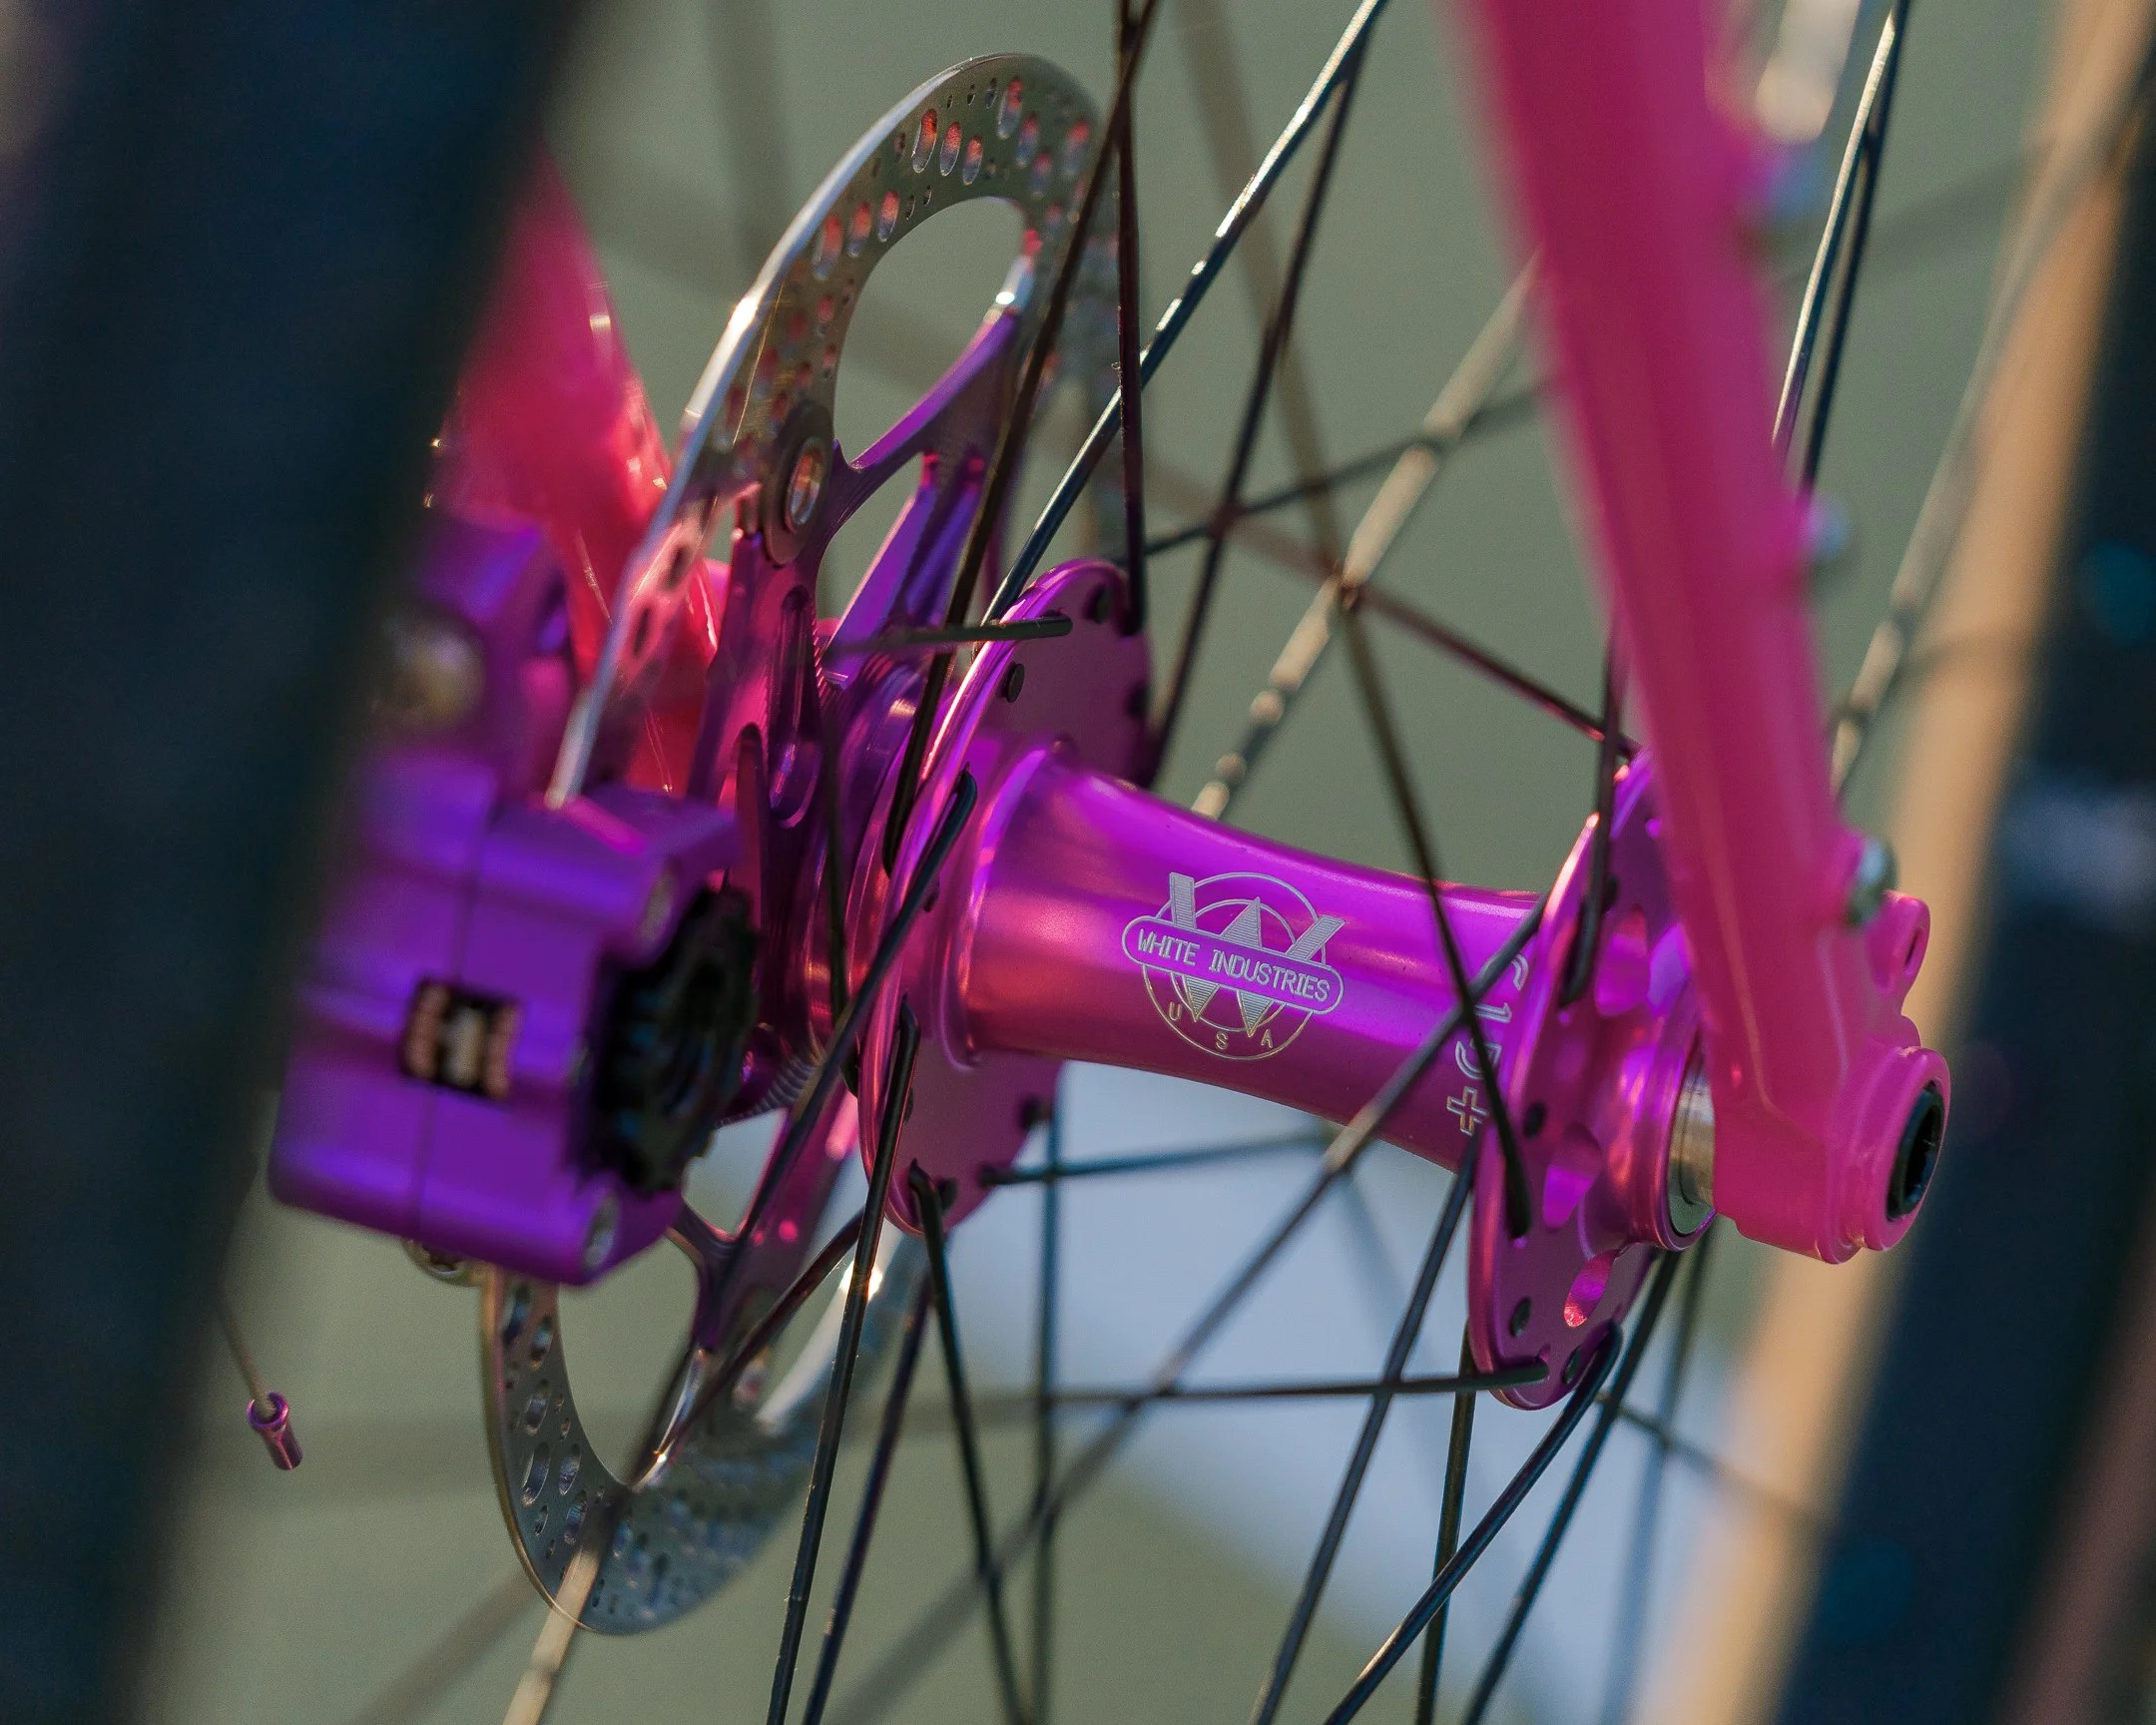
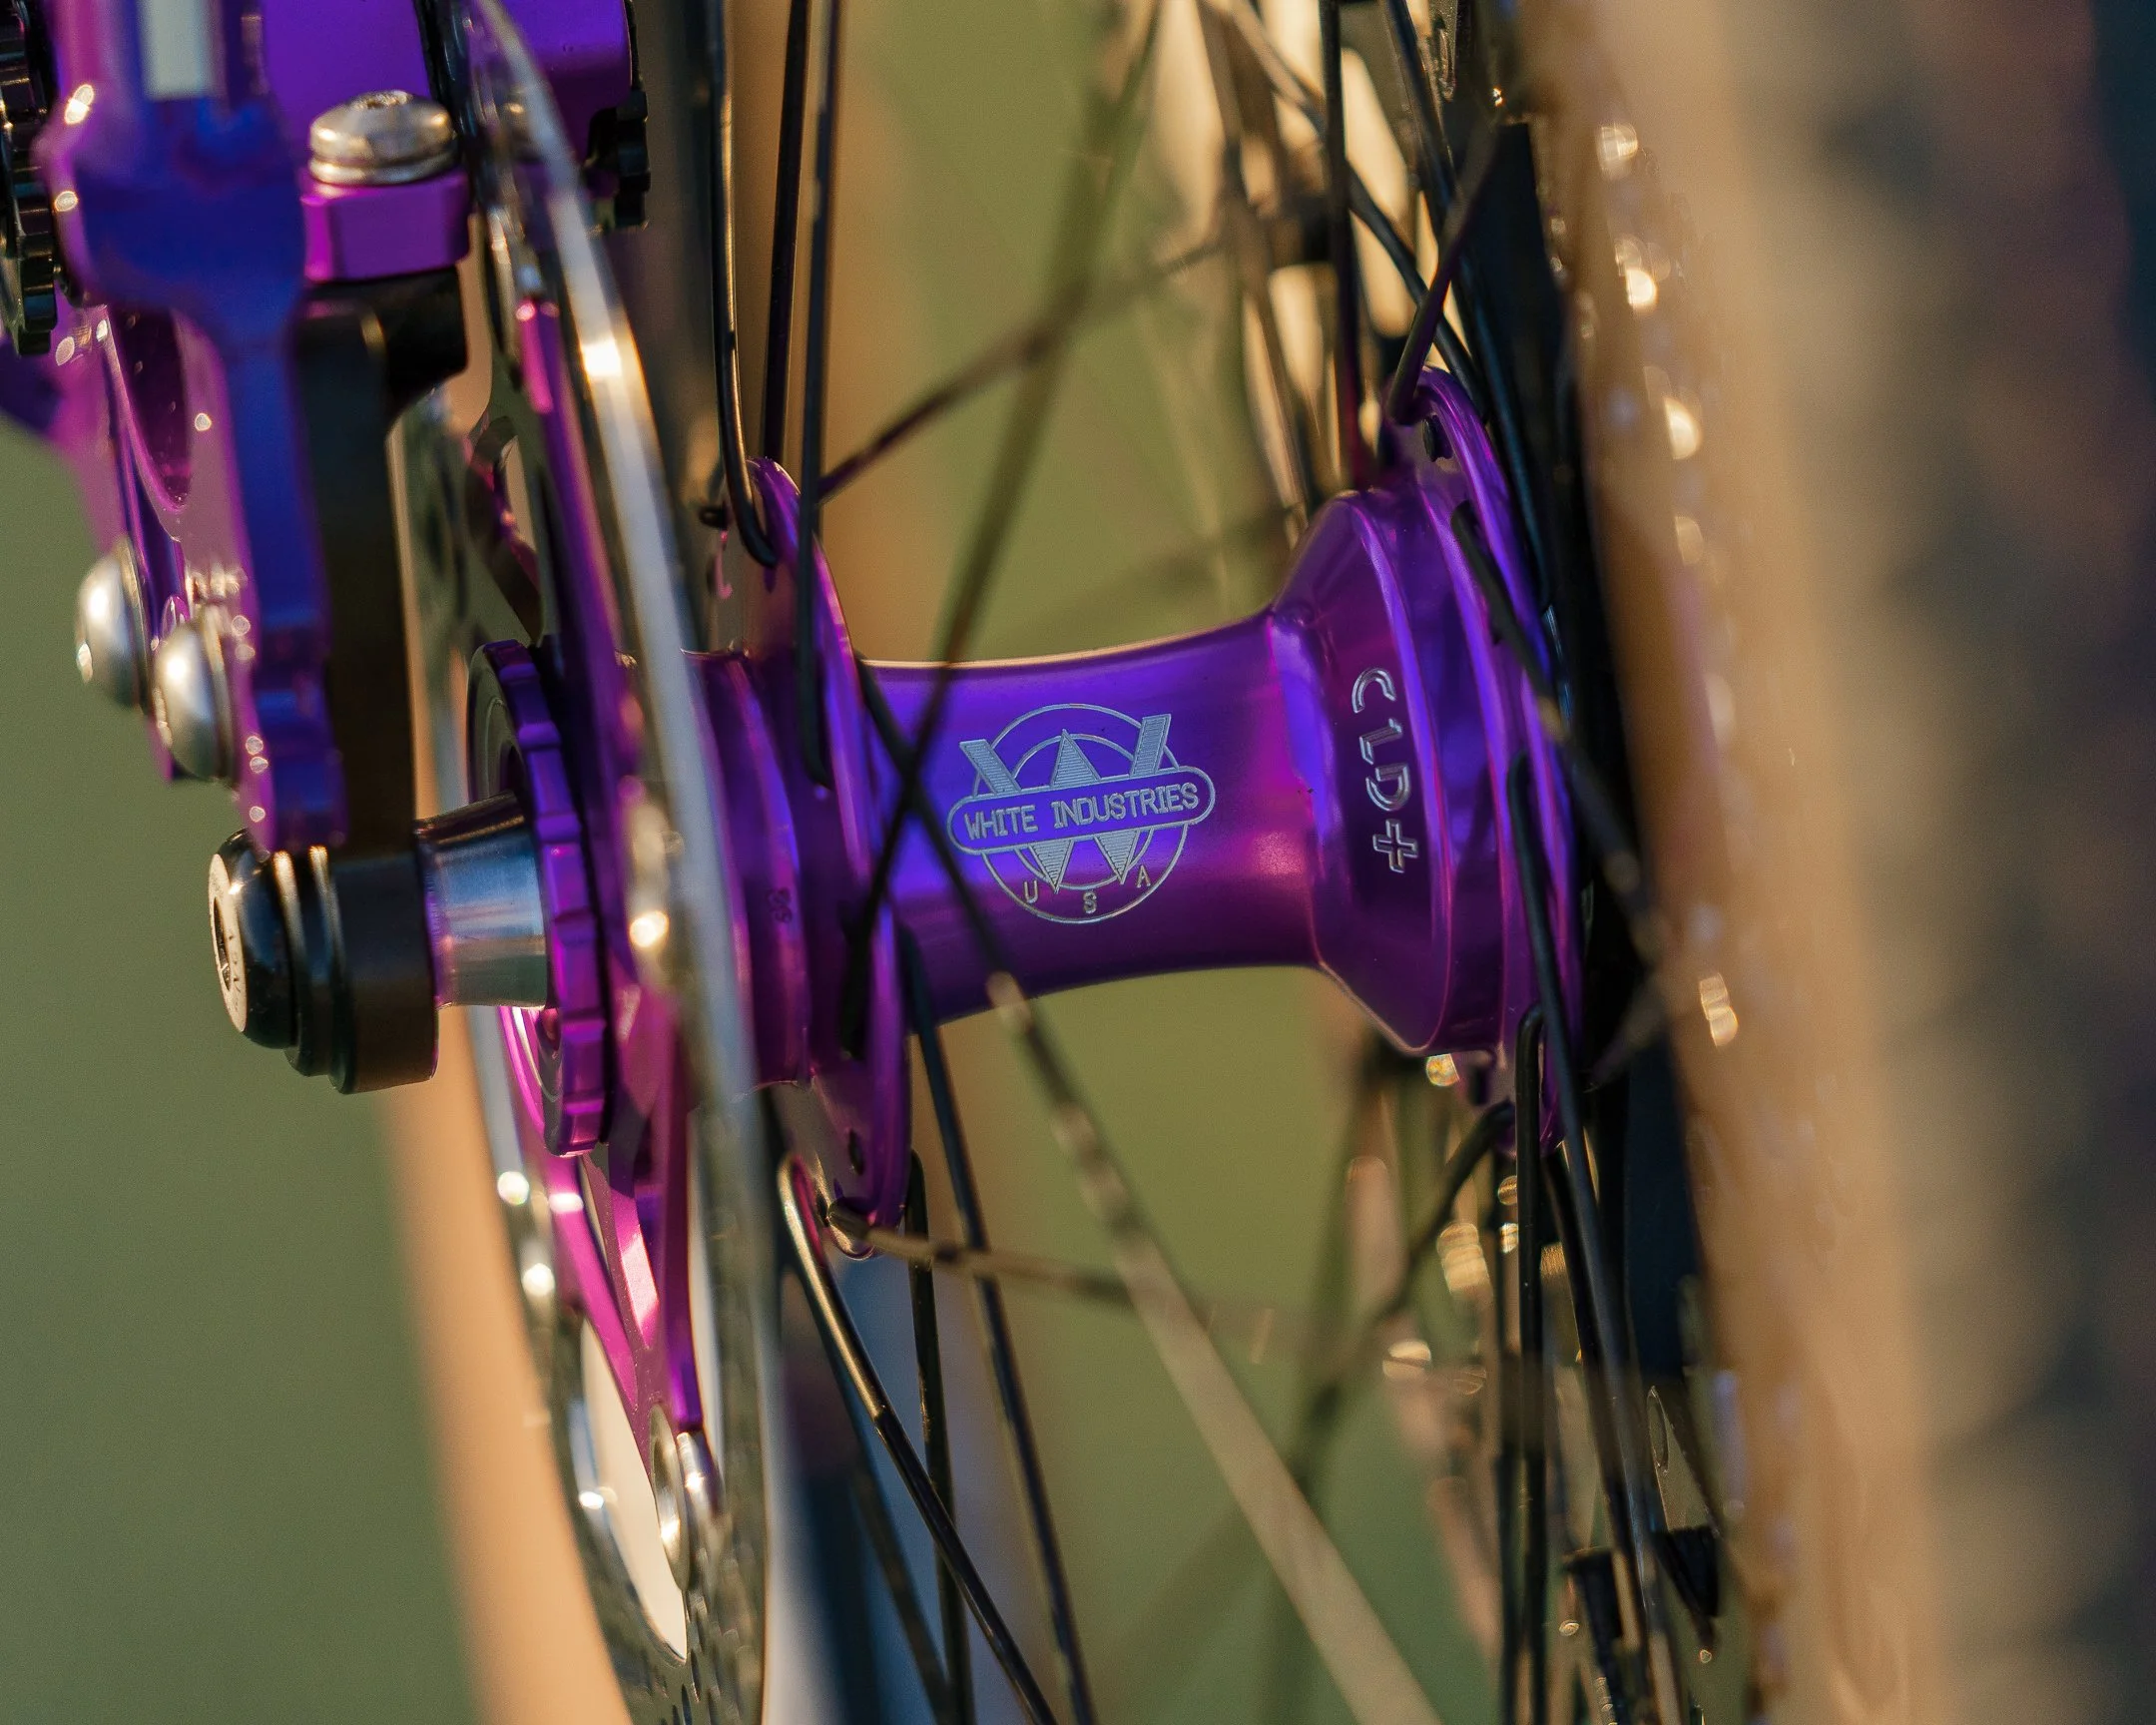
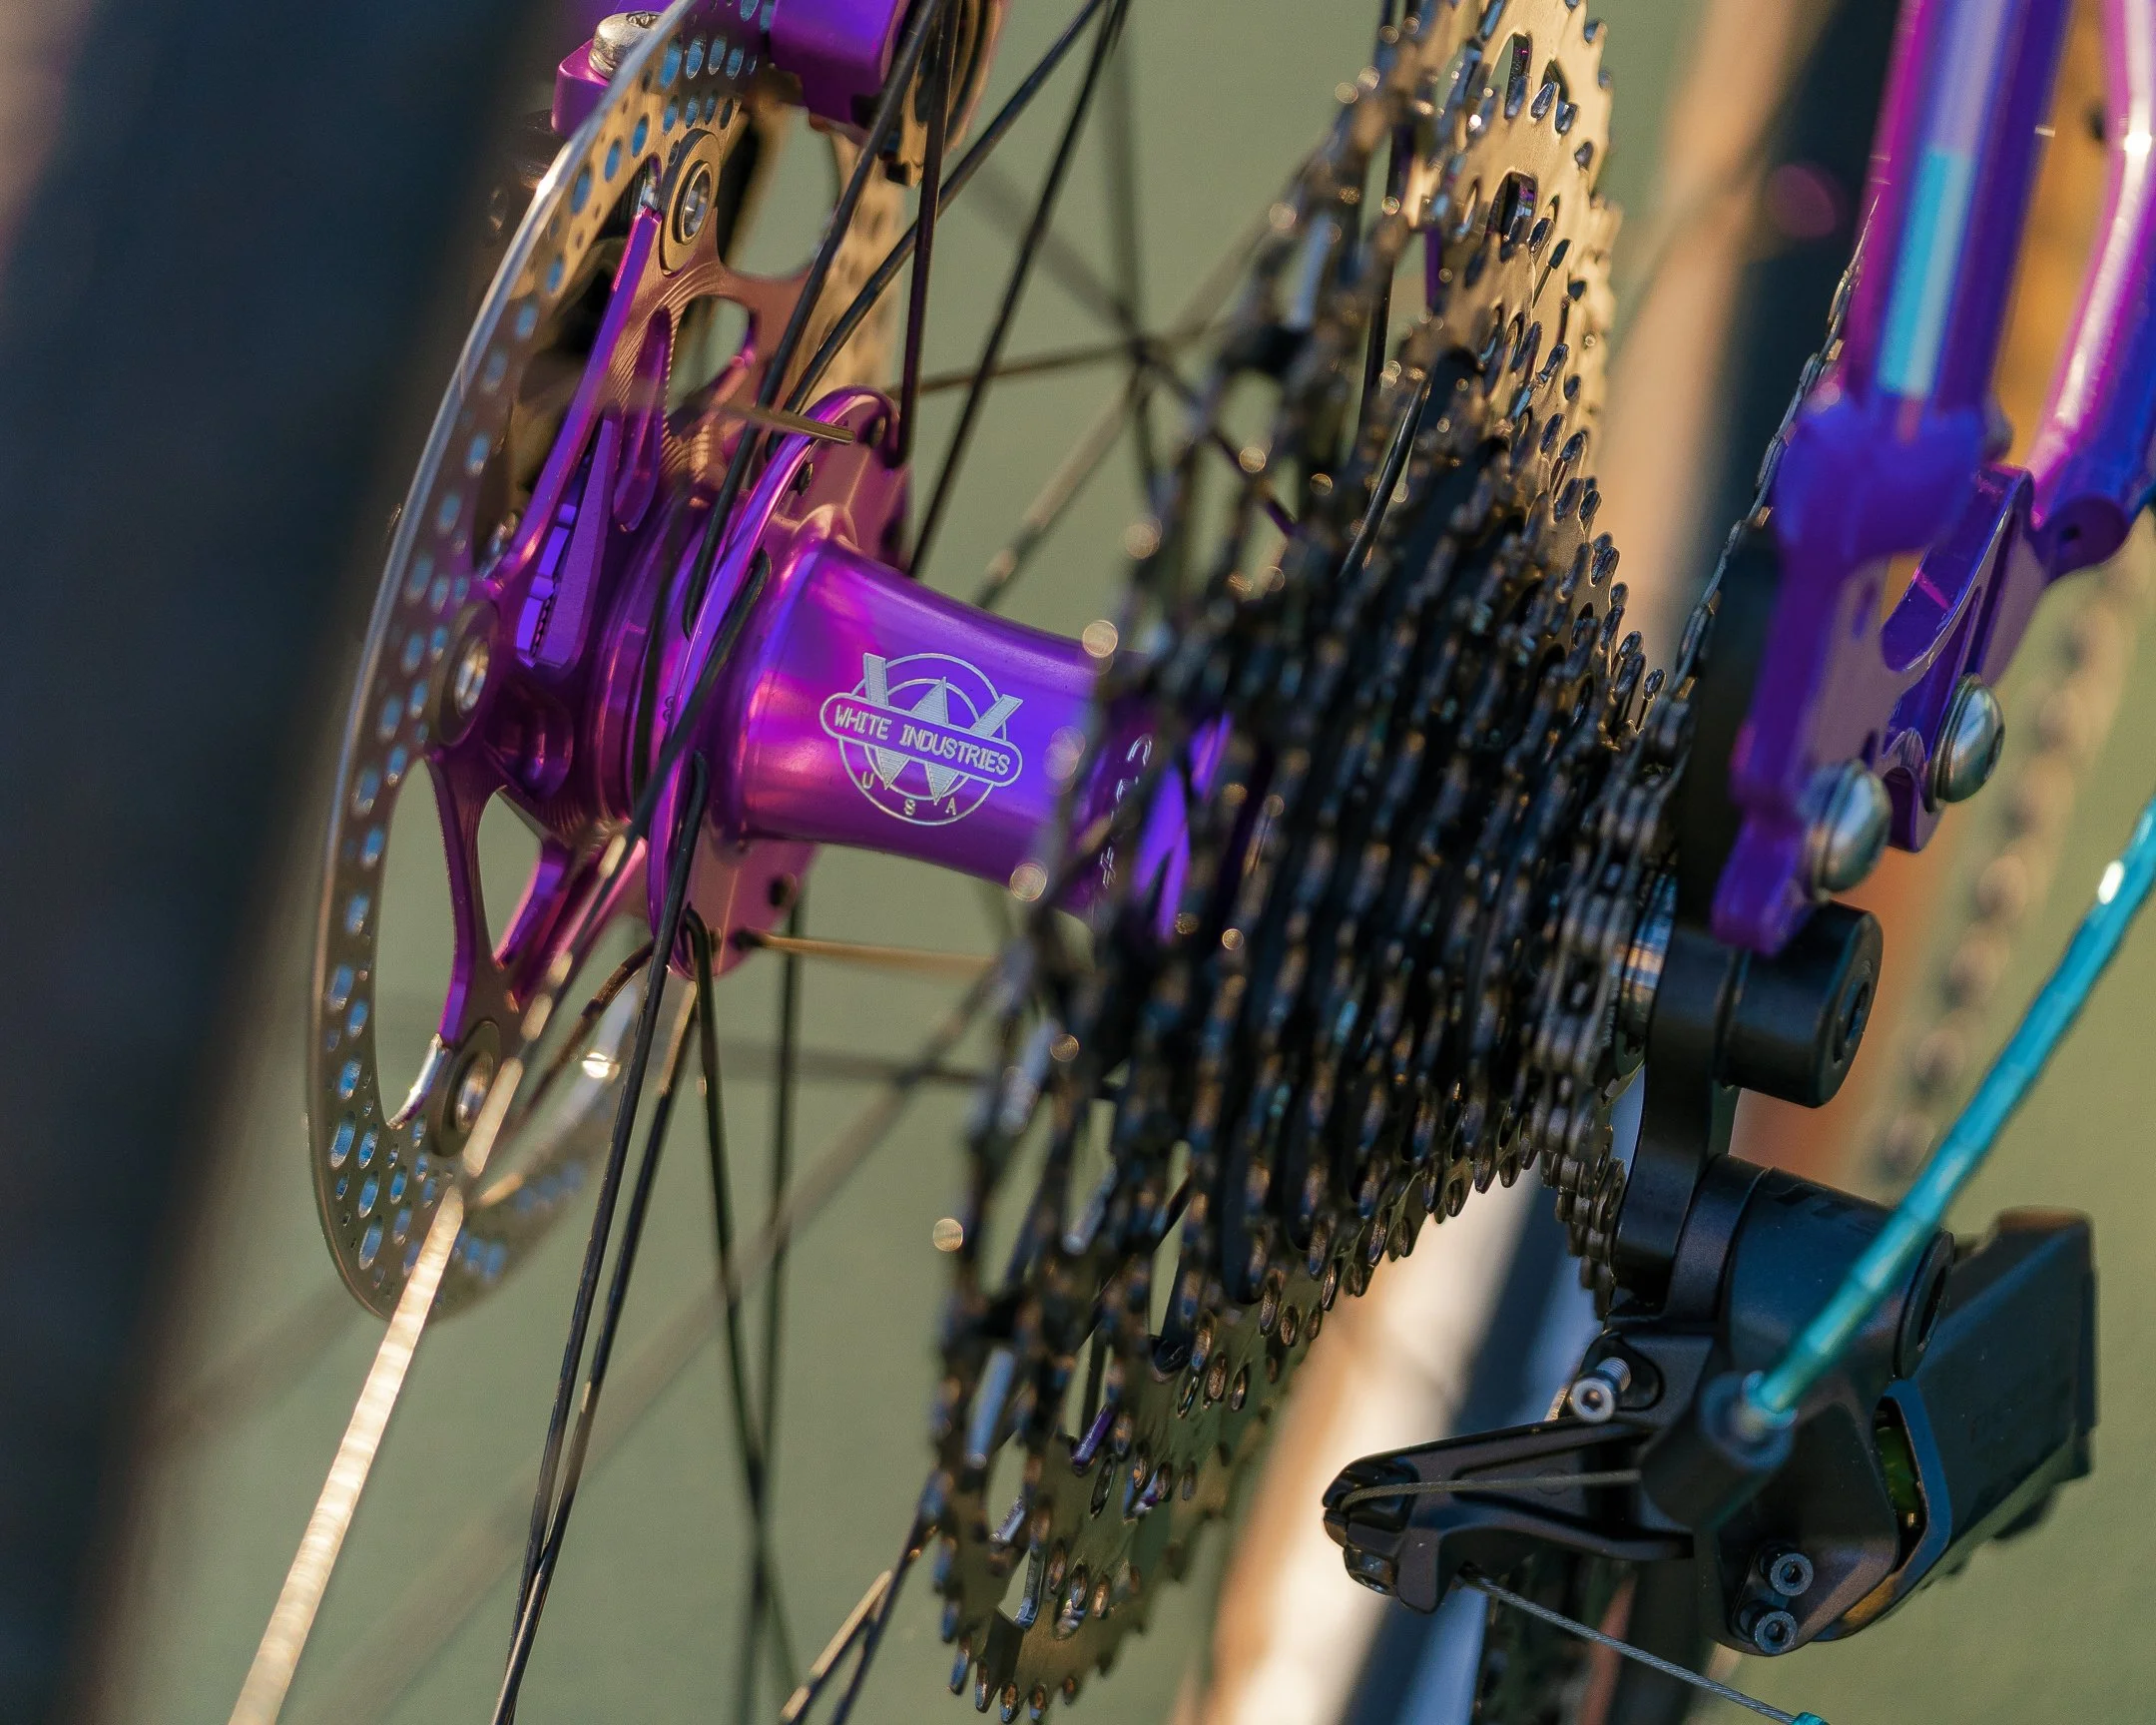
White Industries CLD Boost Rear Hub. 32 hole, 12mm x 148mm Thru Axel
The Goal: A Do-Everything Adventure Bike
The idea wasn’t to build the lightest or fastest bike.
I wanted something that could:
Handle rough Tampa roads (brick, potholes, all of it)
Do long rides comfortably
Take on light trails and dirt
Look cool enough that I actually want to ride it all the time
Basically a bike that makes you want to go ride without overthinking it.
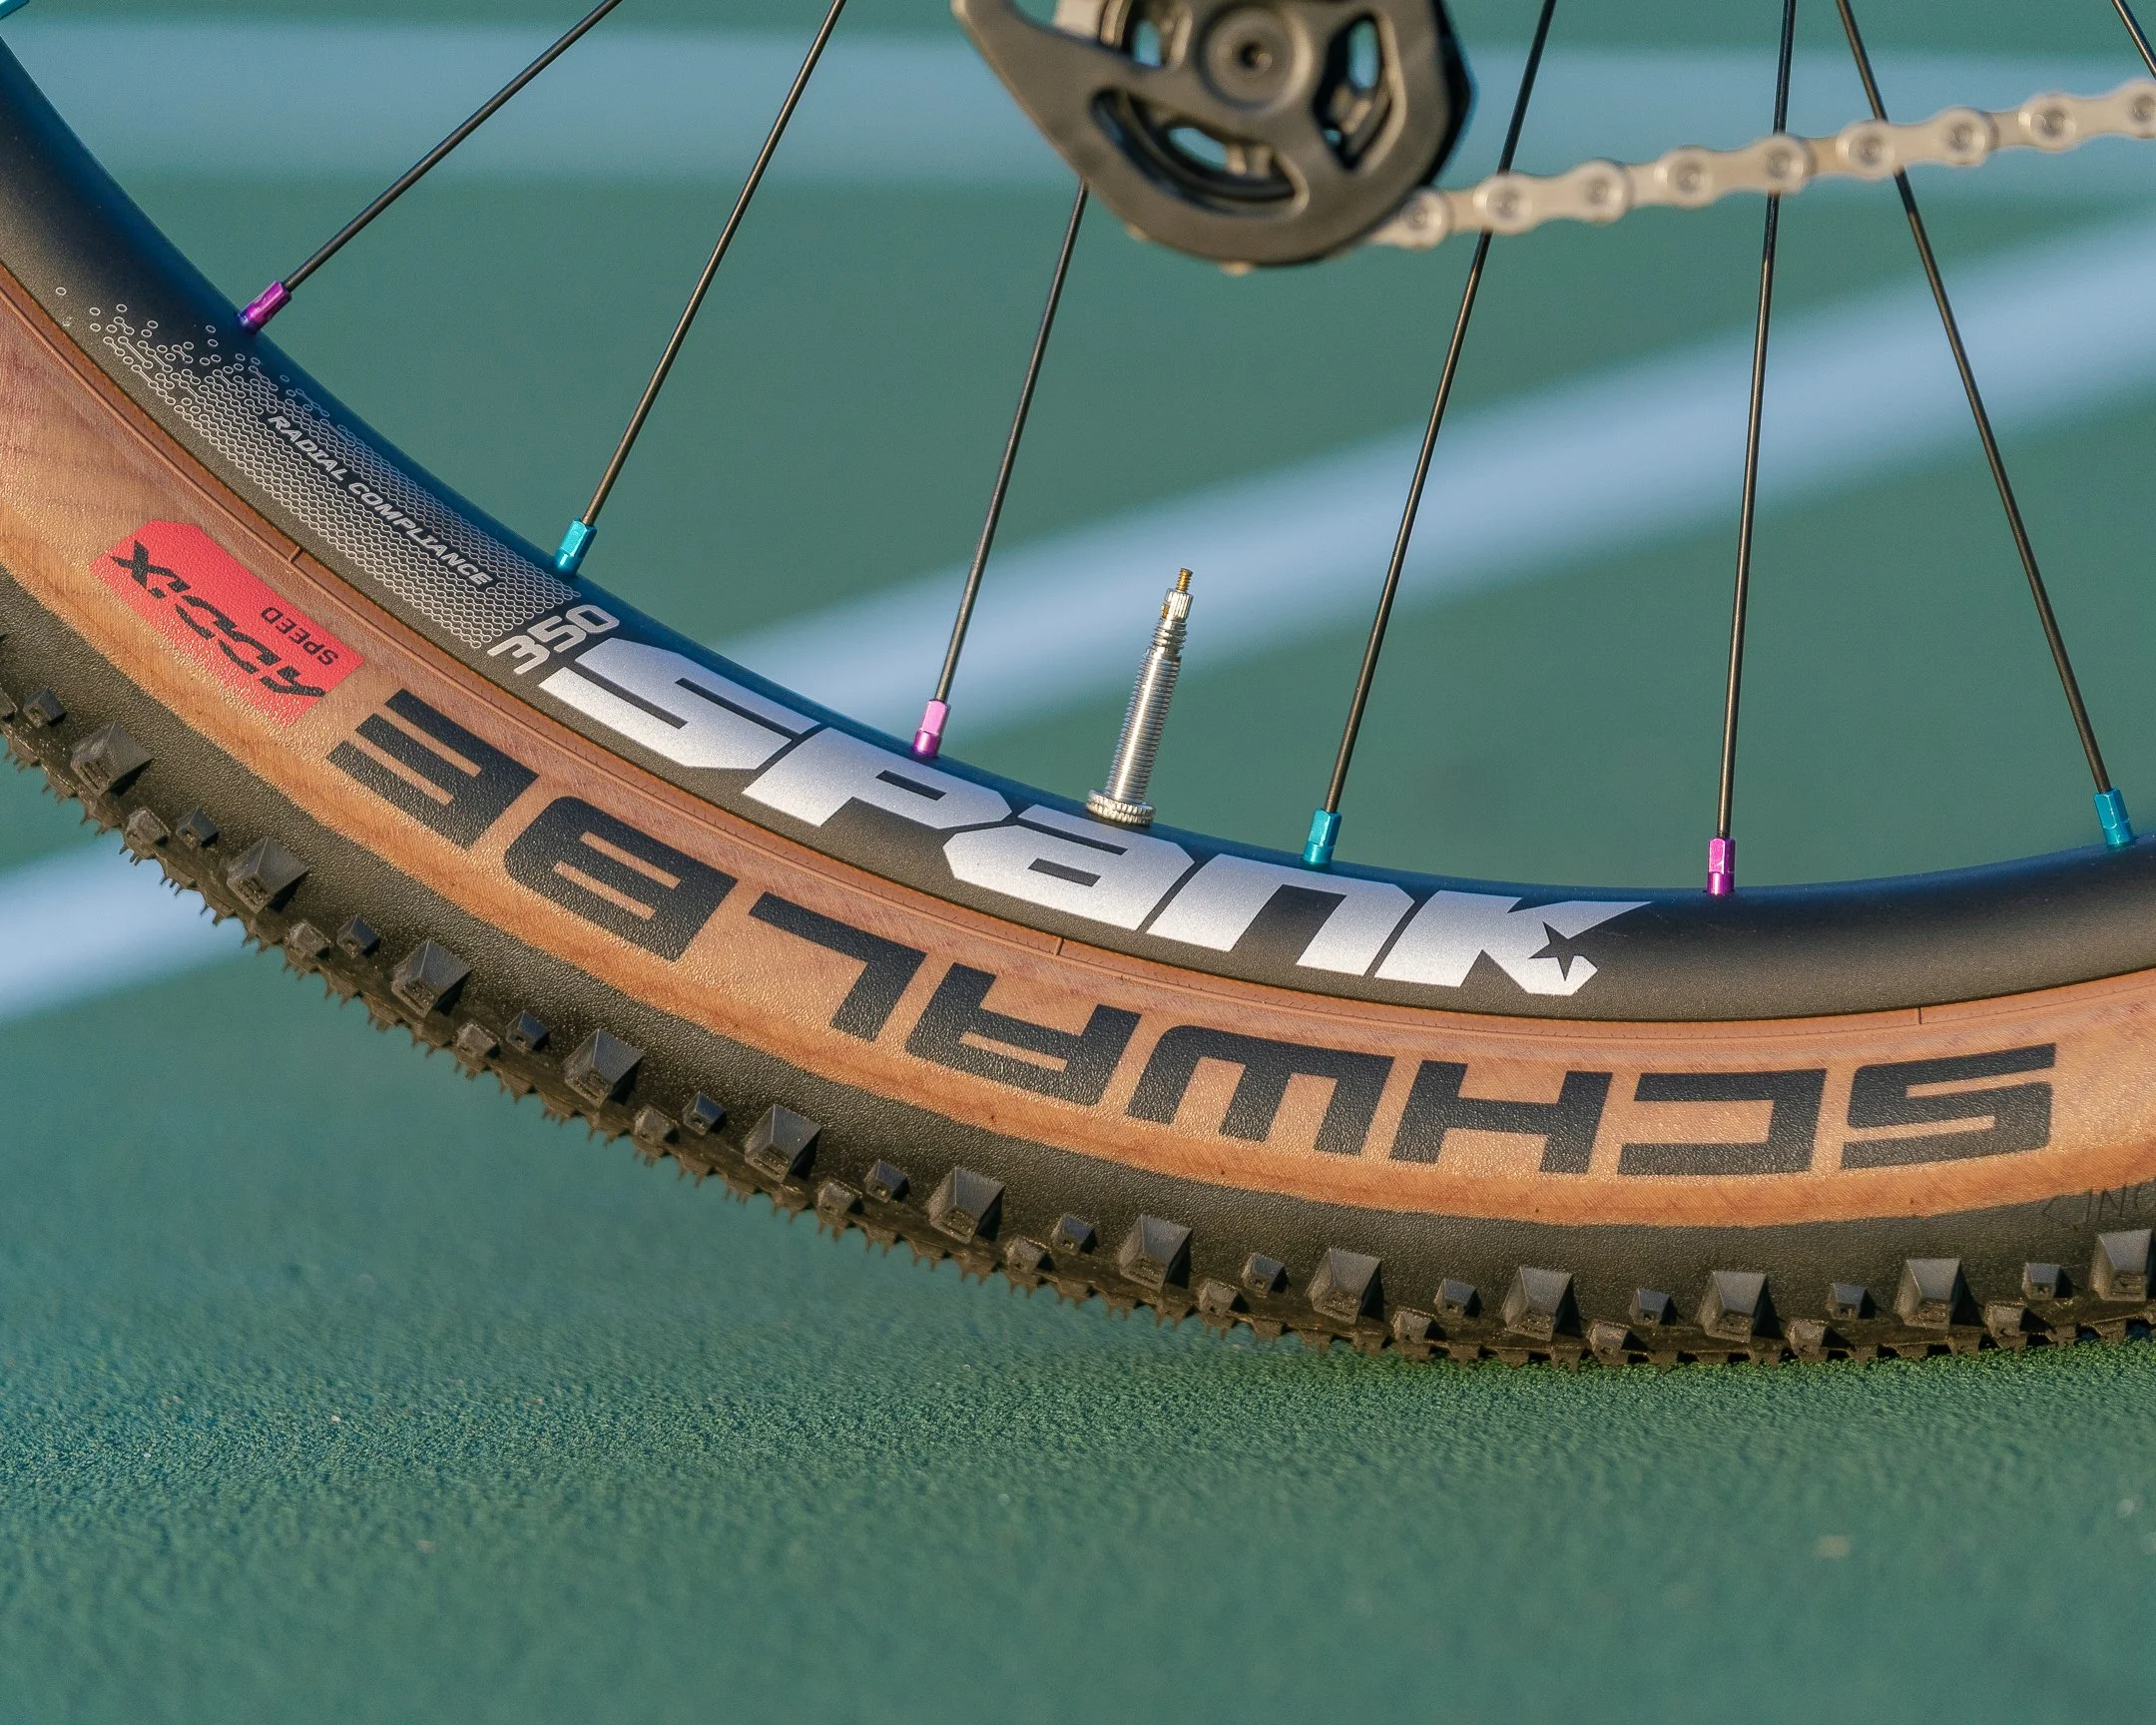
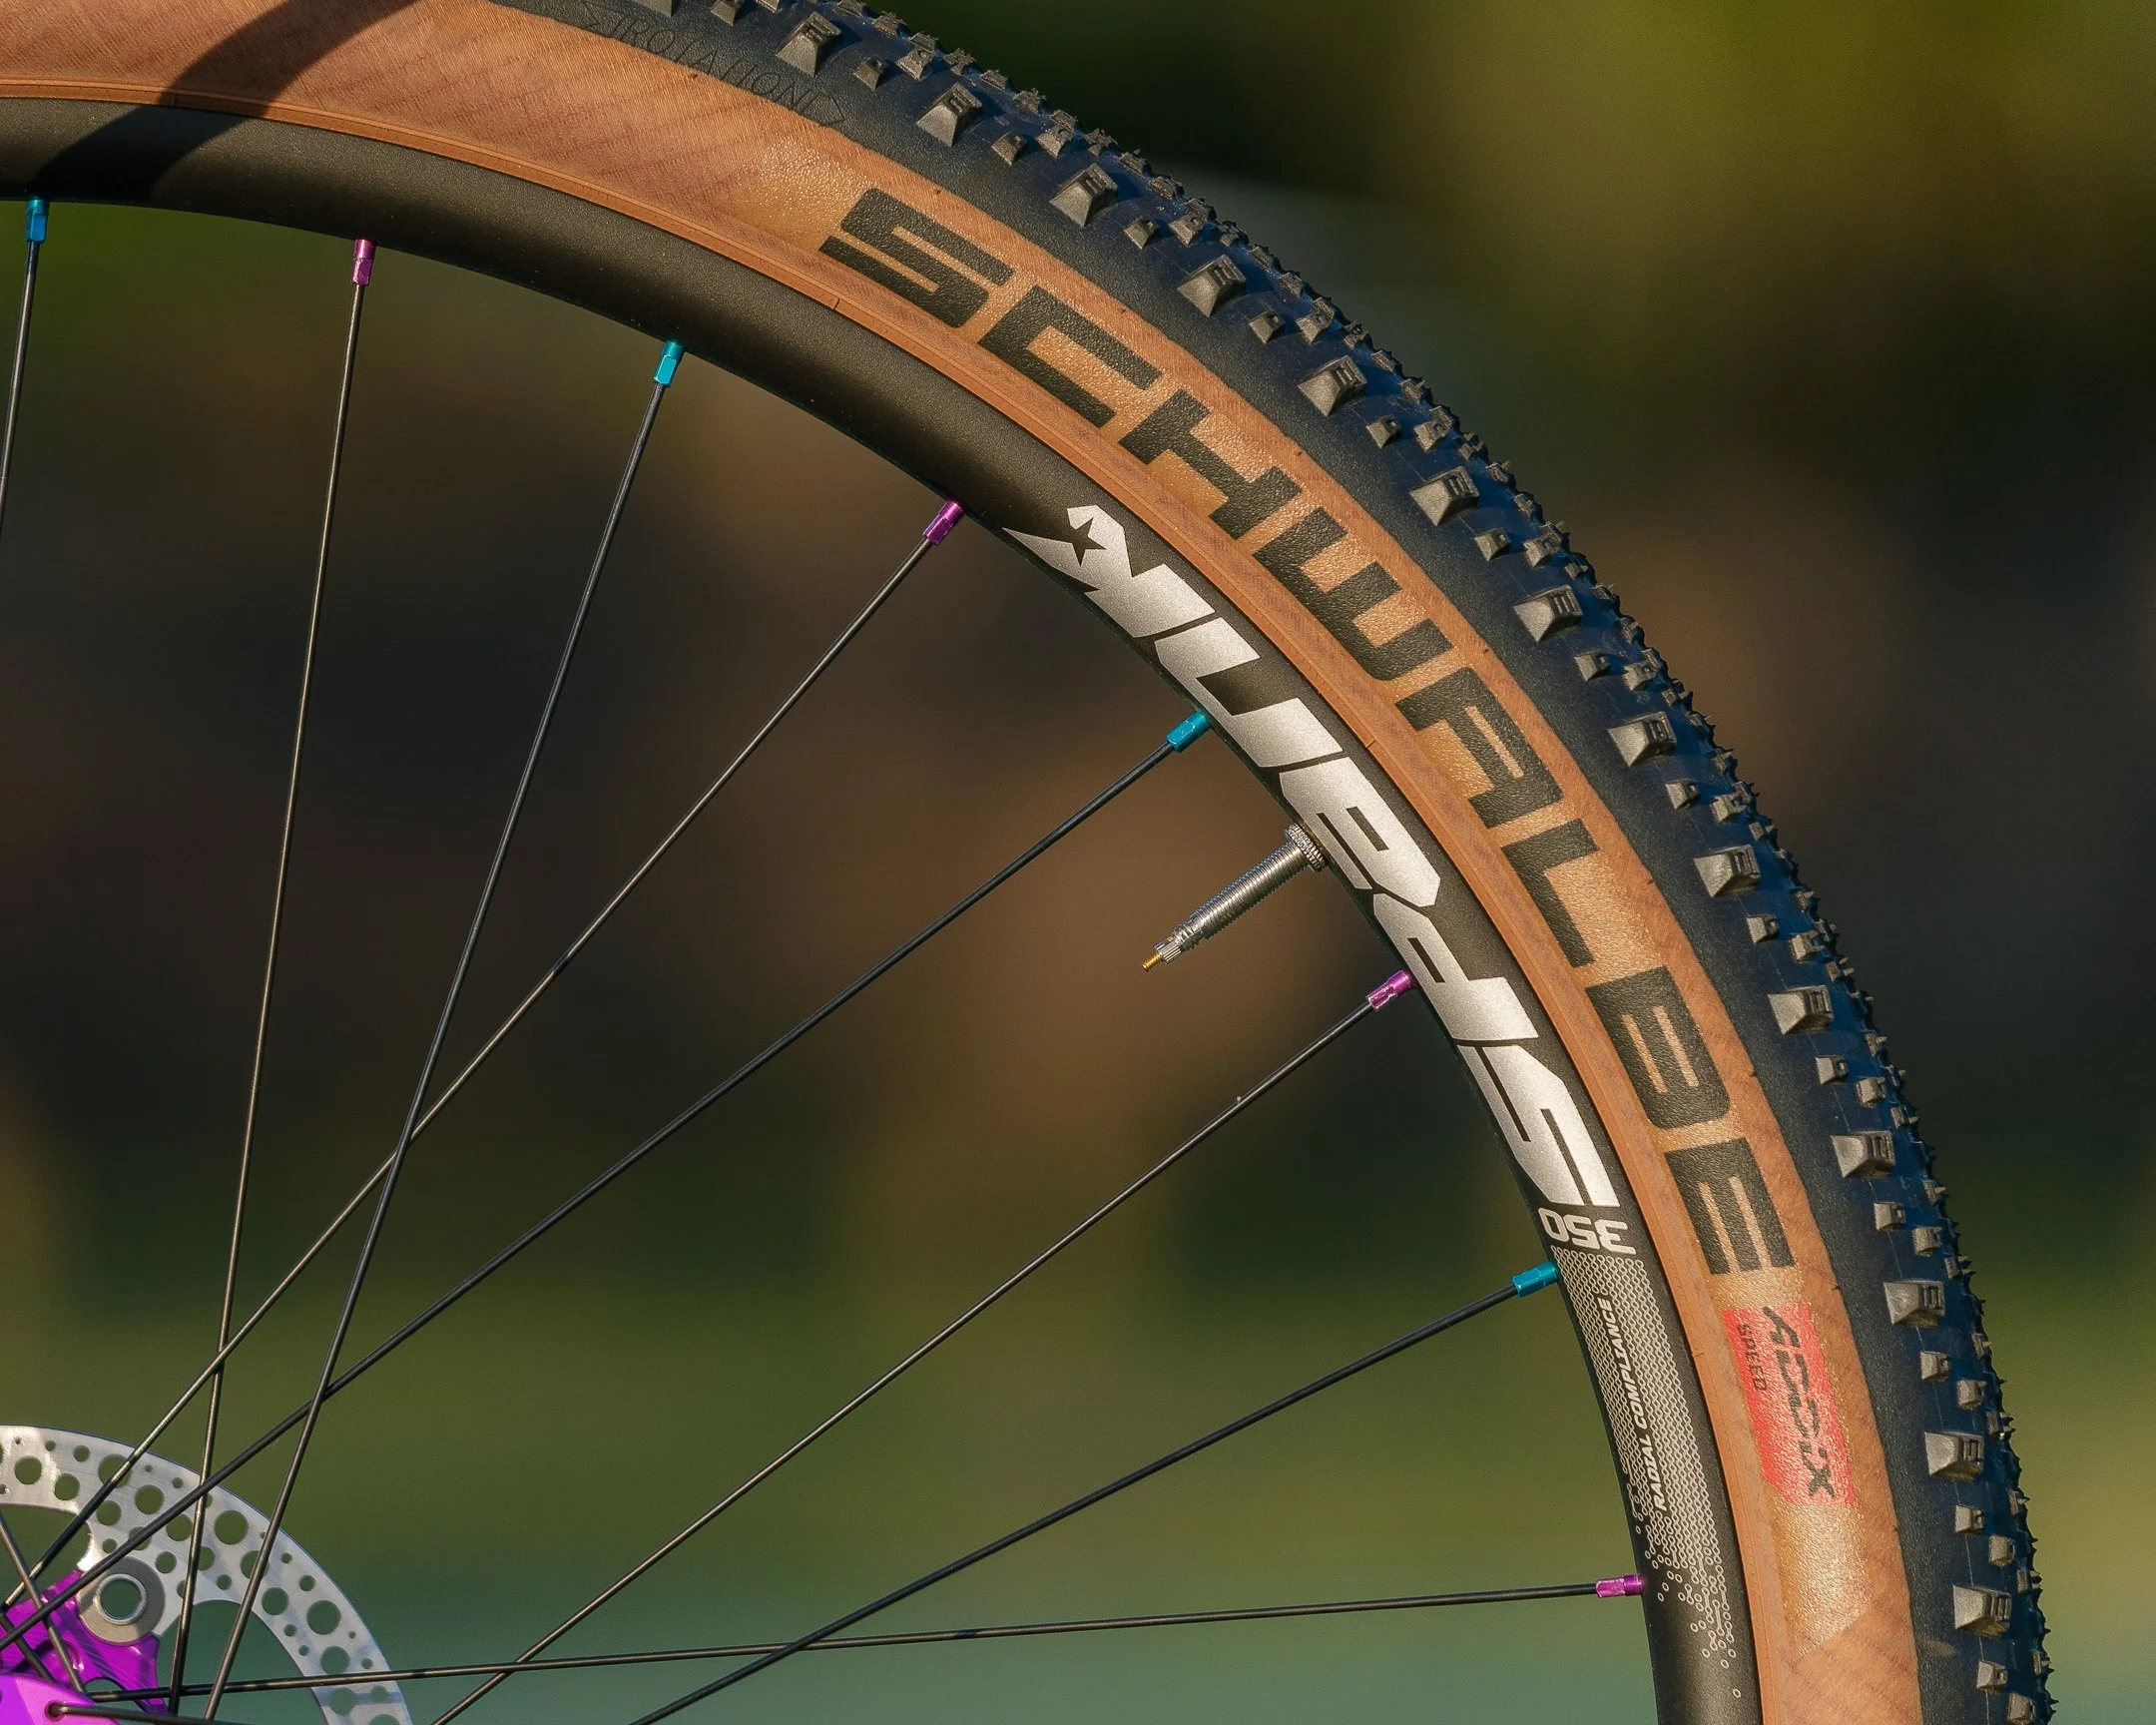
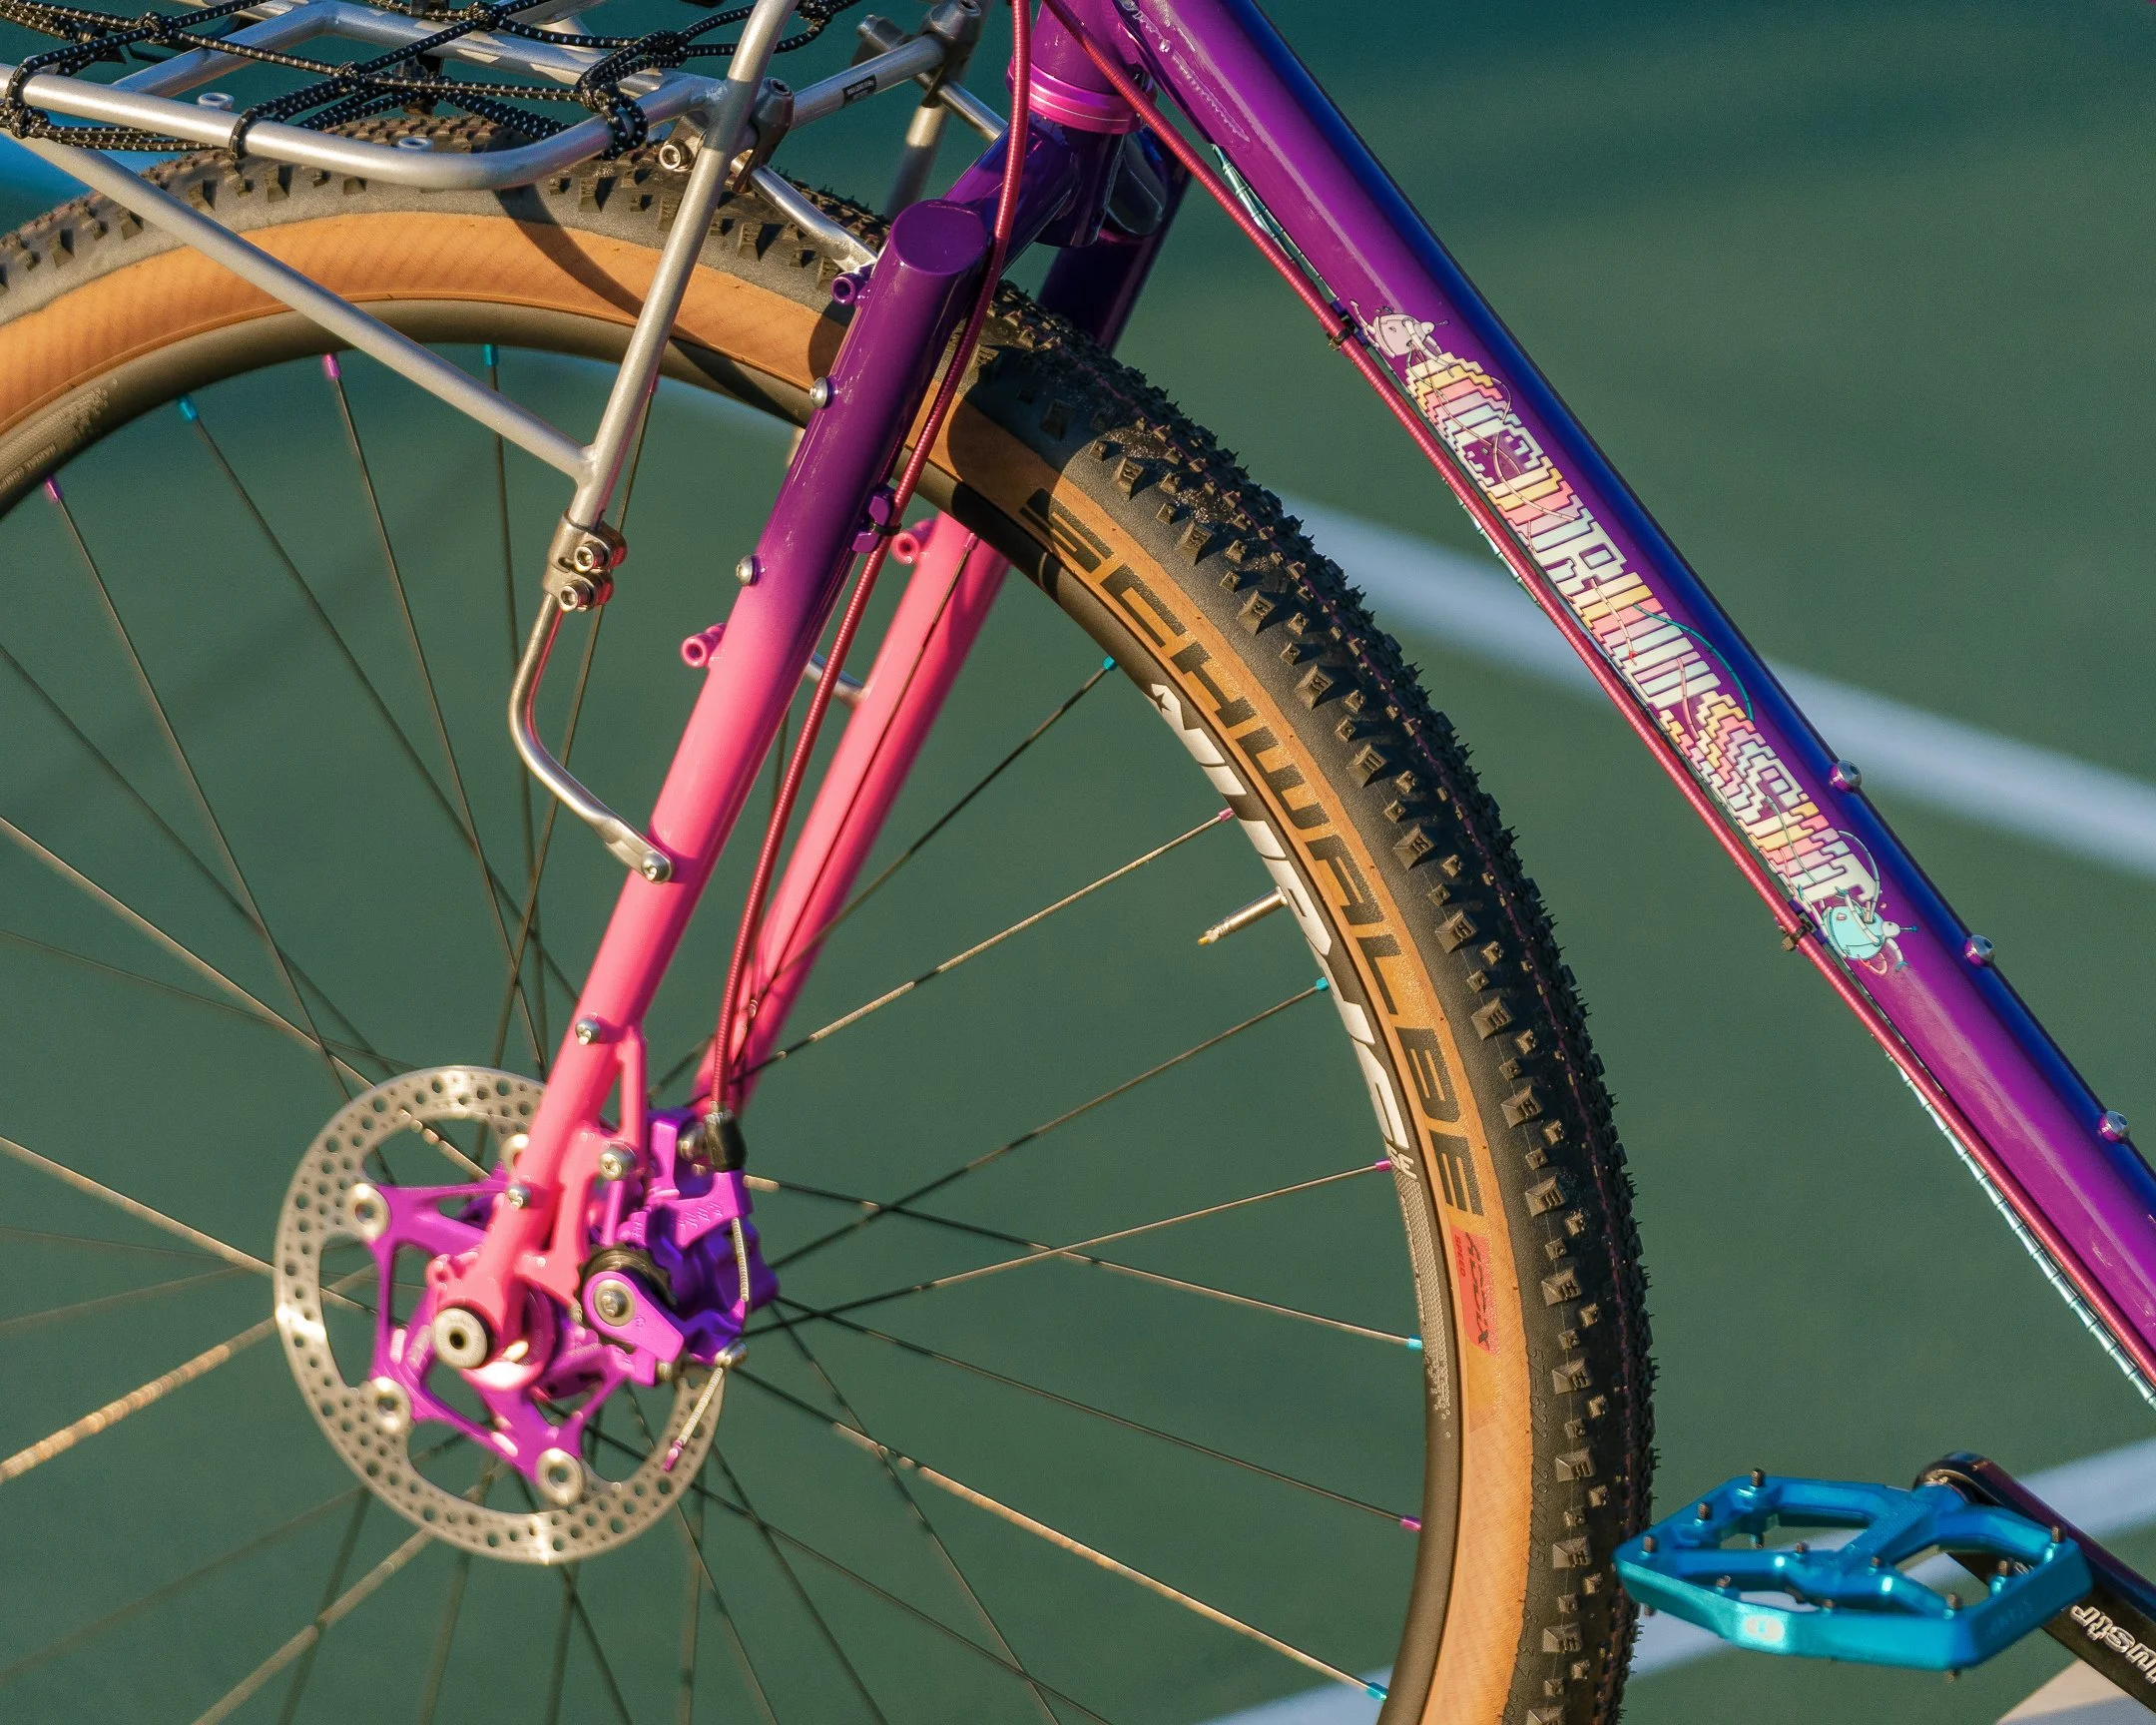
Schwalbe Thunder Burt Super Race 29 29×2.25 Addix Speed Transparent Skin (Brown) TLE Tires
Why I Went with a Crust Frame
I’ve always liked the look and feel of Crust Bikes stuff.
They’re not trying to be the most high-tech thing out there. It’s more about:
Ride feel
Simplicity
Personality
And honestly, that fits how I like to ride.
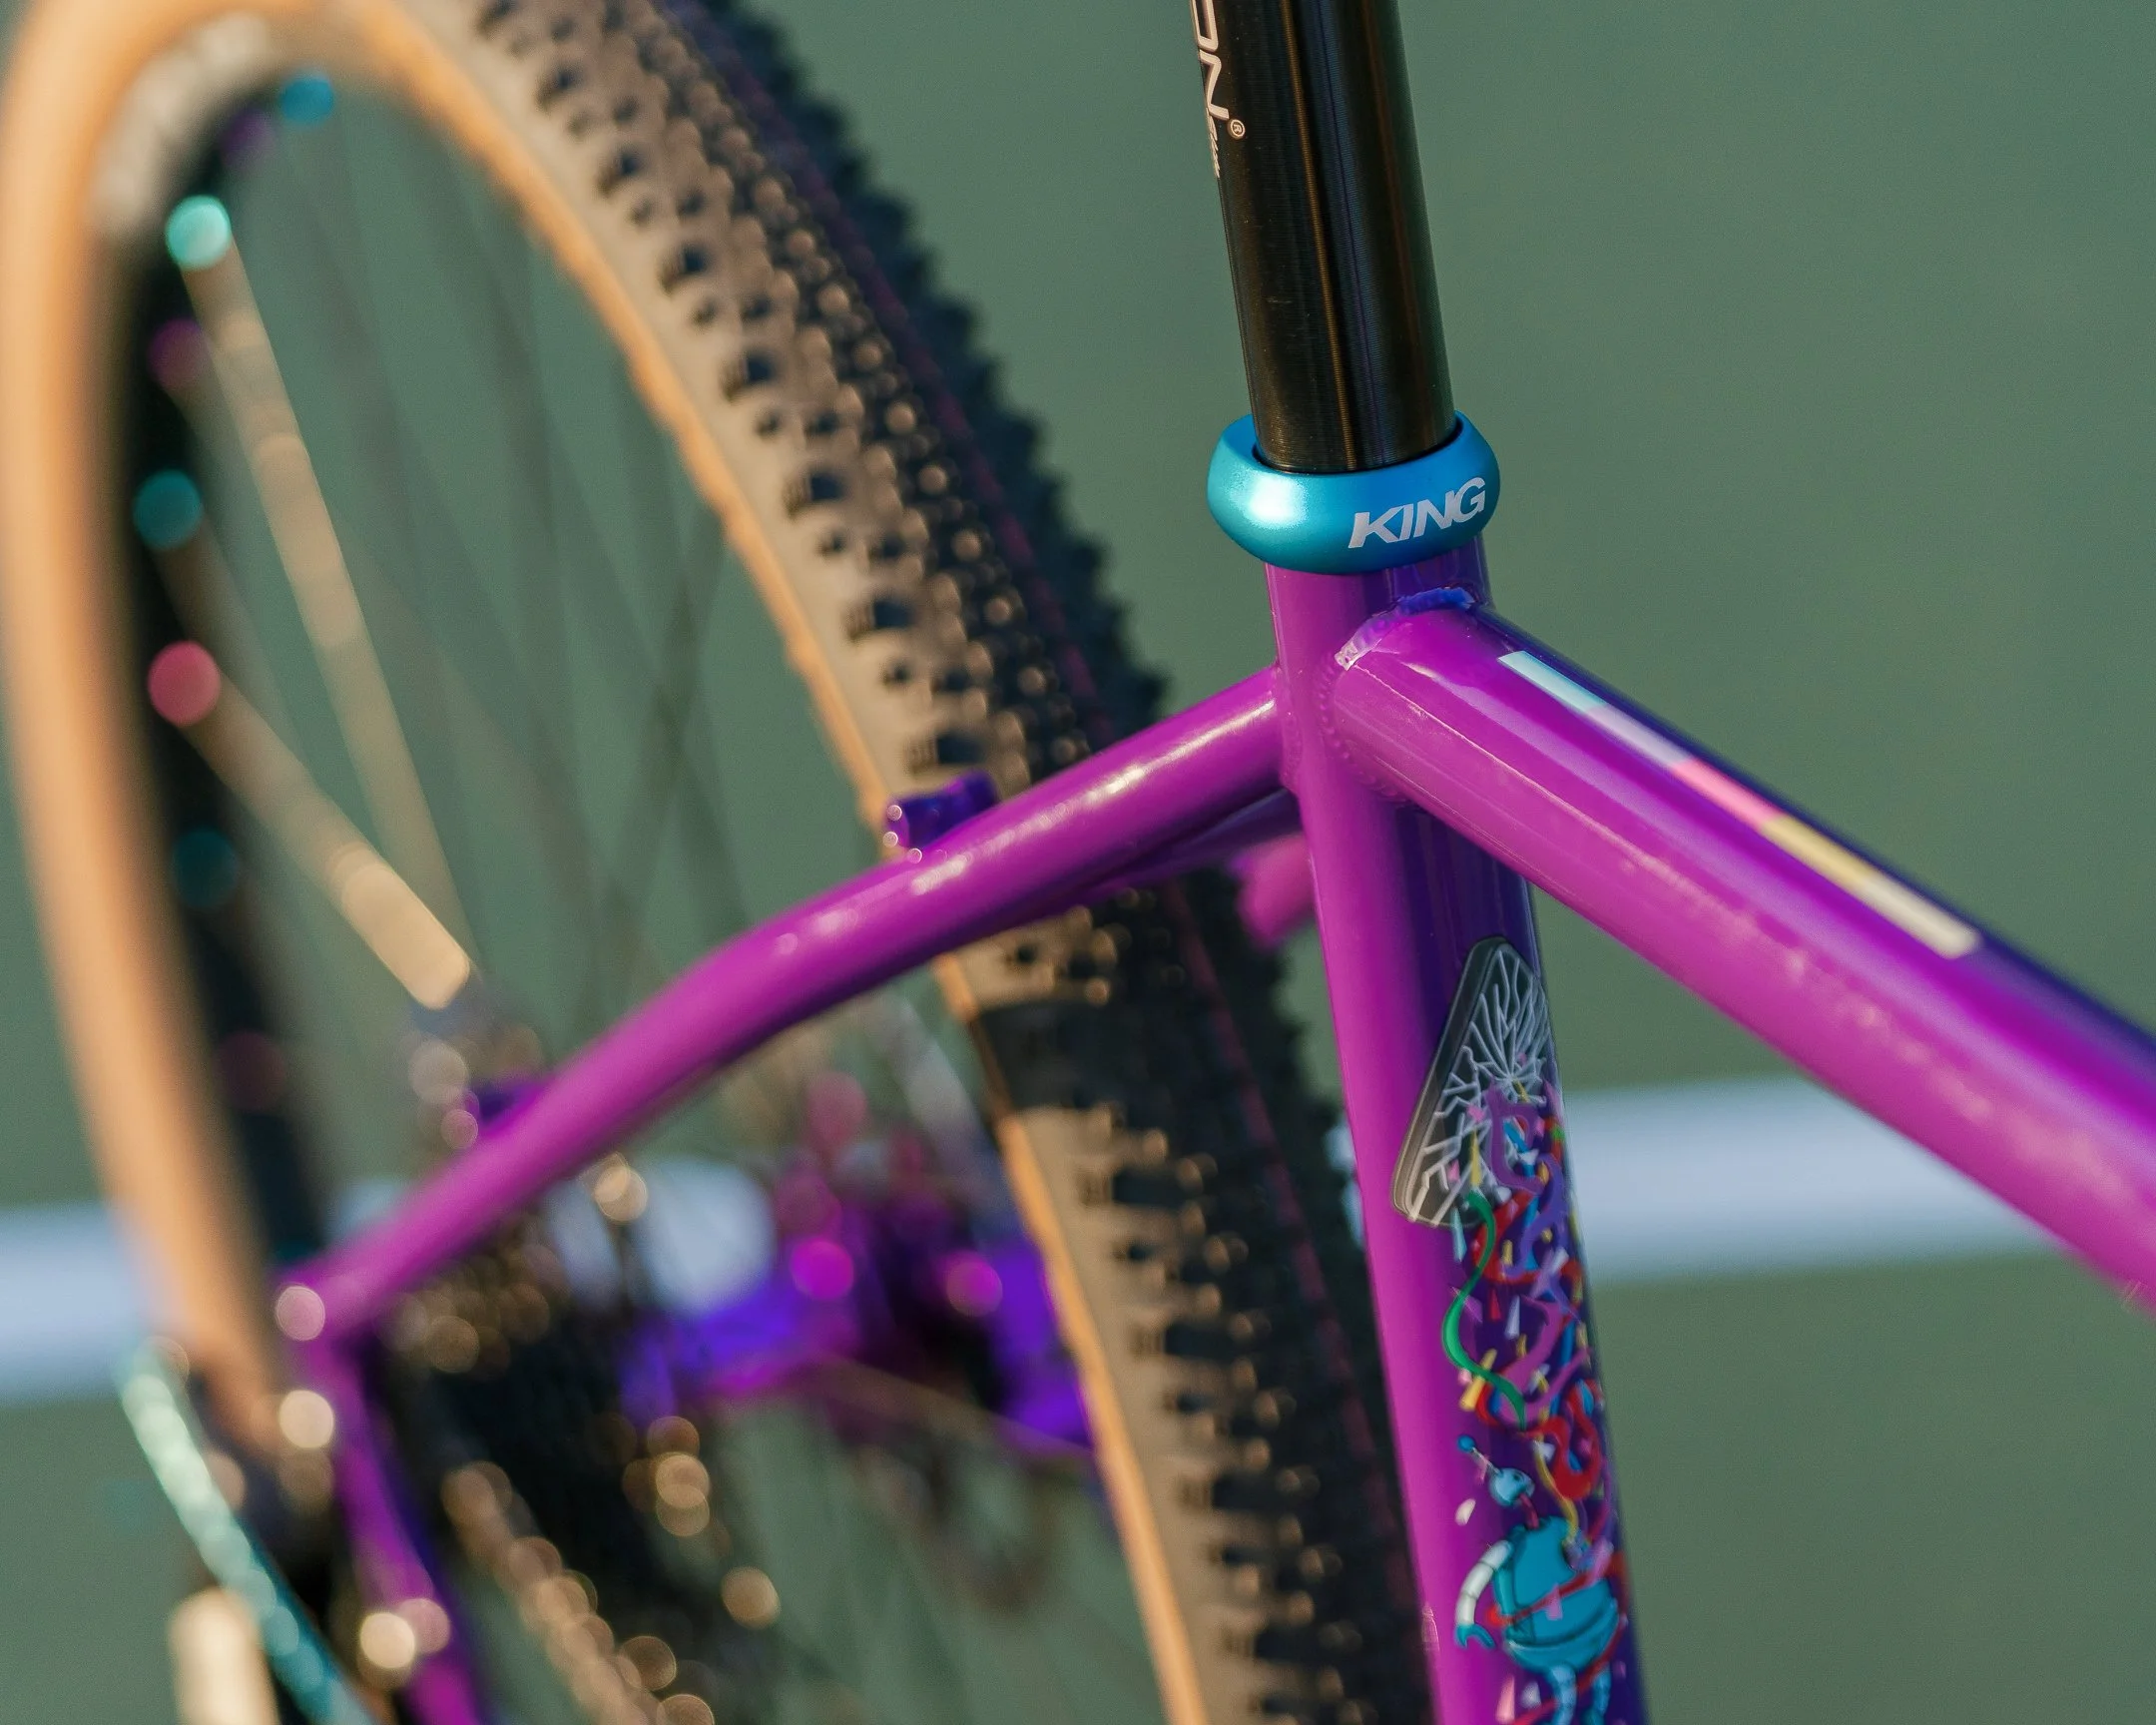
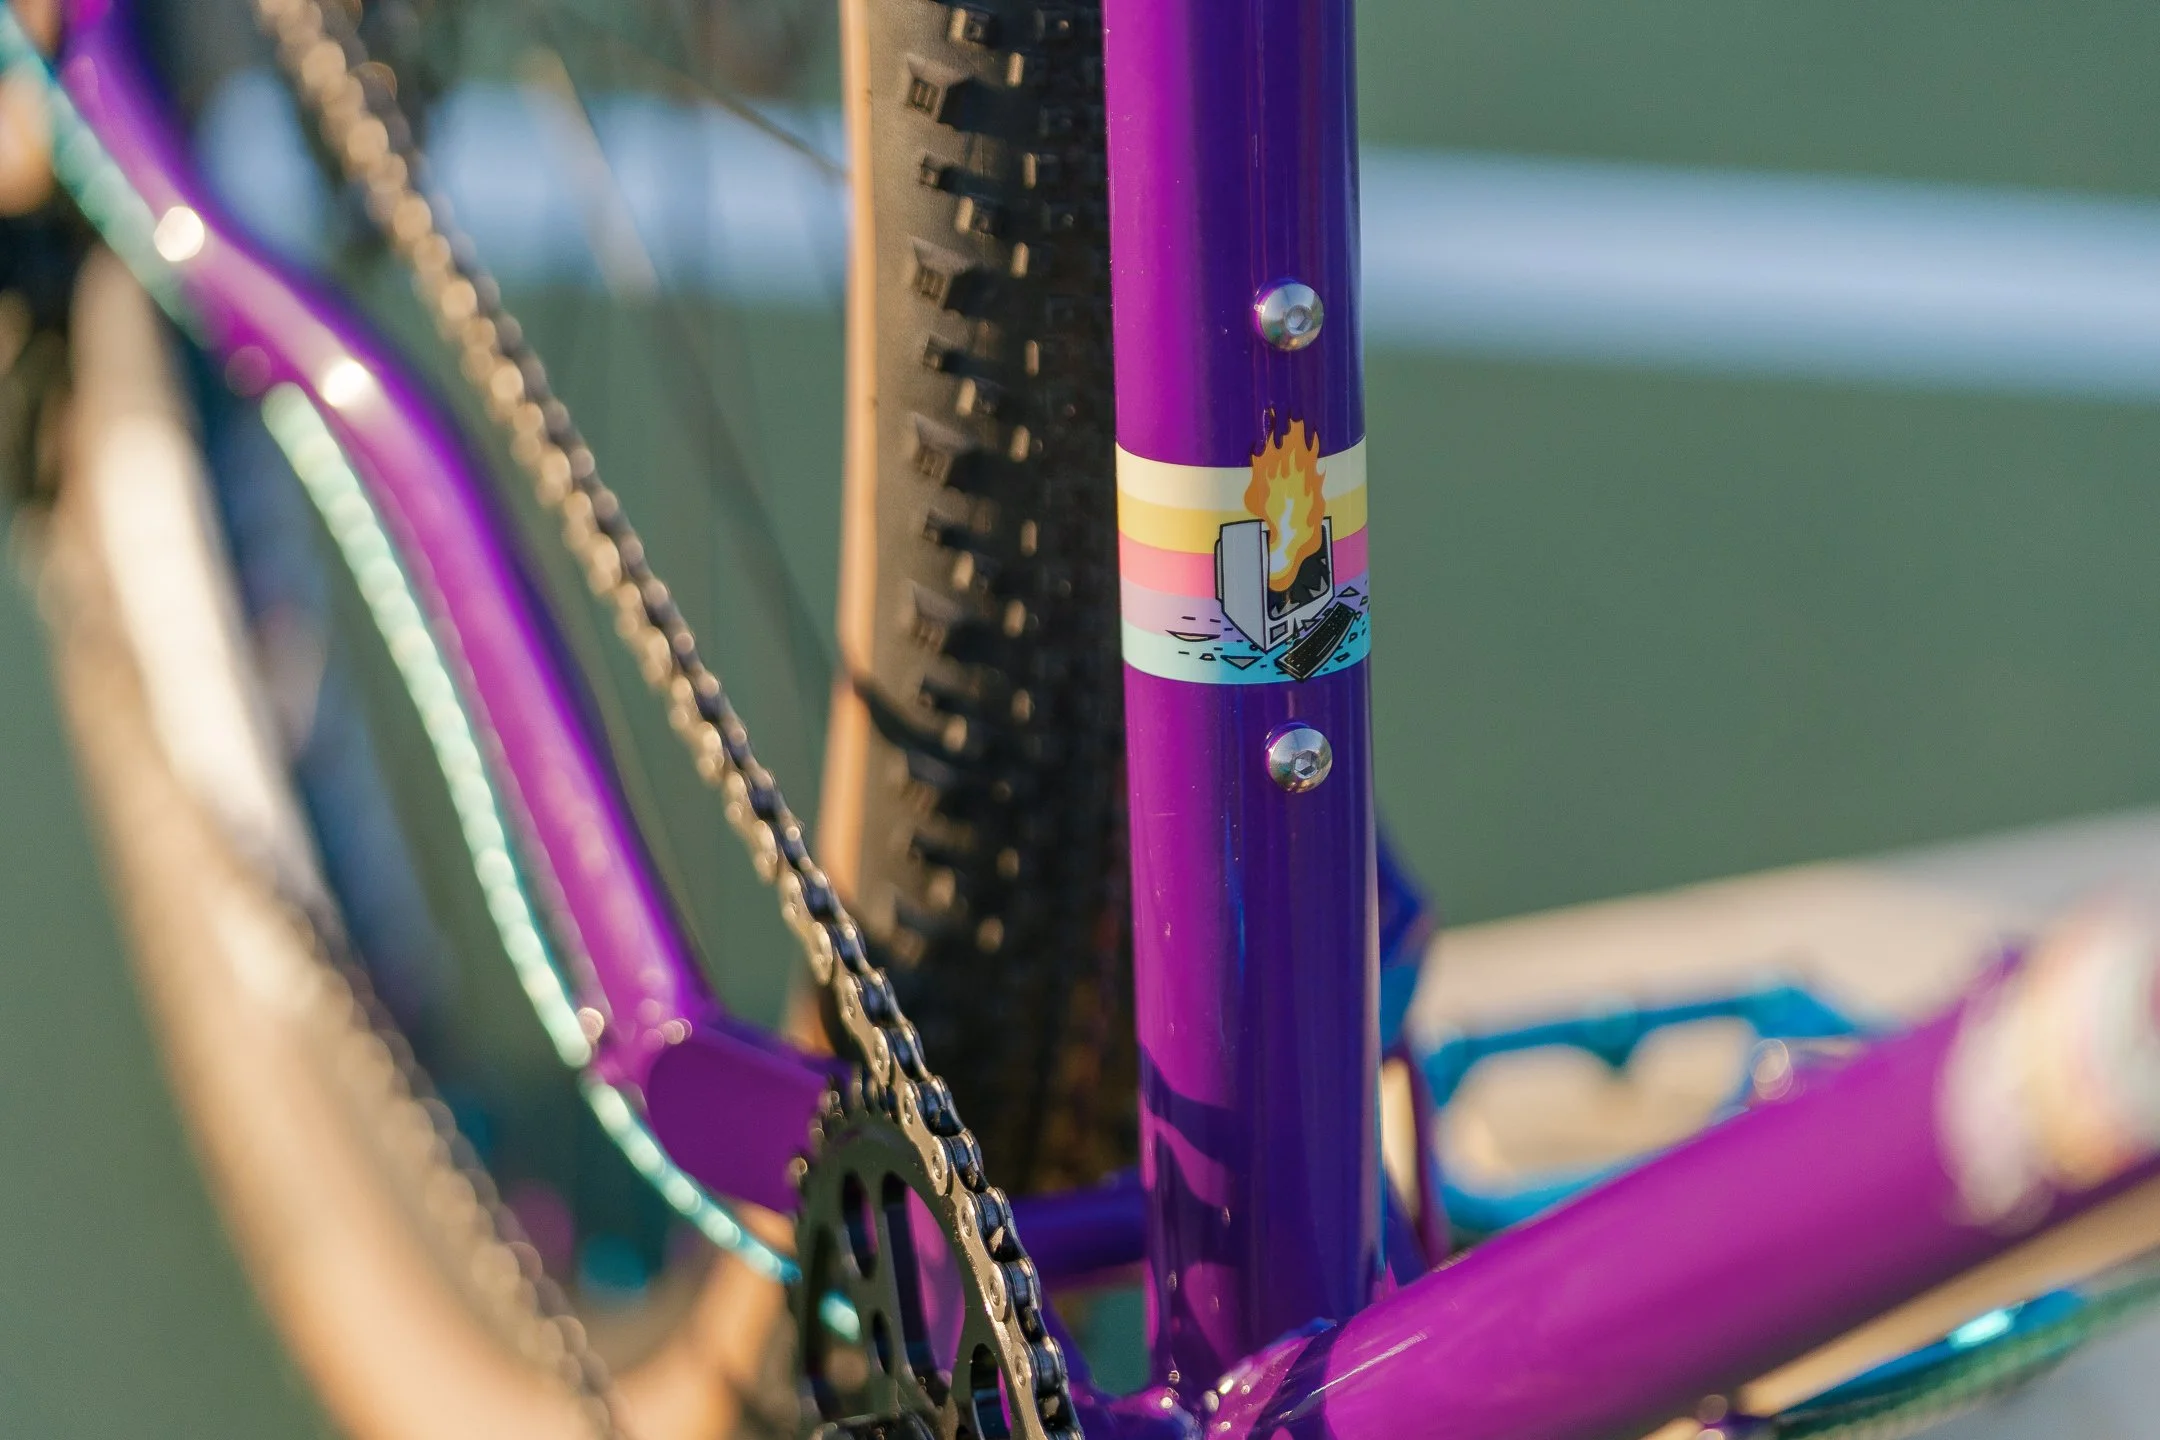
Frame: Crust Scapebot

Spank 350 Rim. 29” x 32 Hole in Black
The Build (Full Parts List)
Frame & Fork
Frame: Crust Scapebot (Large)
Fork: Included with frame
Drivetrain
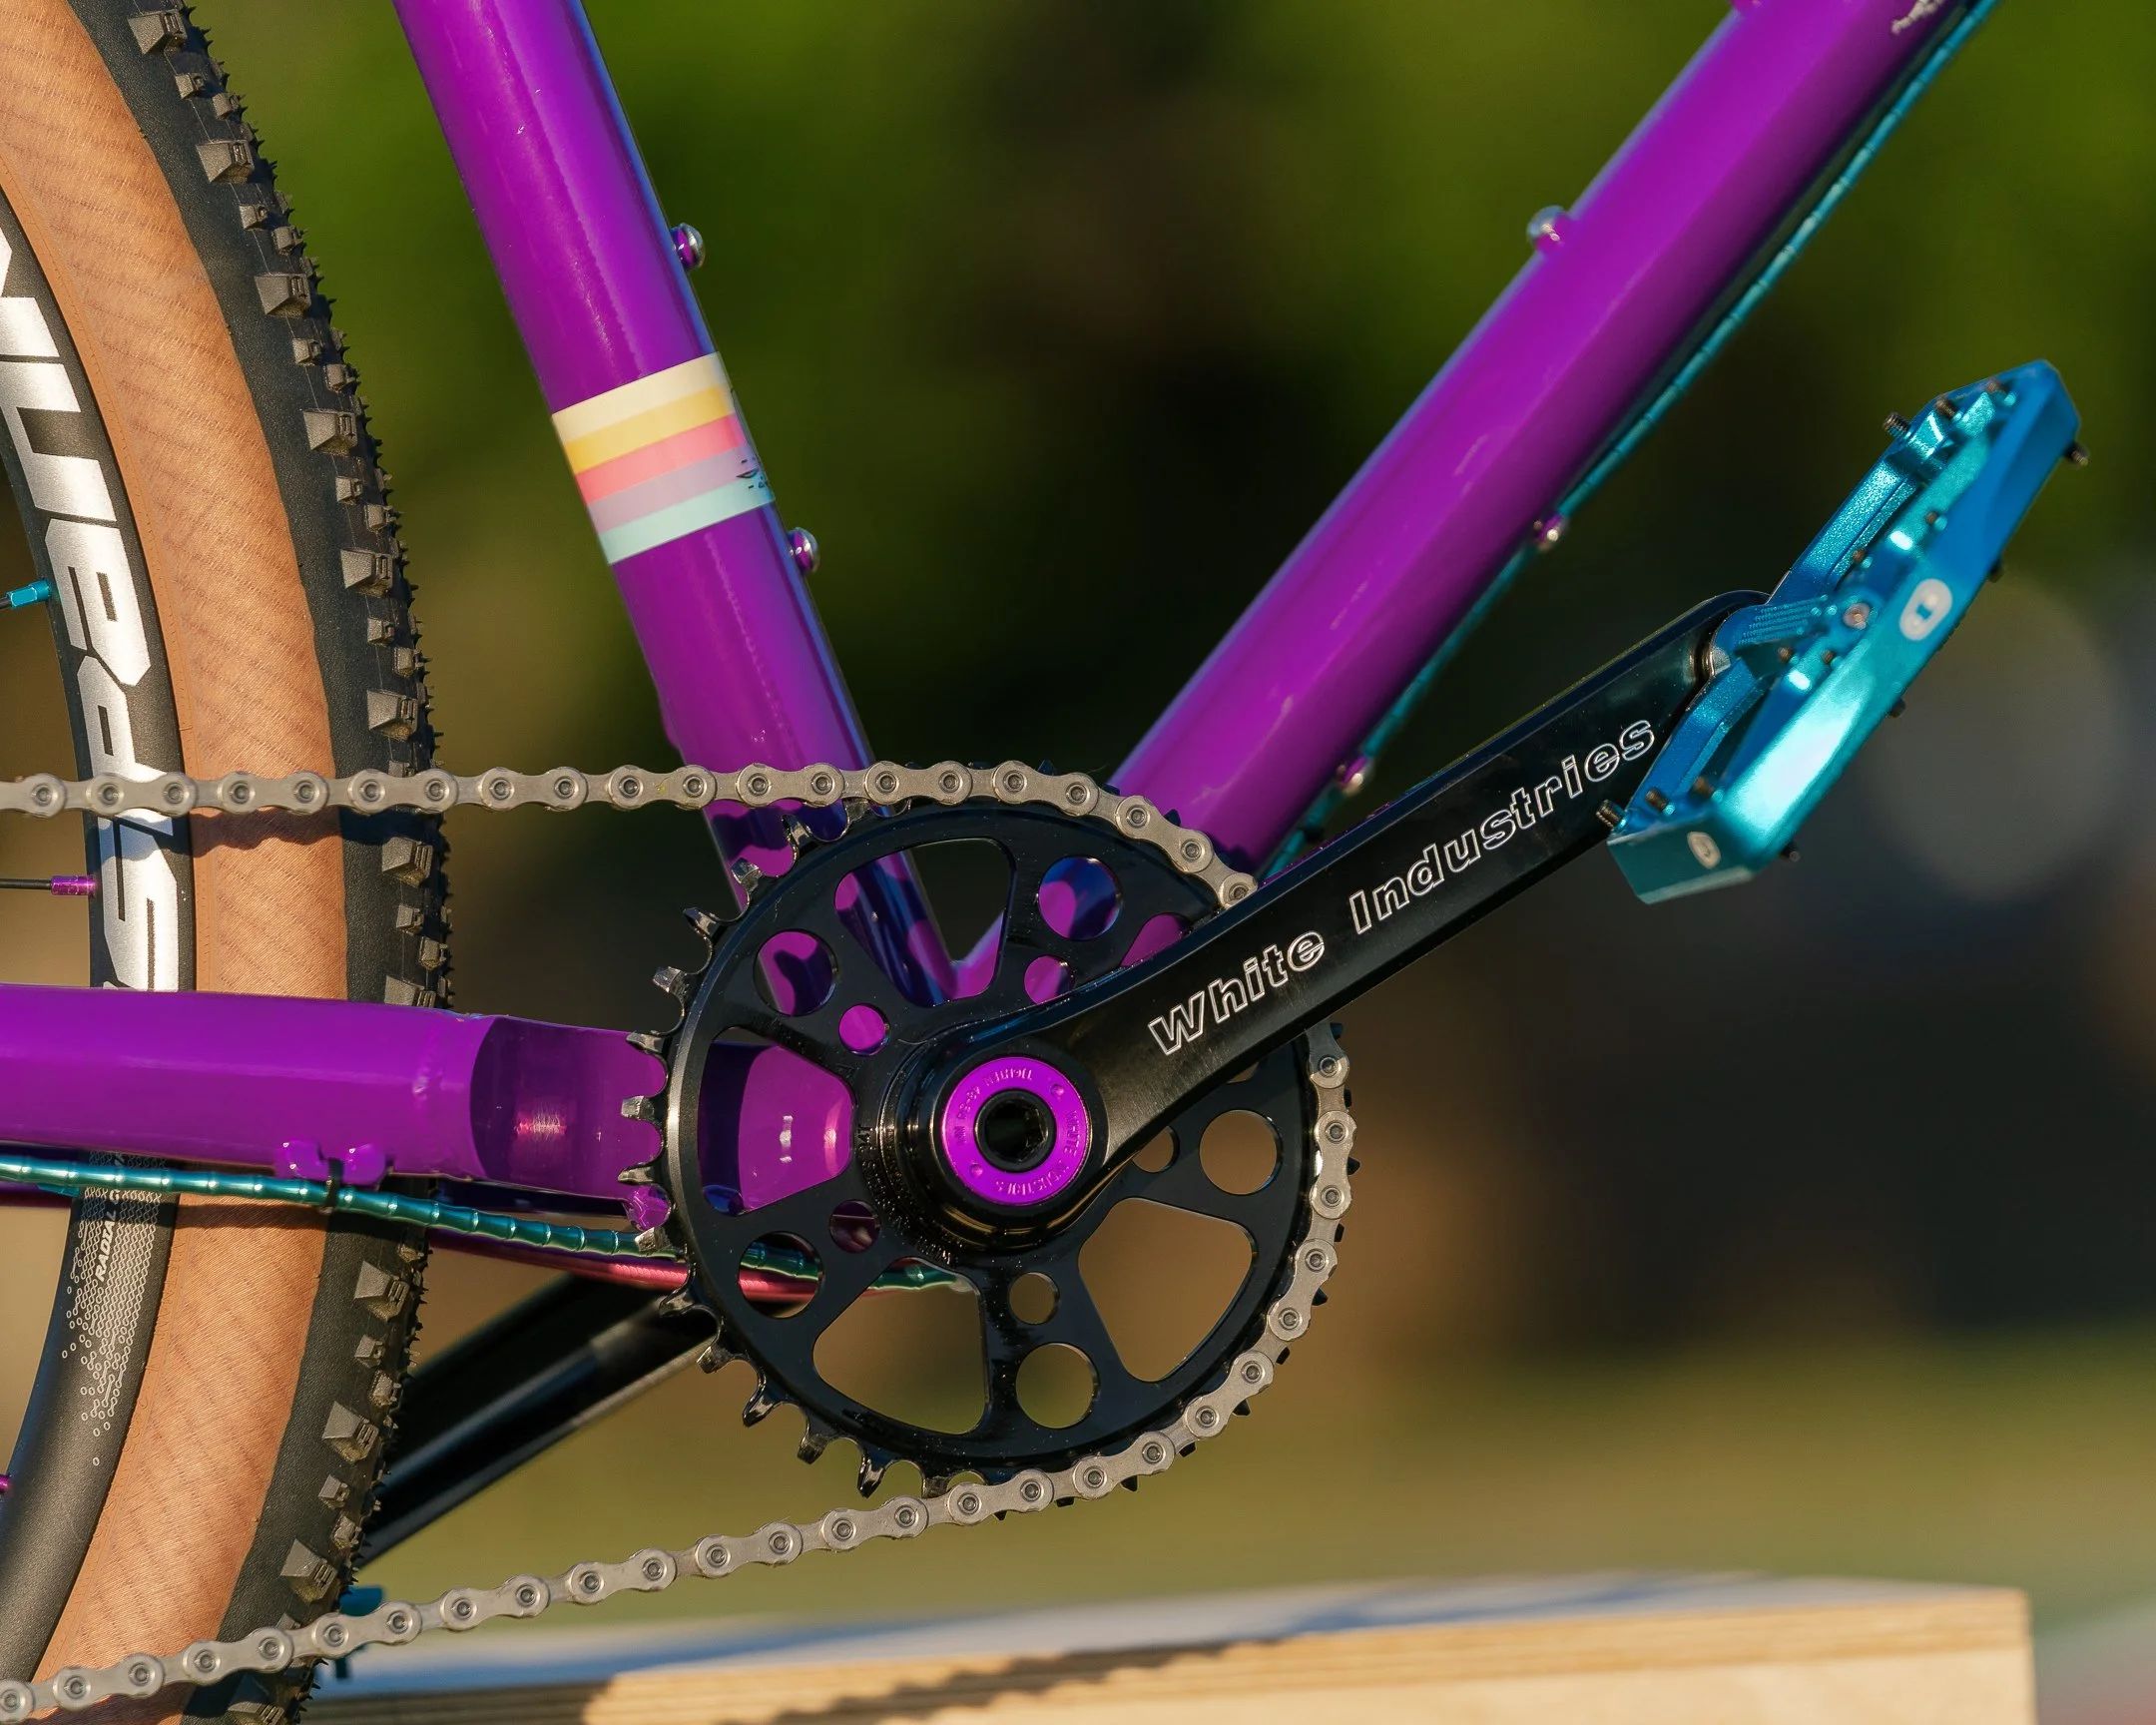
Crankset: White Industries M30 Mountain Crank (170mm)
Chainring: White Industries MR30 1x Chainring ( 34 teeth 0mm boost)
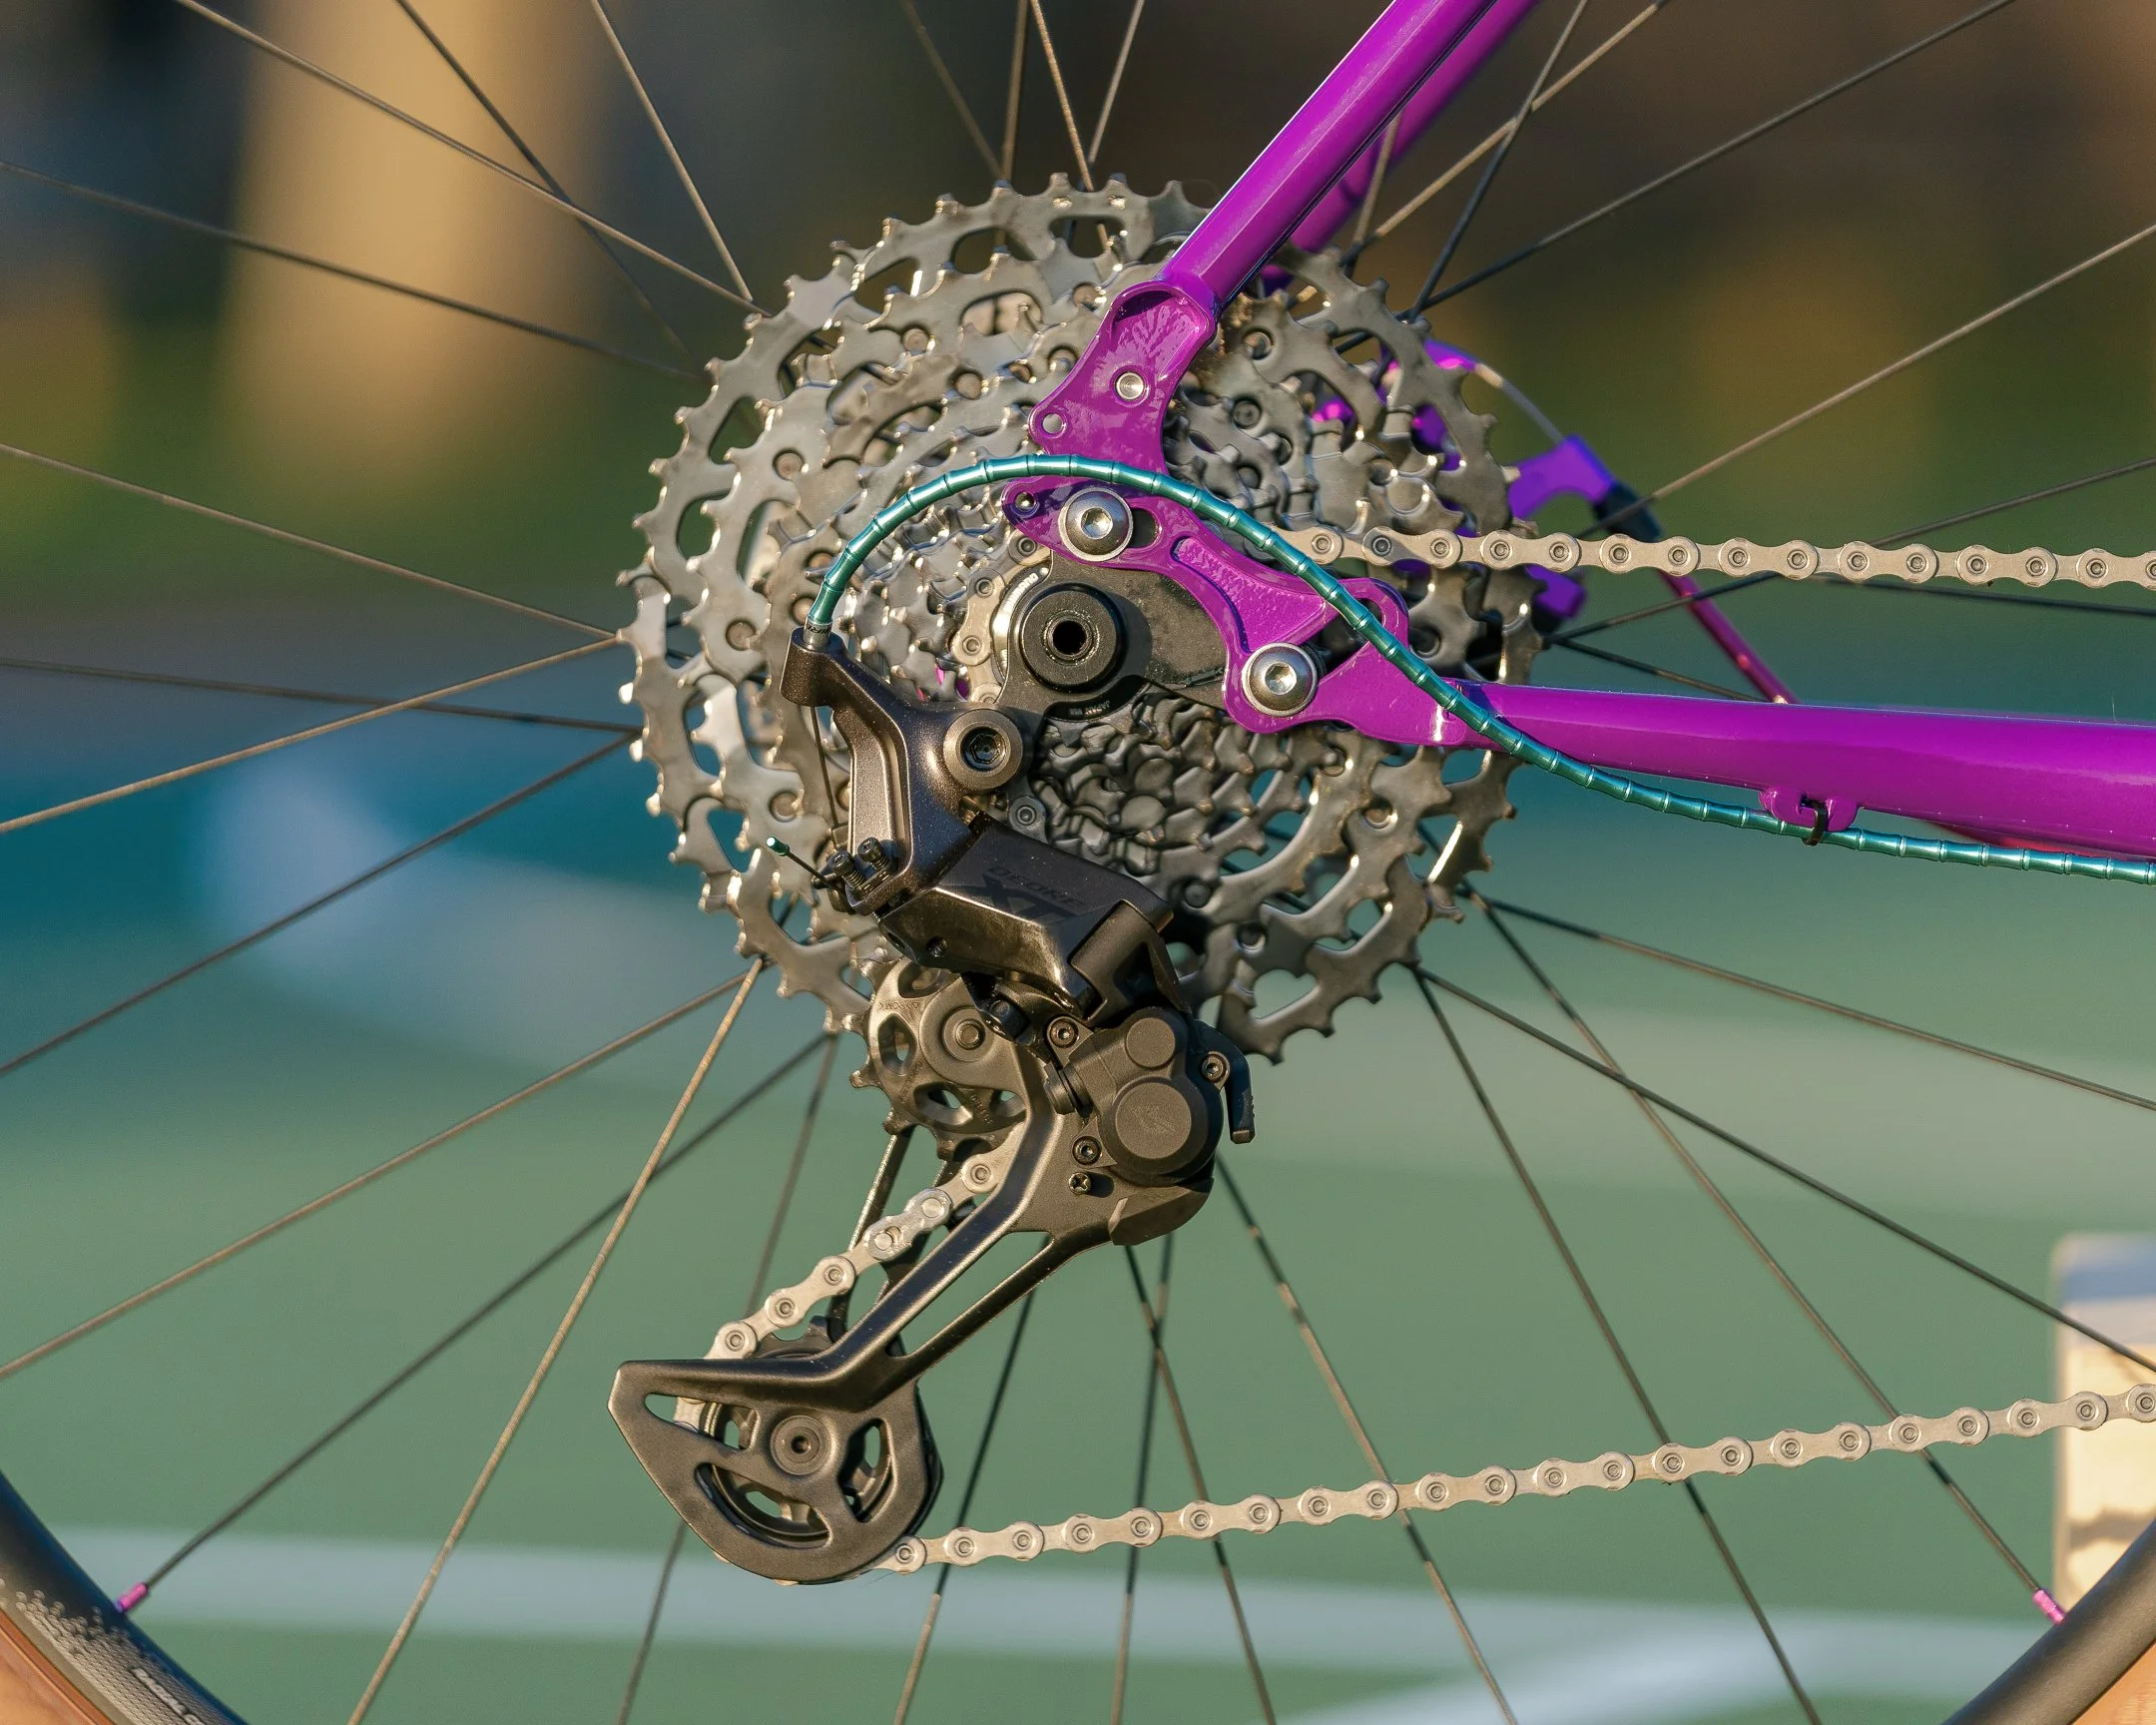
Cassette / Freewheel: Shimano CS LG700-11 Cassette
Rear derailleur: Shimano RD-M8130 Rear Derailleur (Cassette and Freewheel bought here)
Wheels
Cockpit
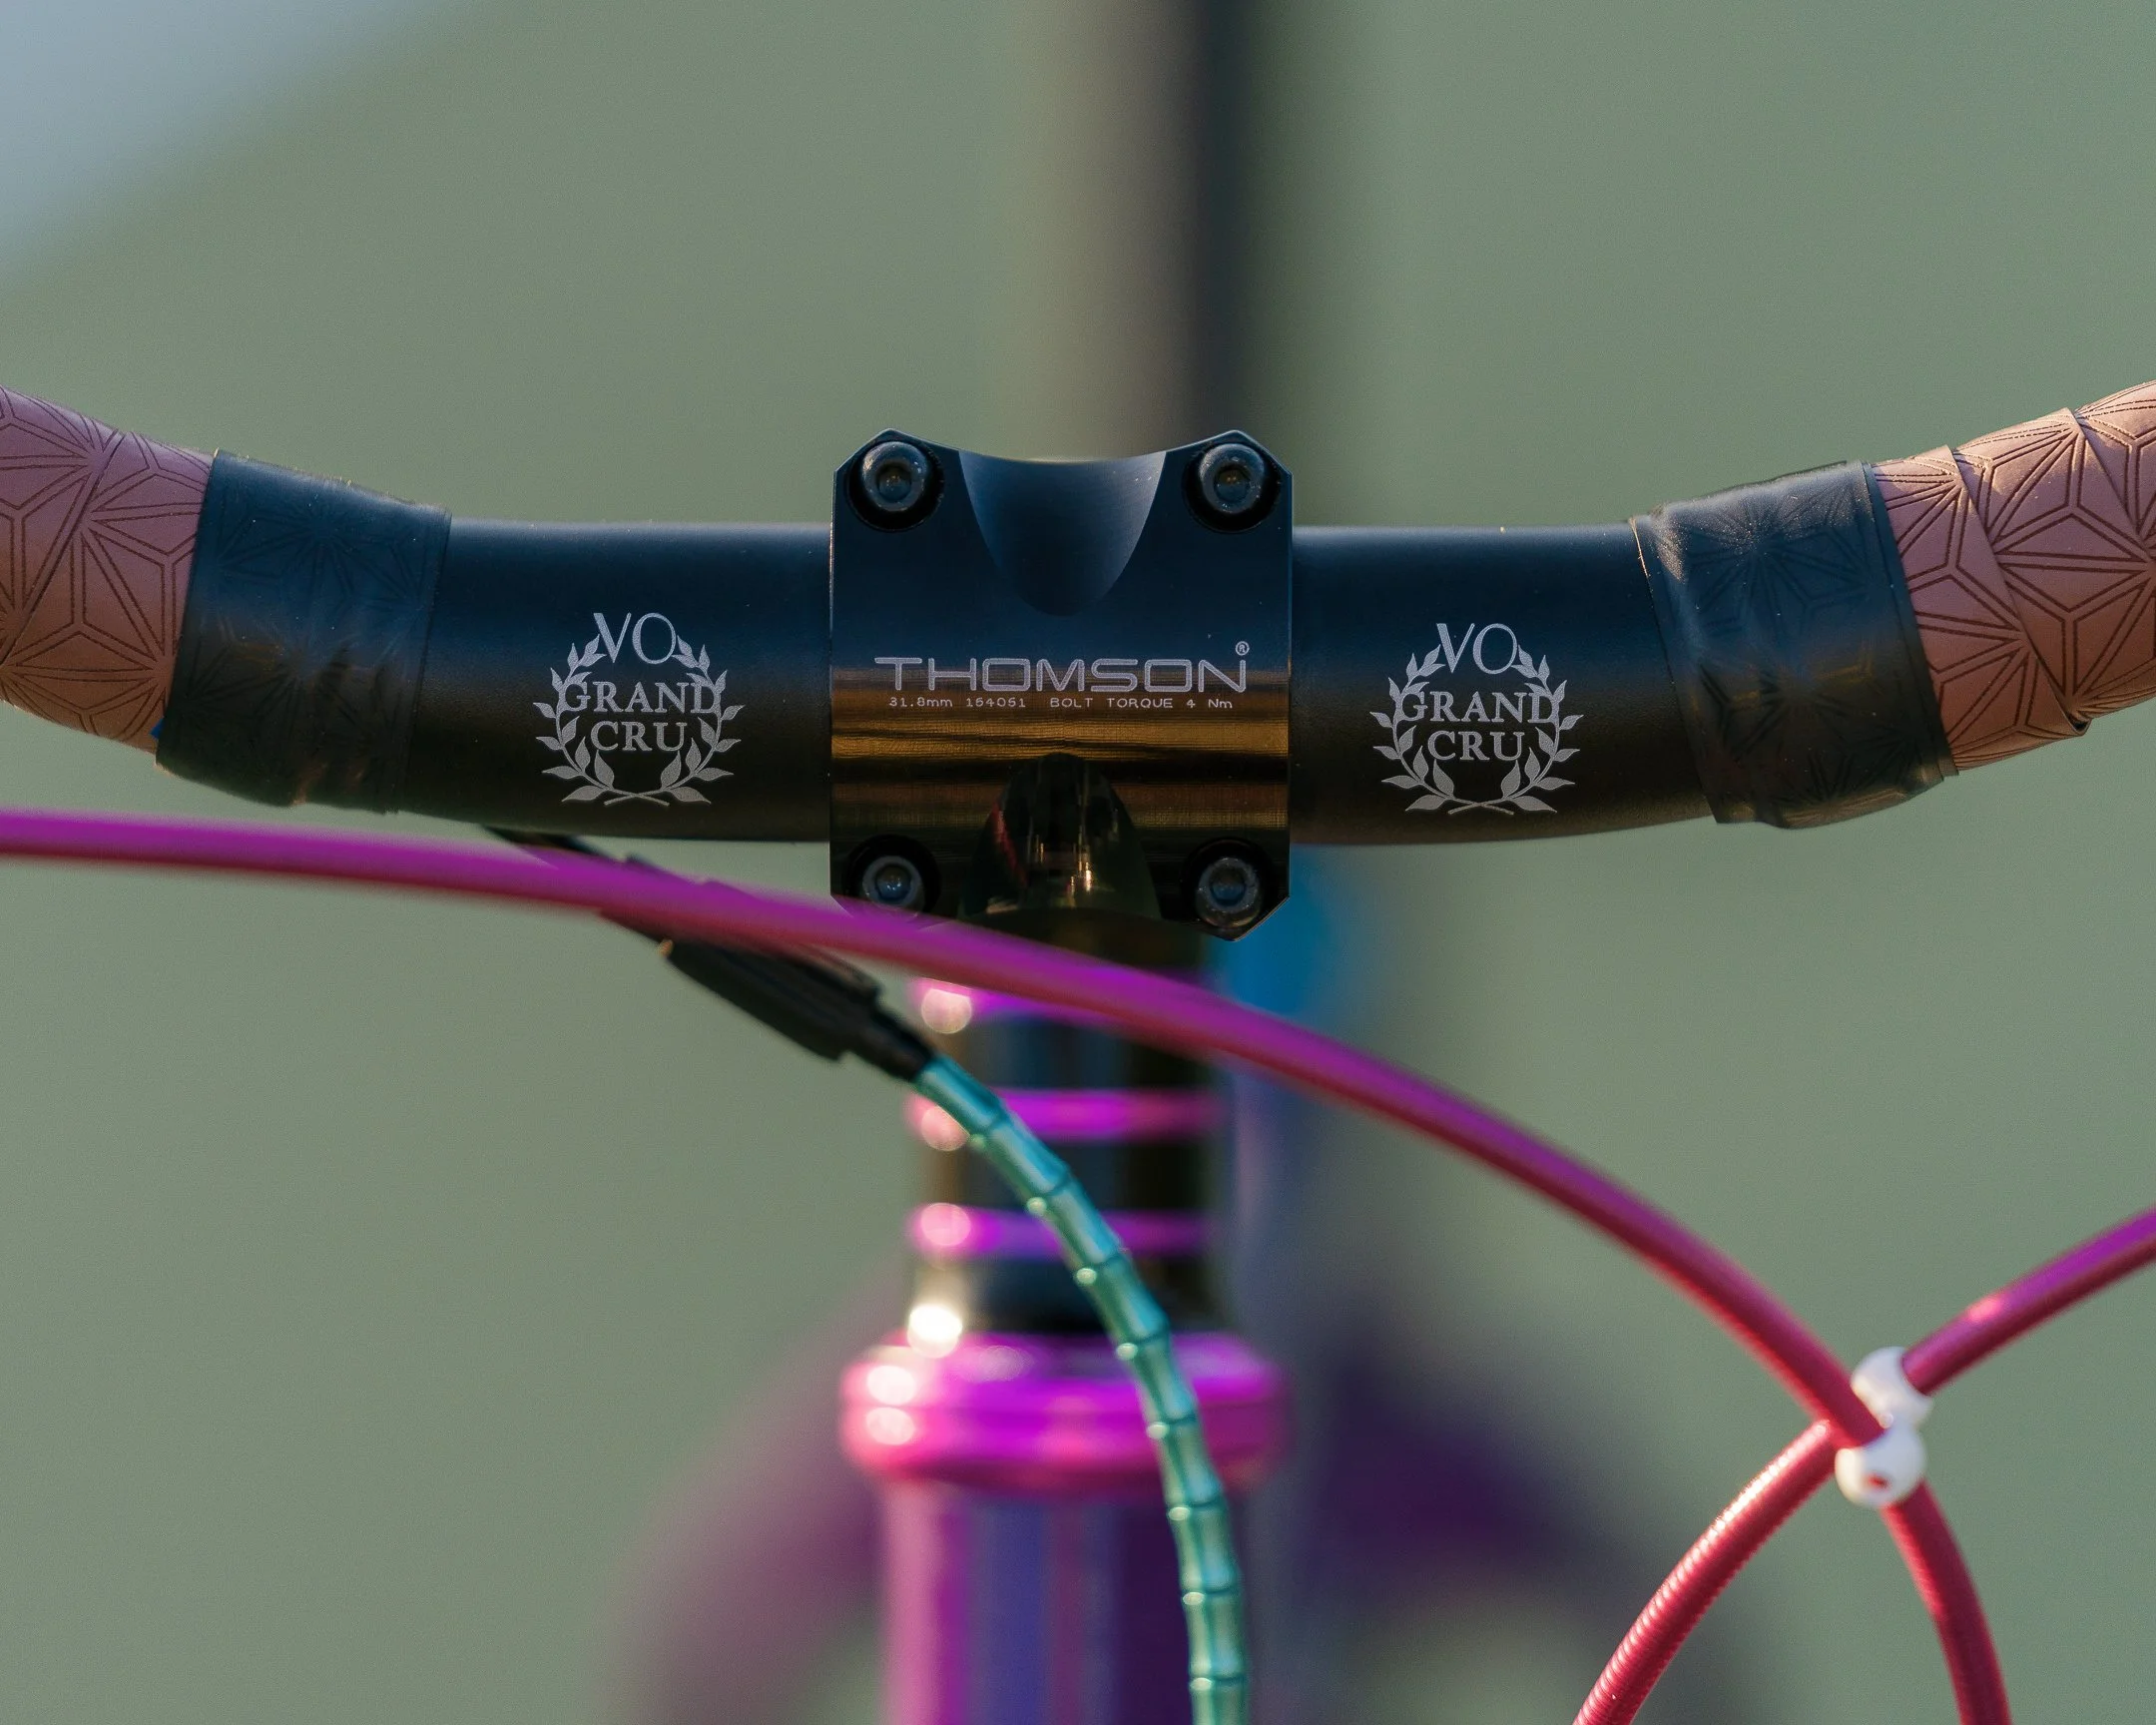
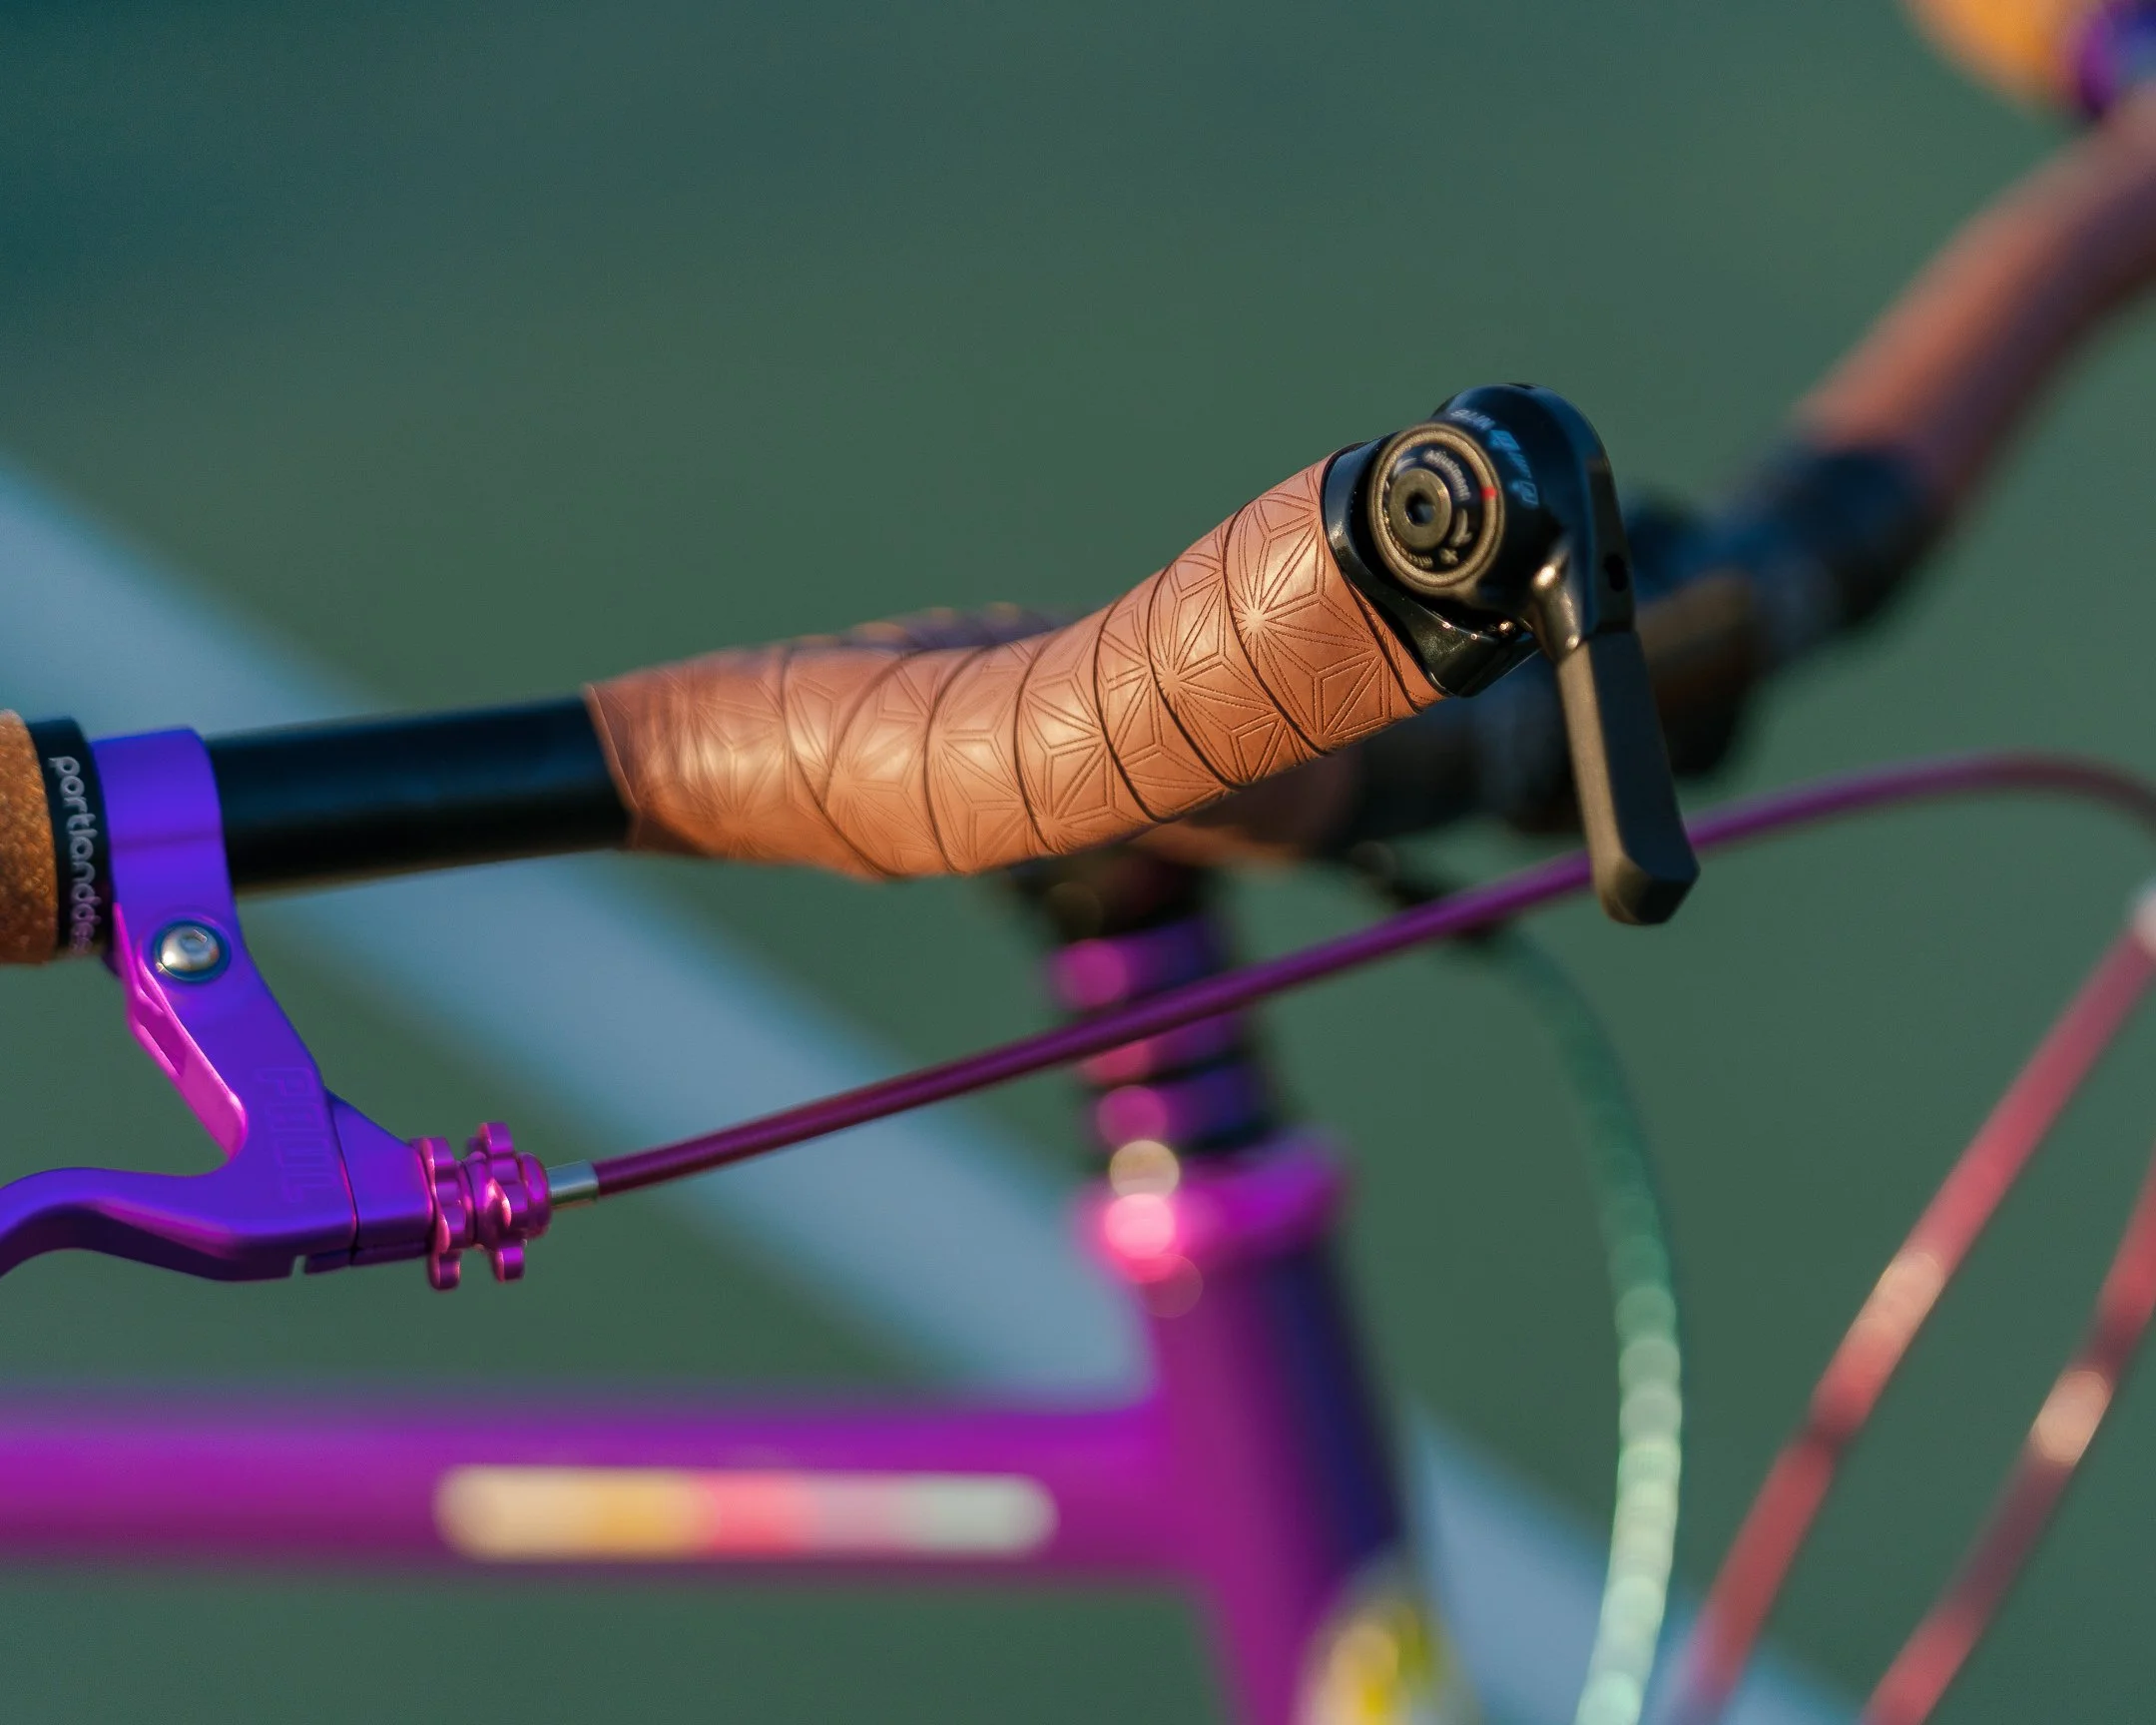
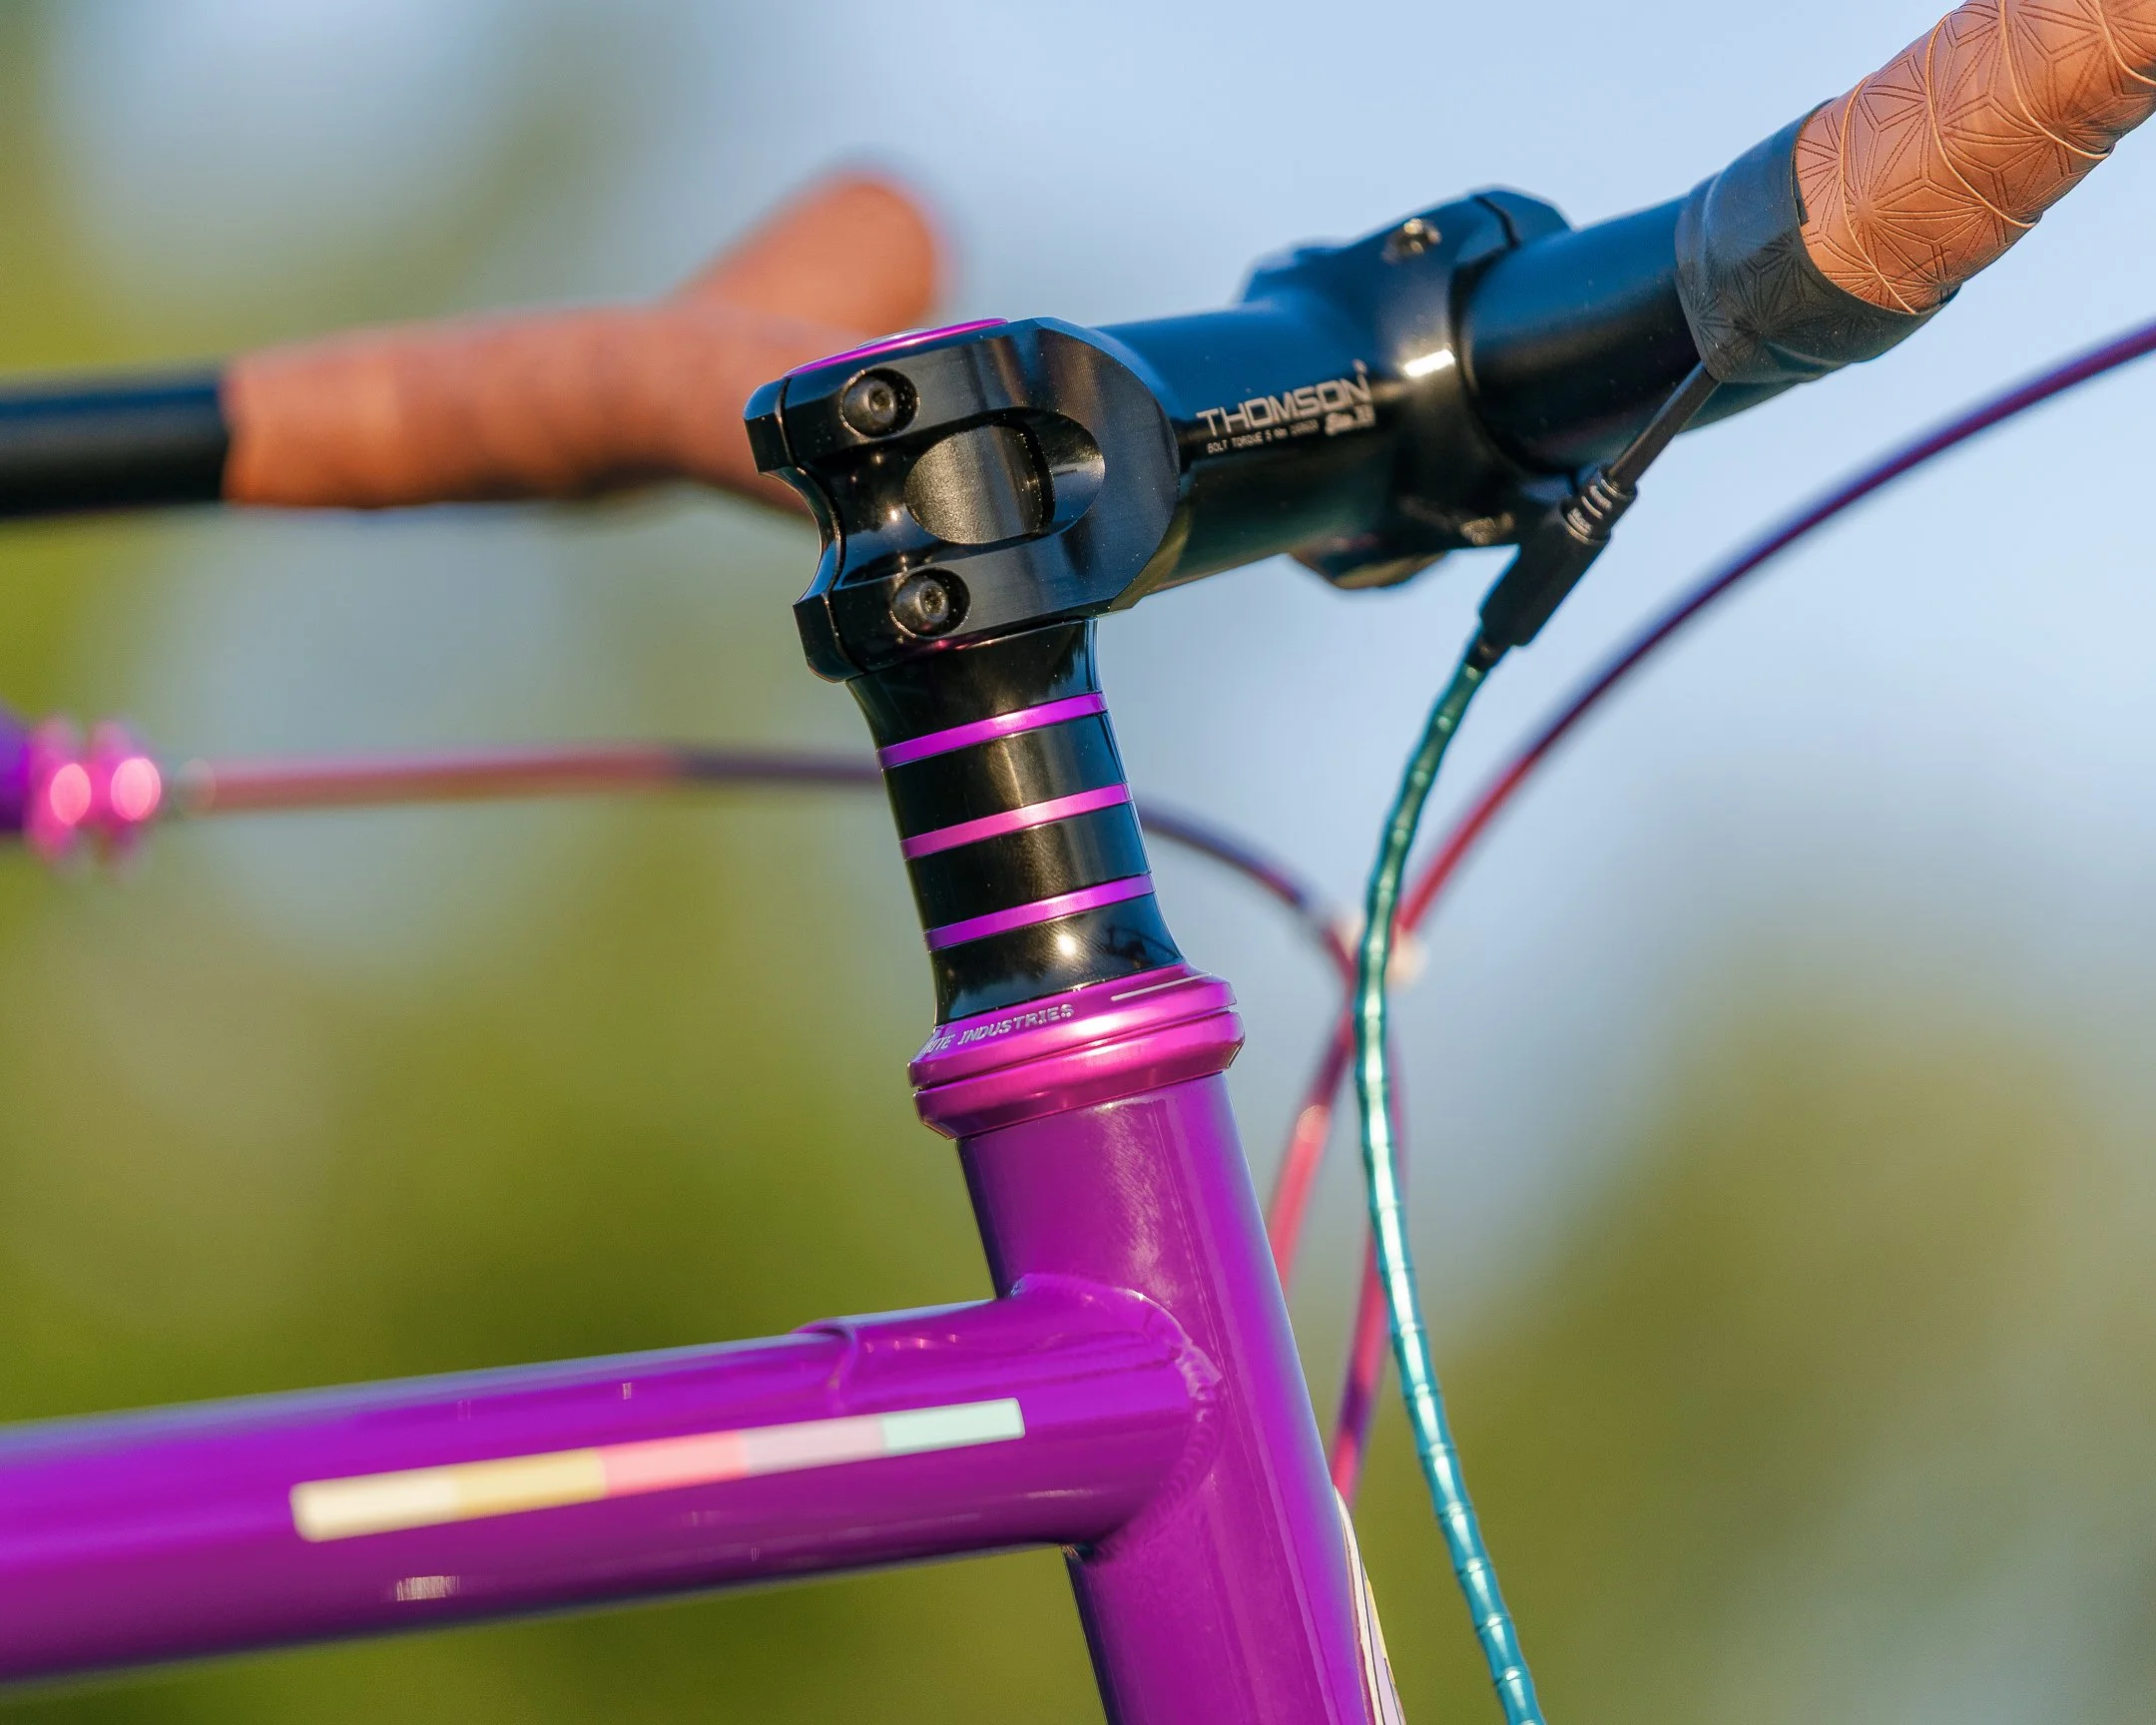
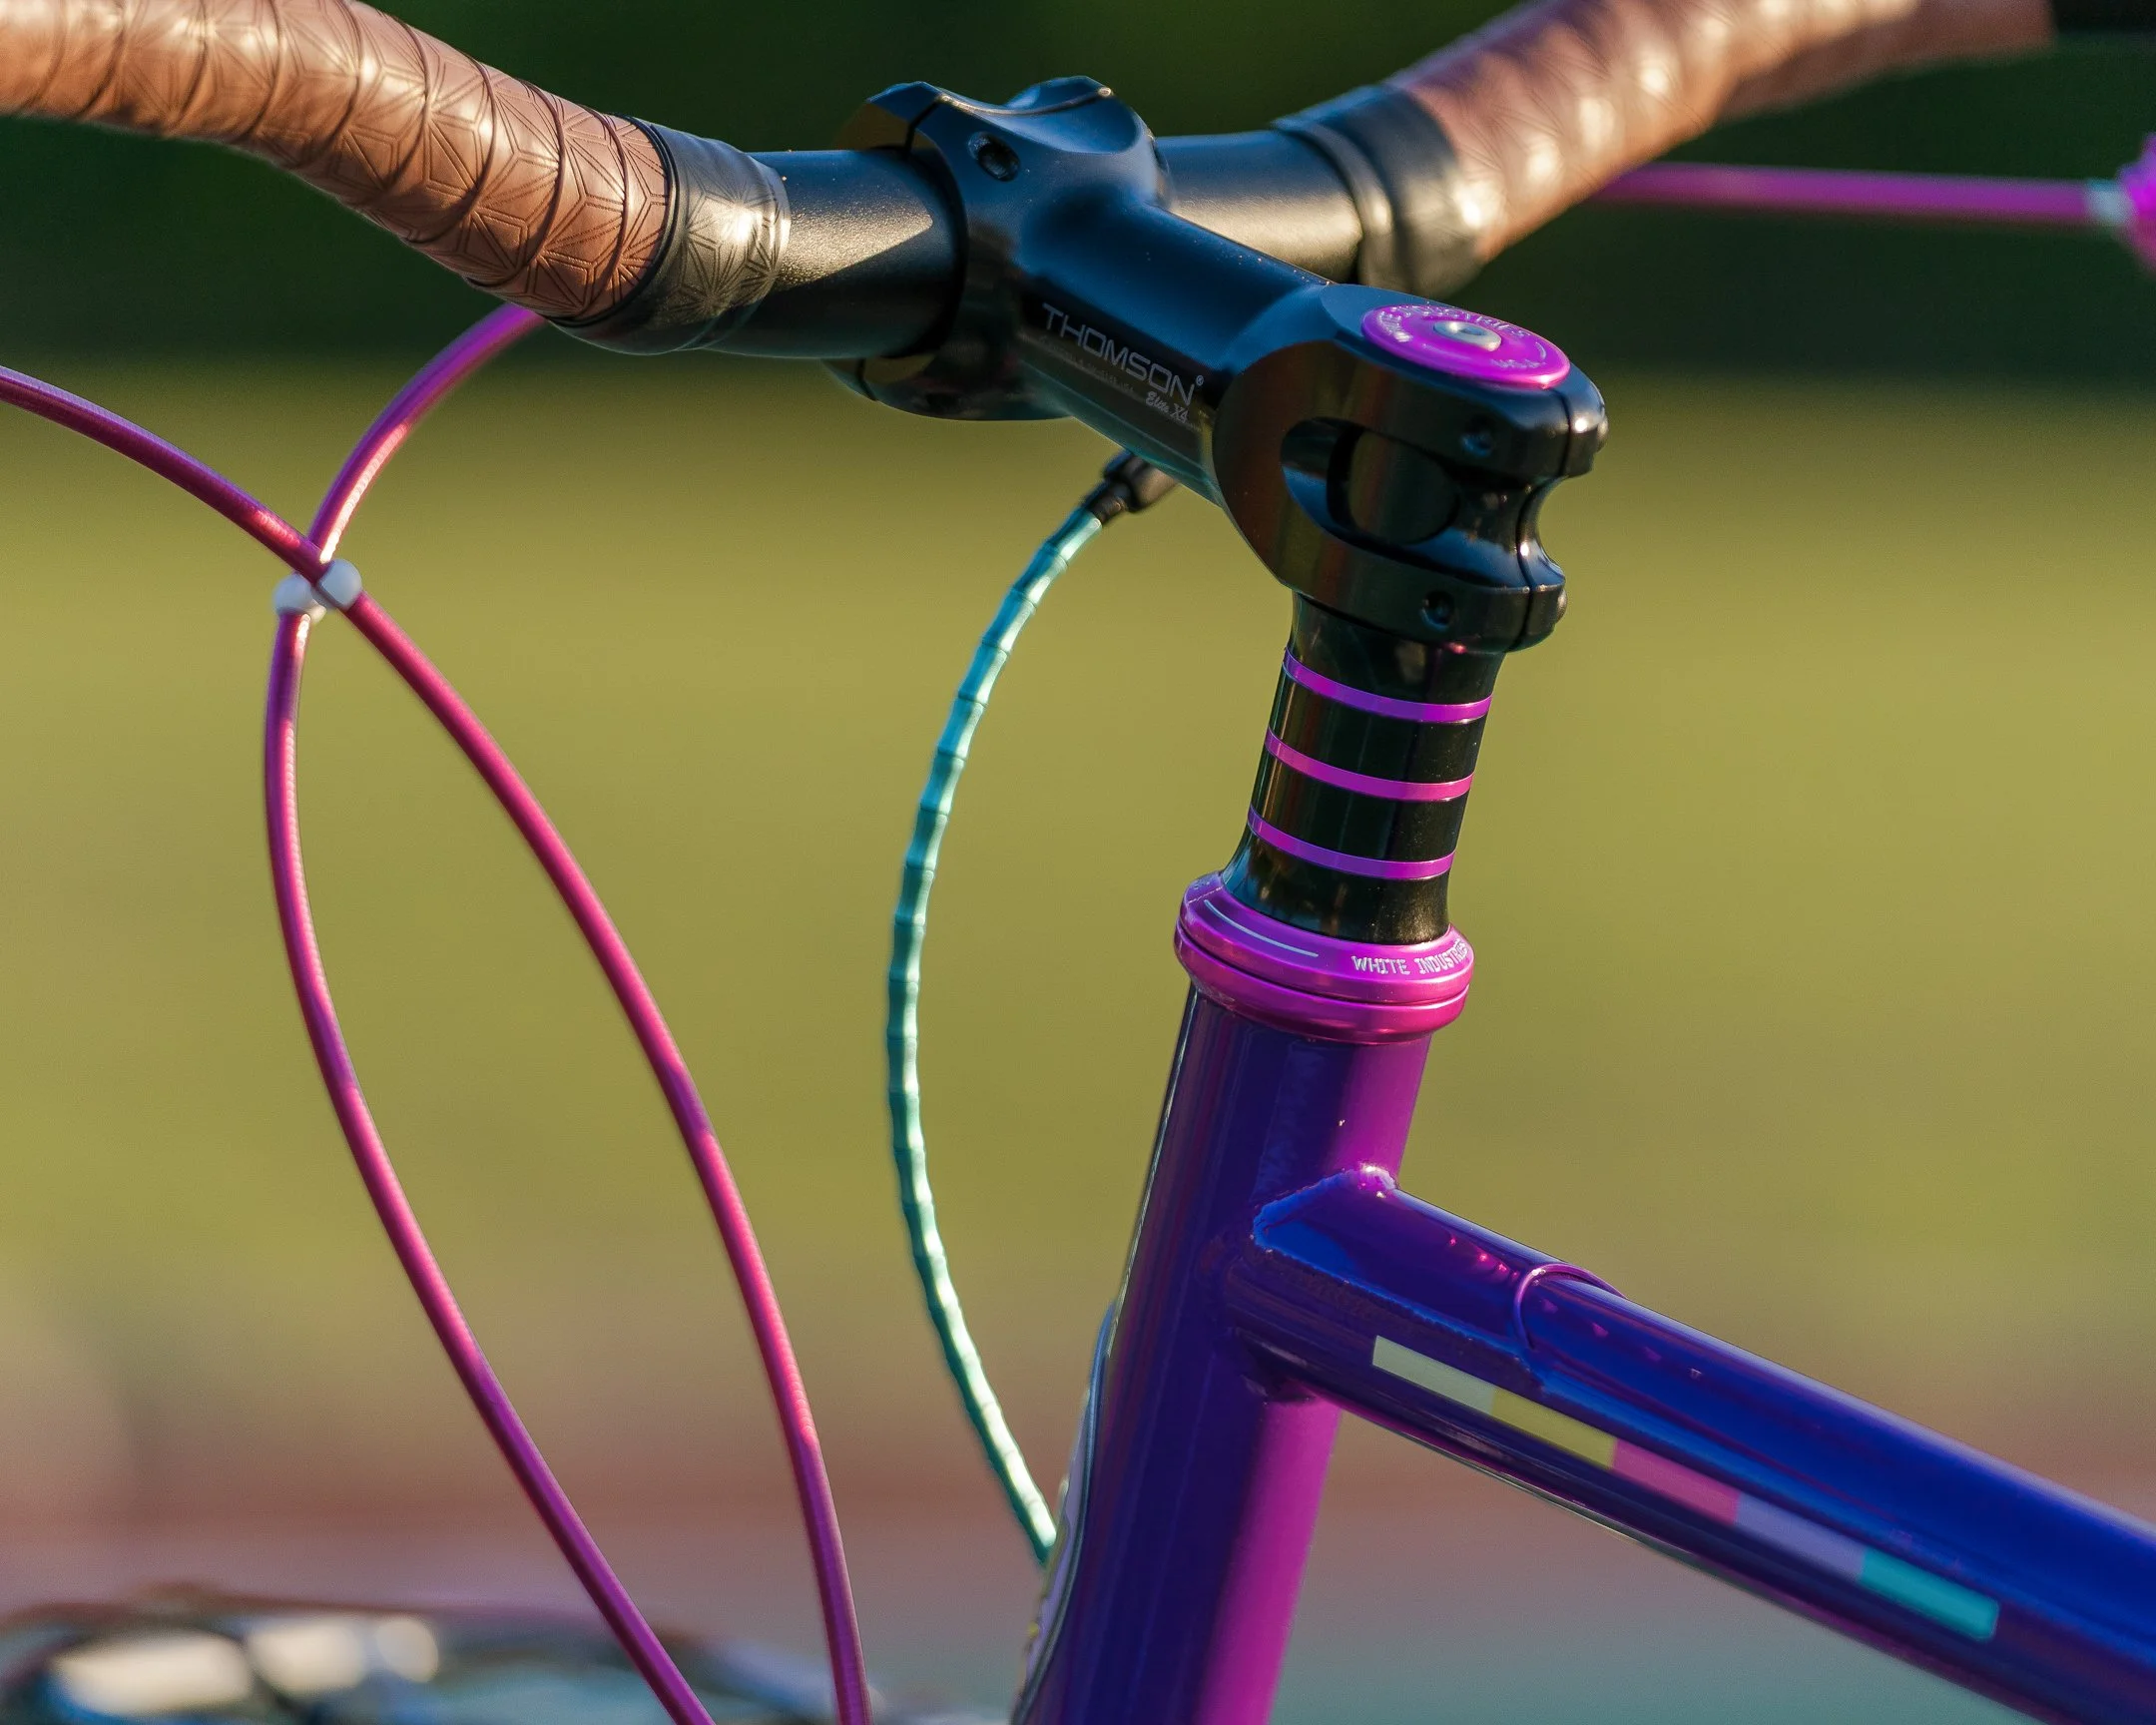
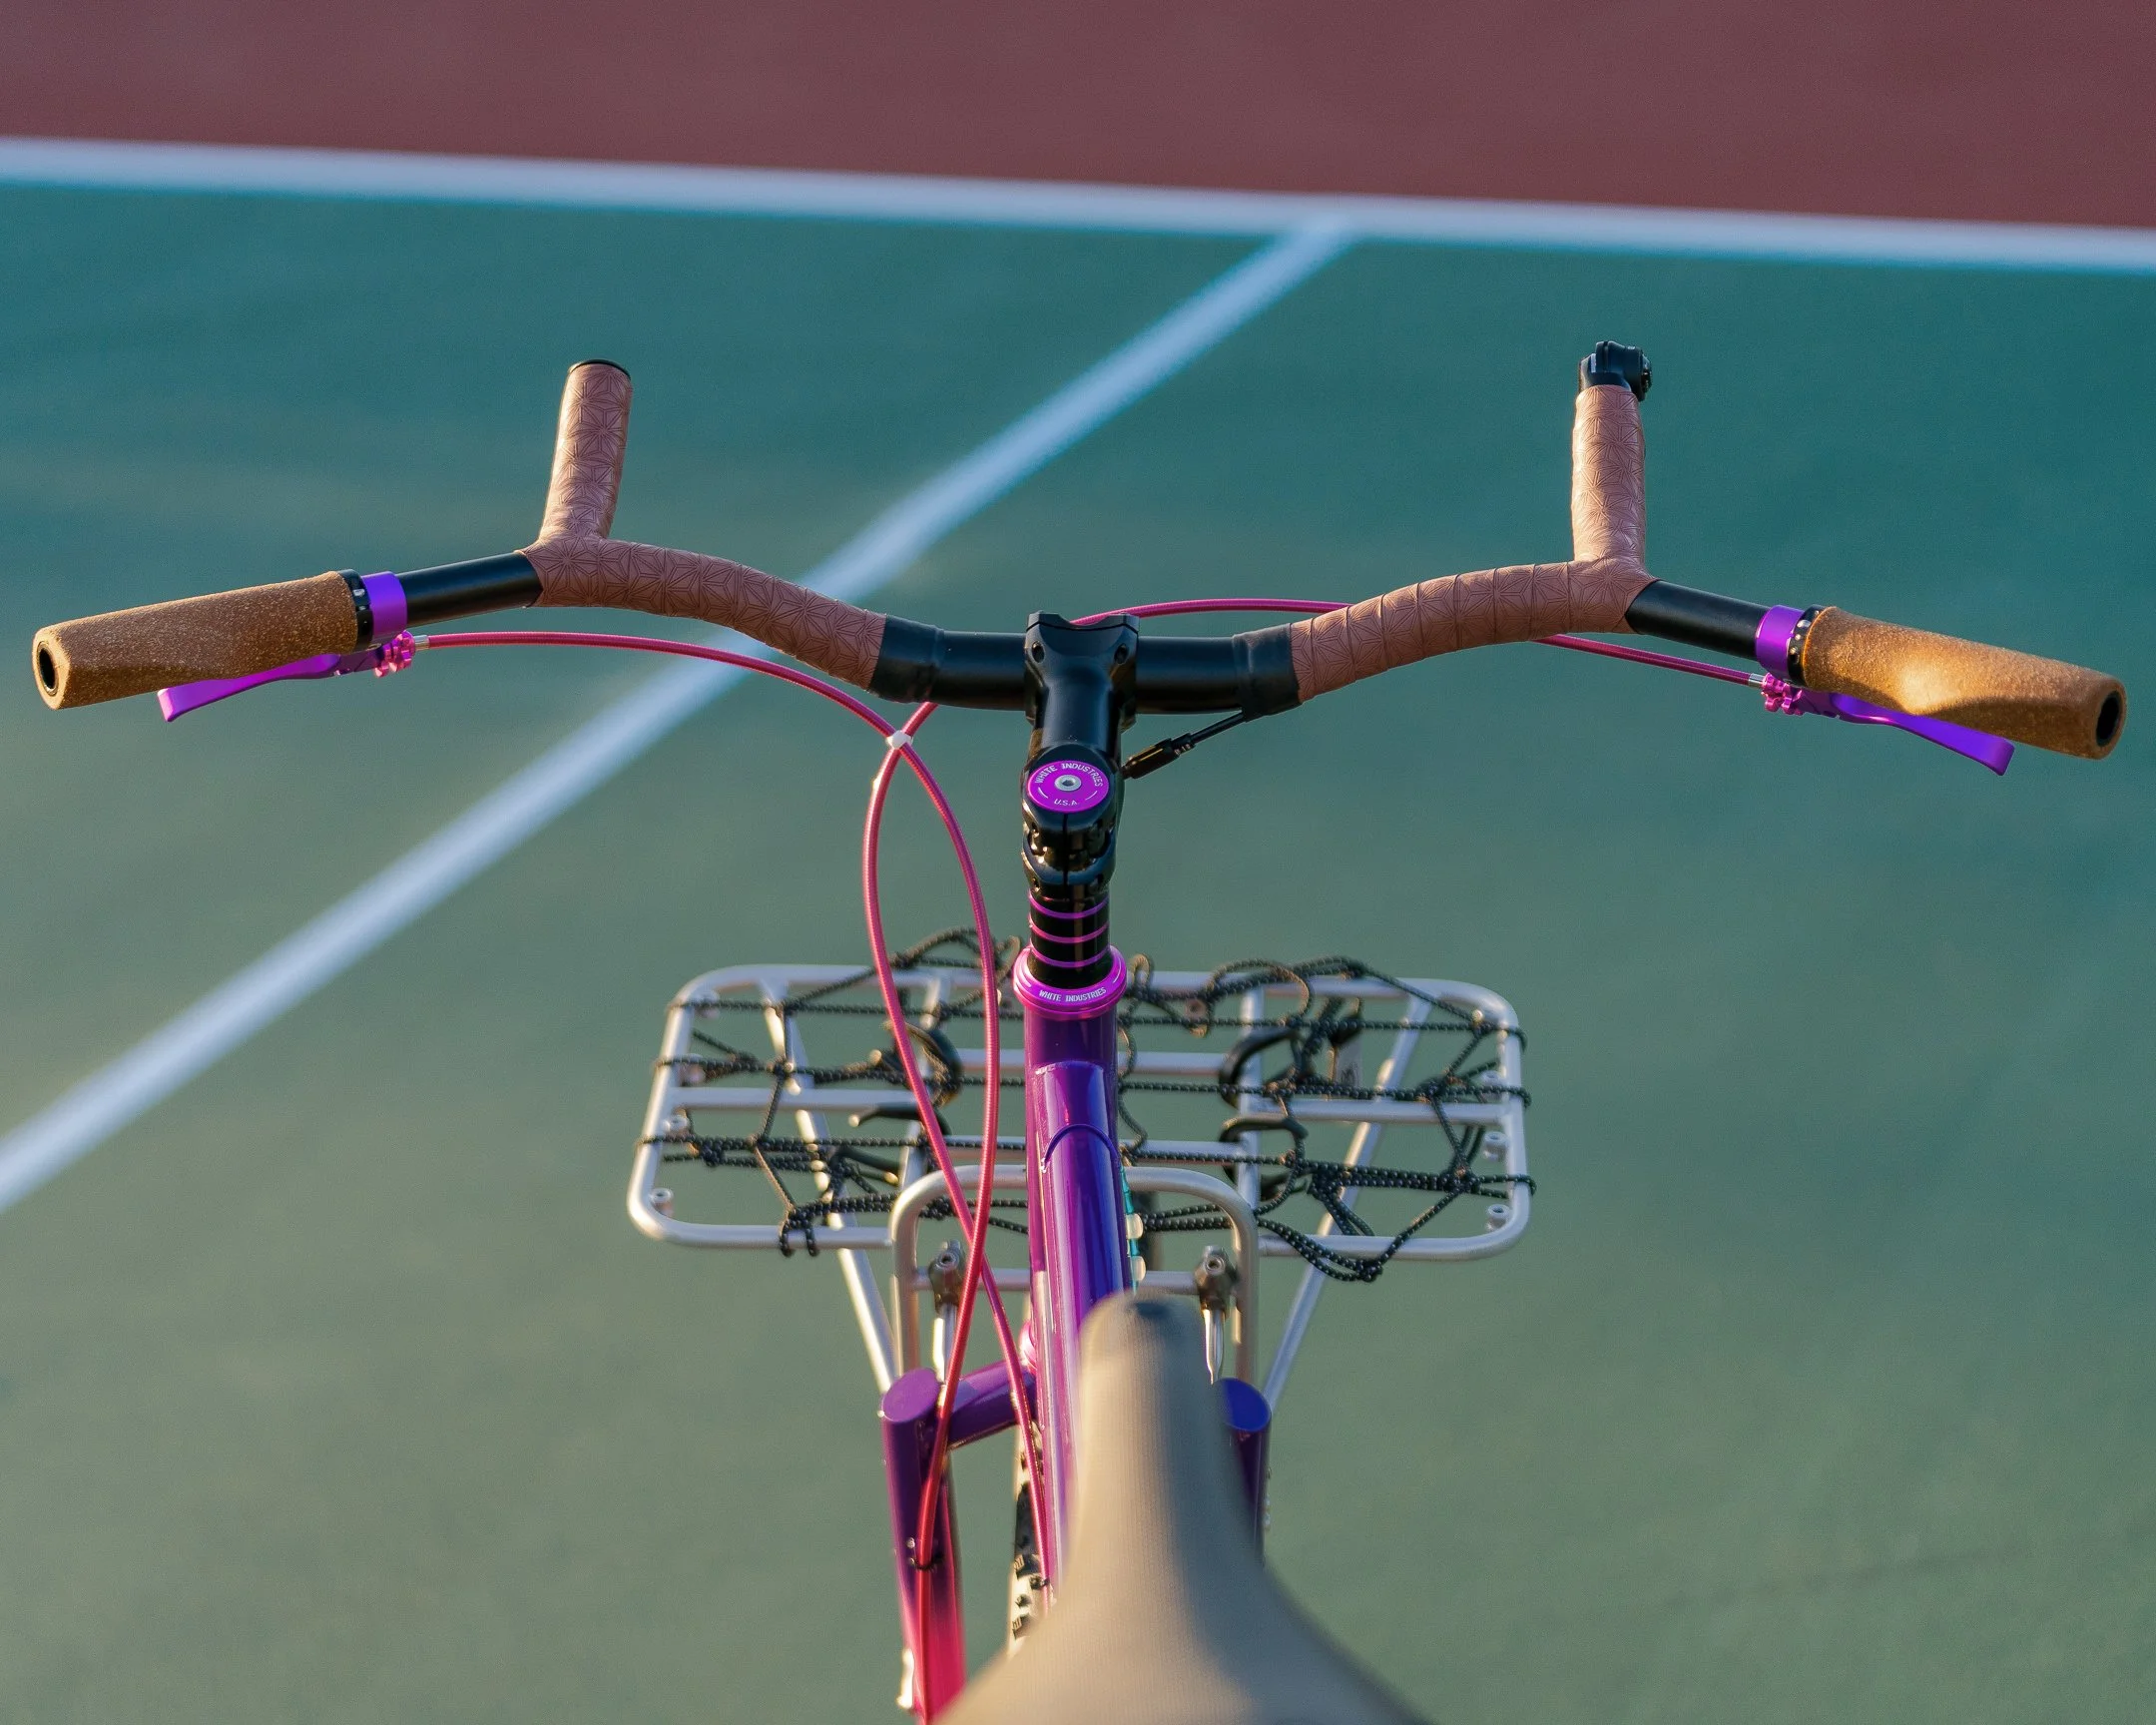
Handlebars: Velo Orange Crazy Bar
Brakes
Other

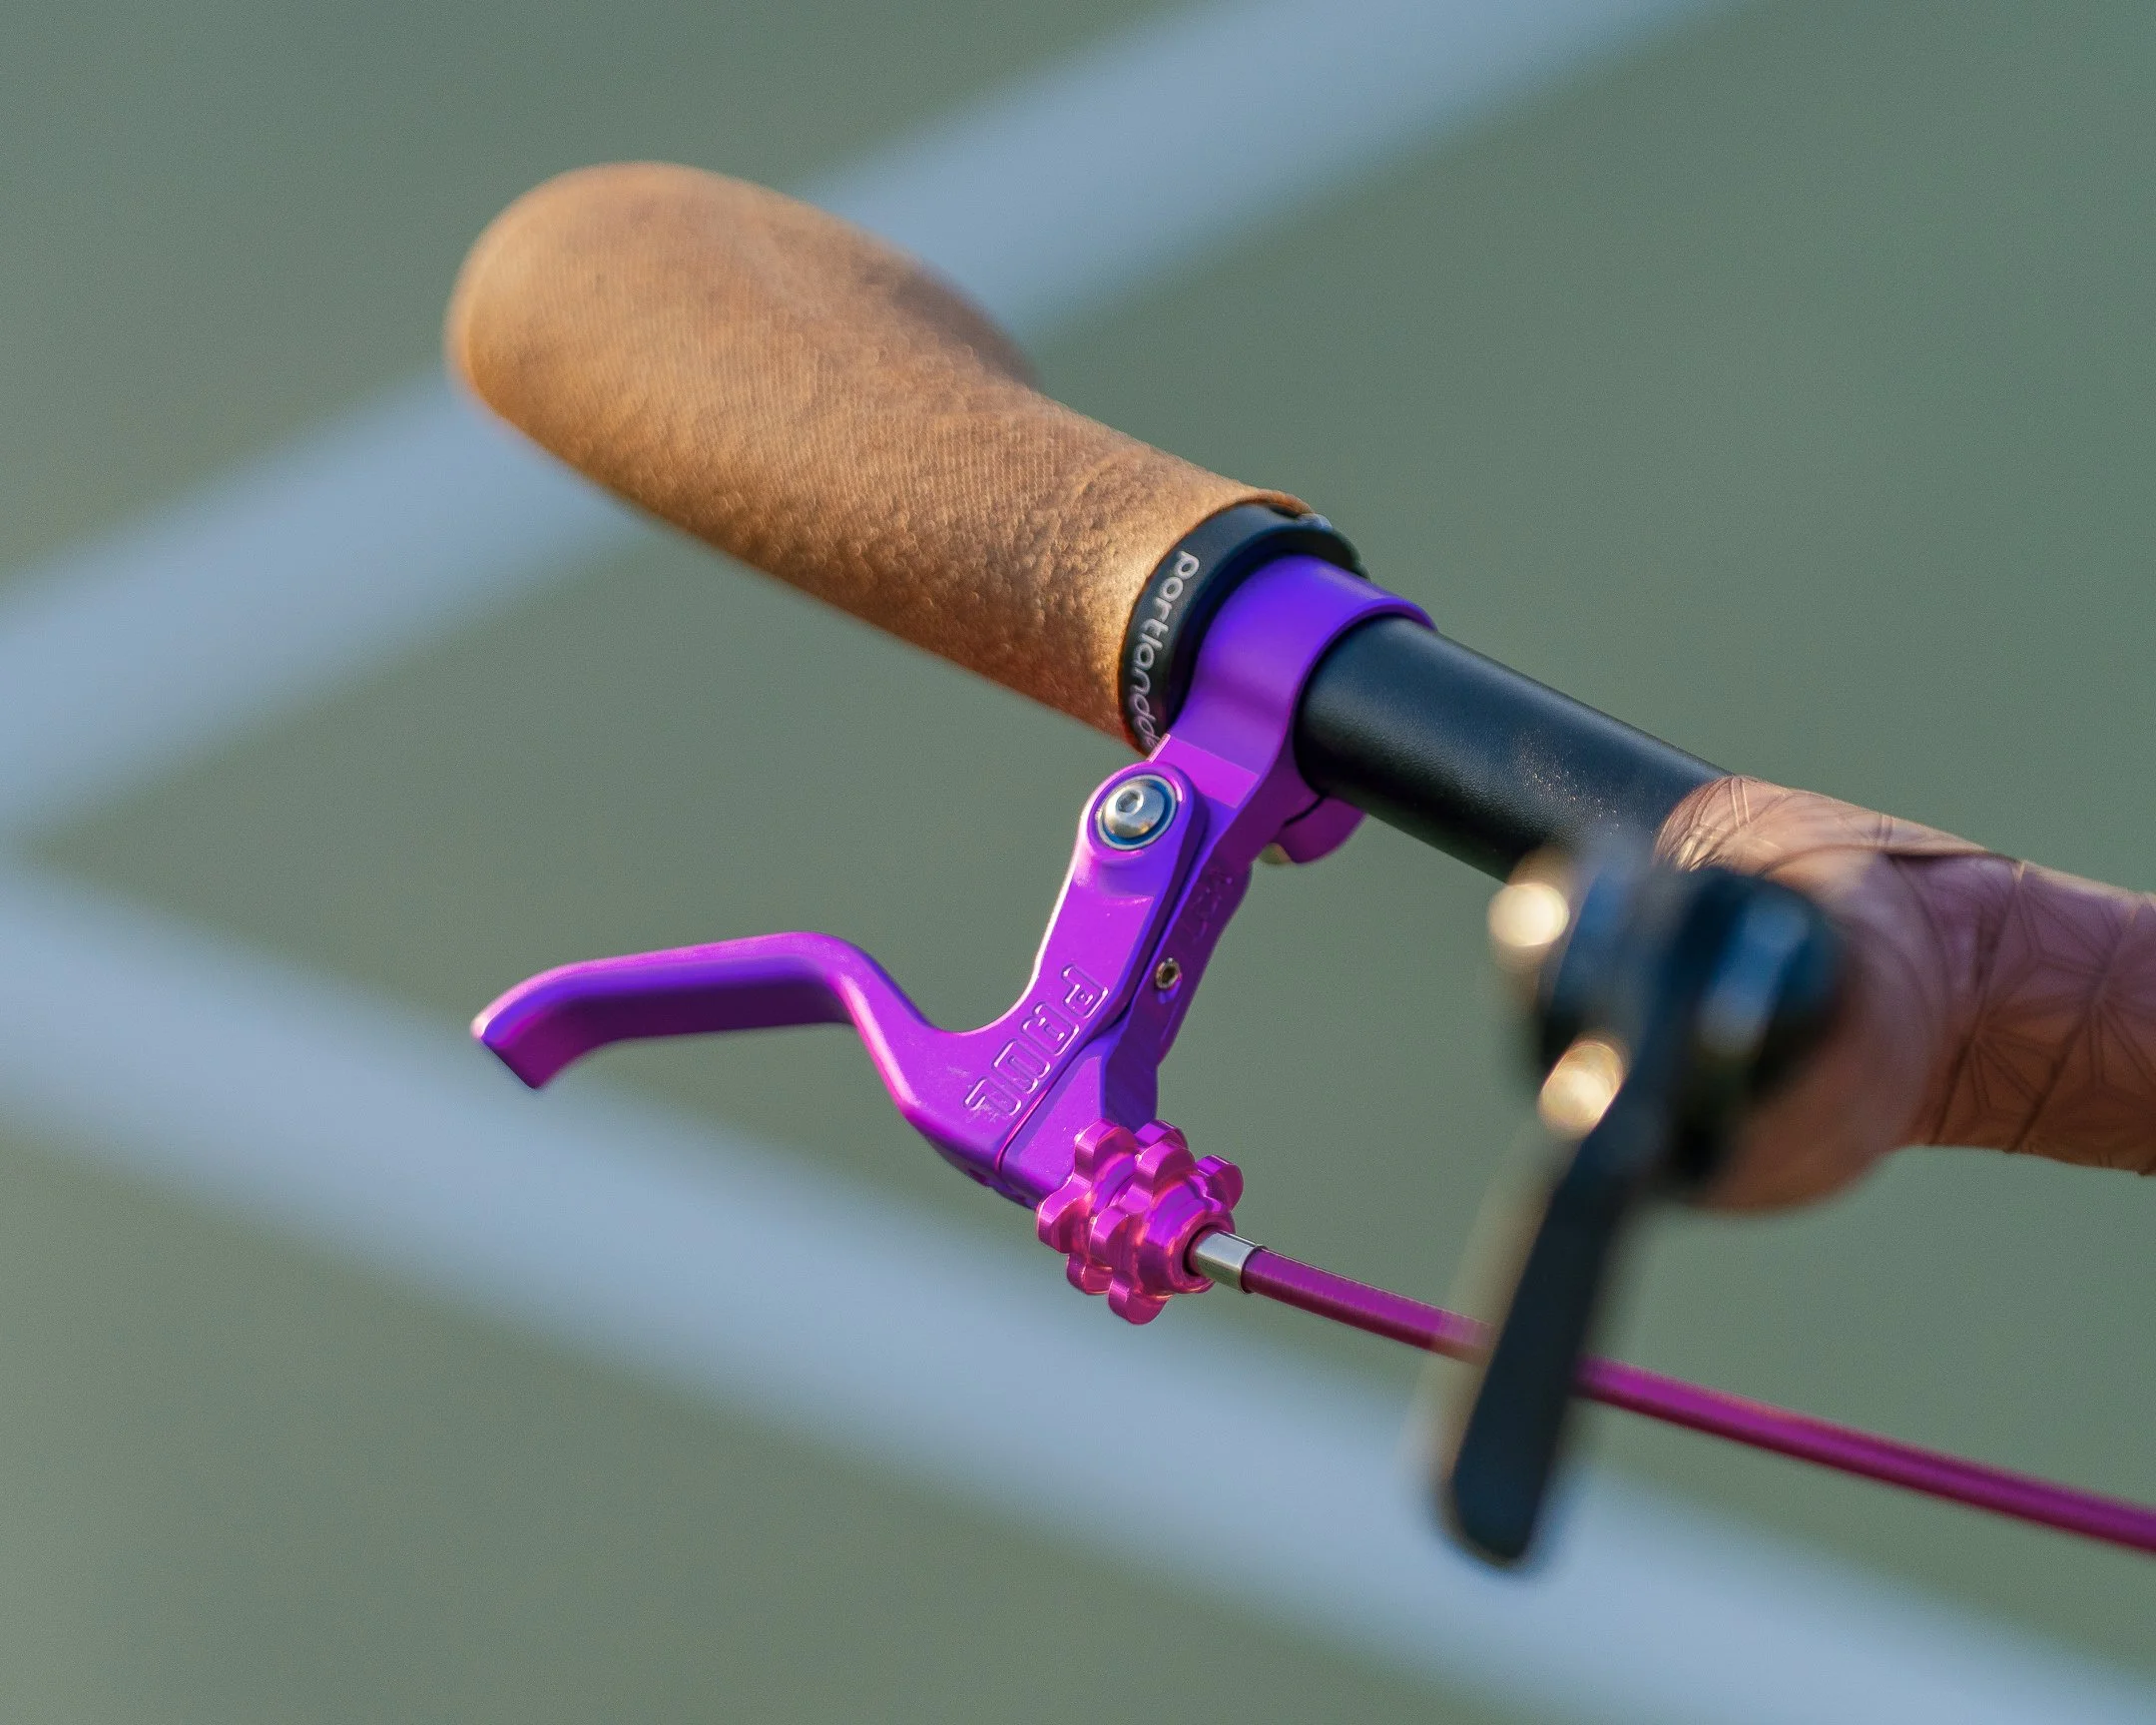
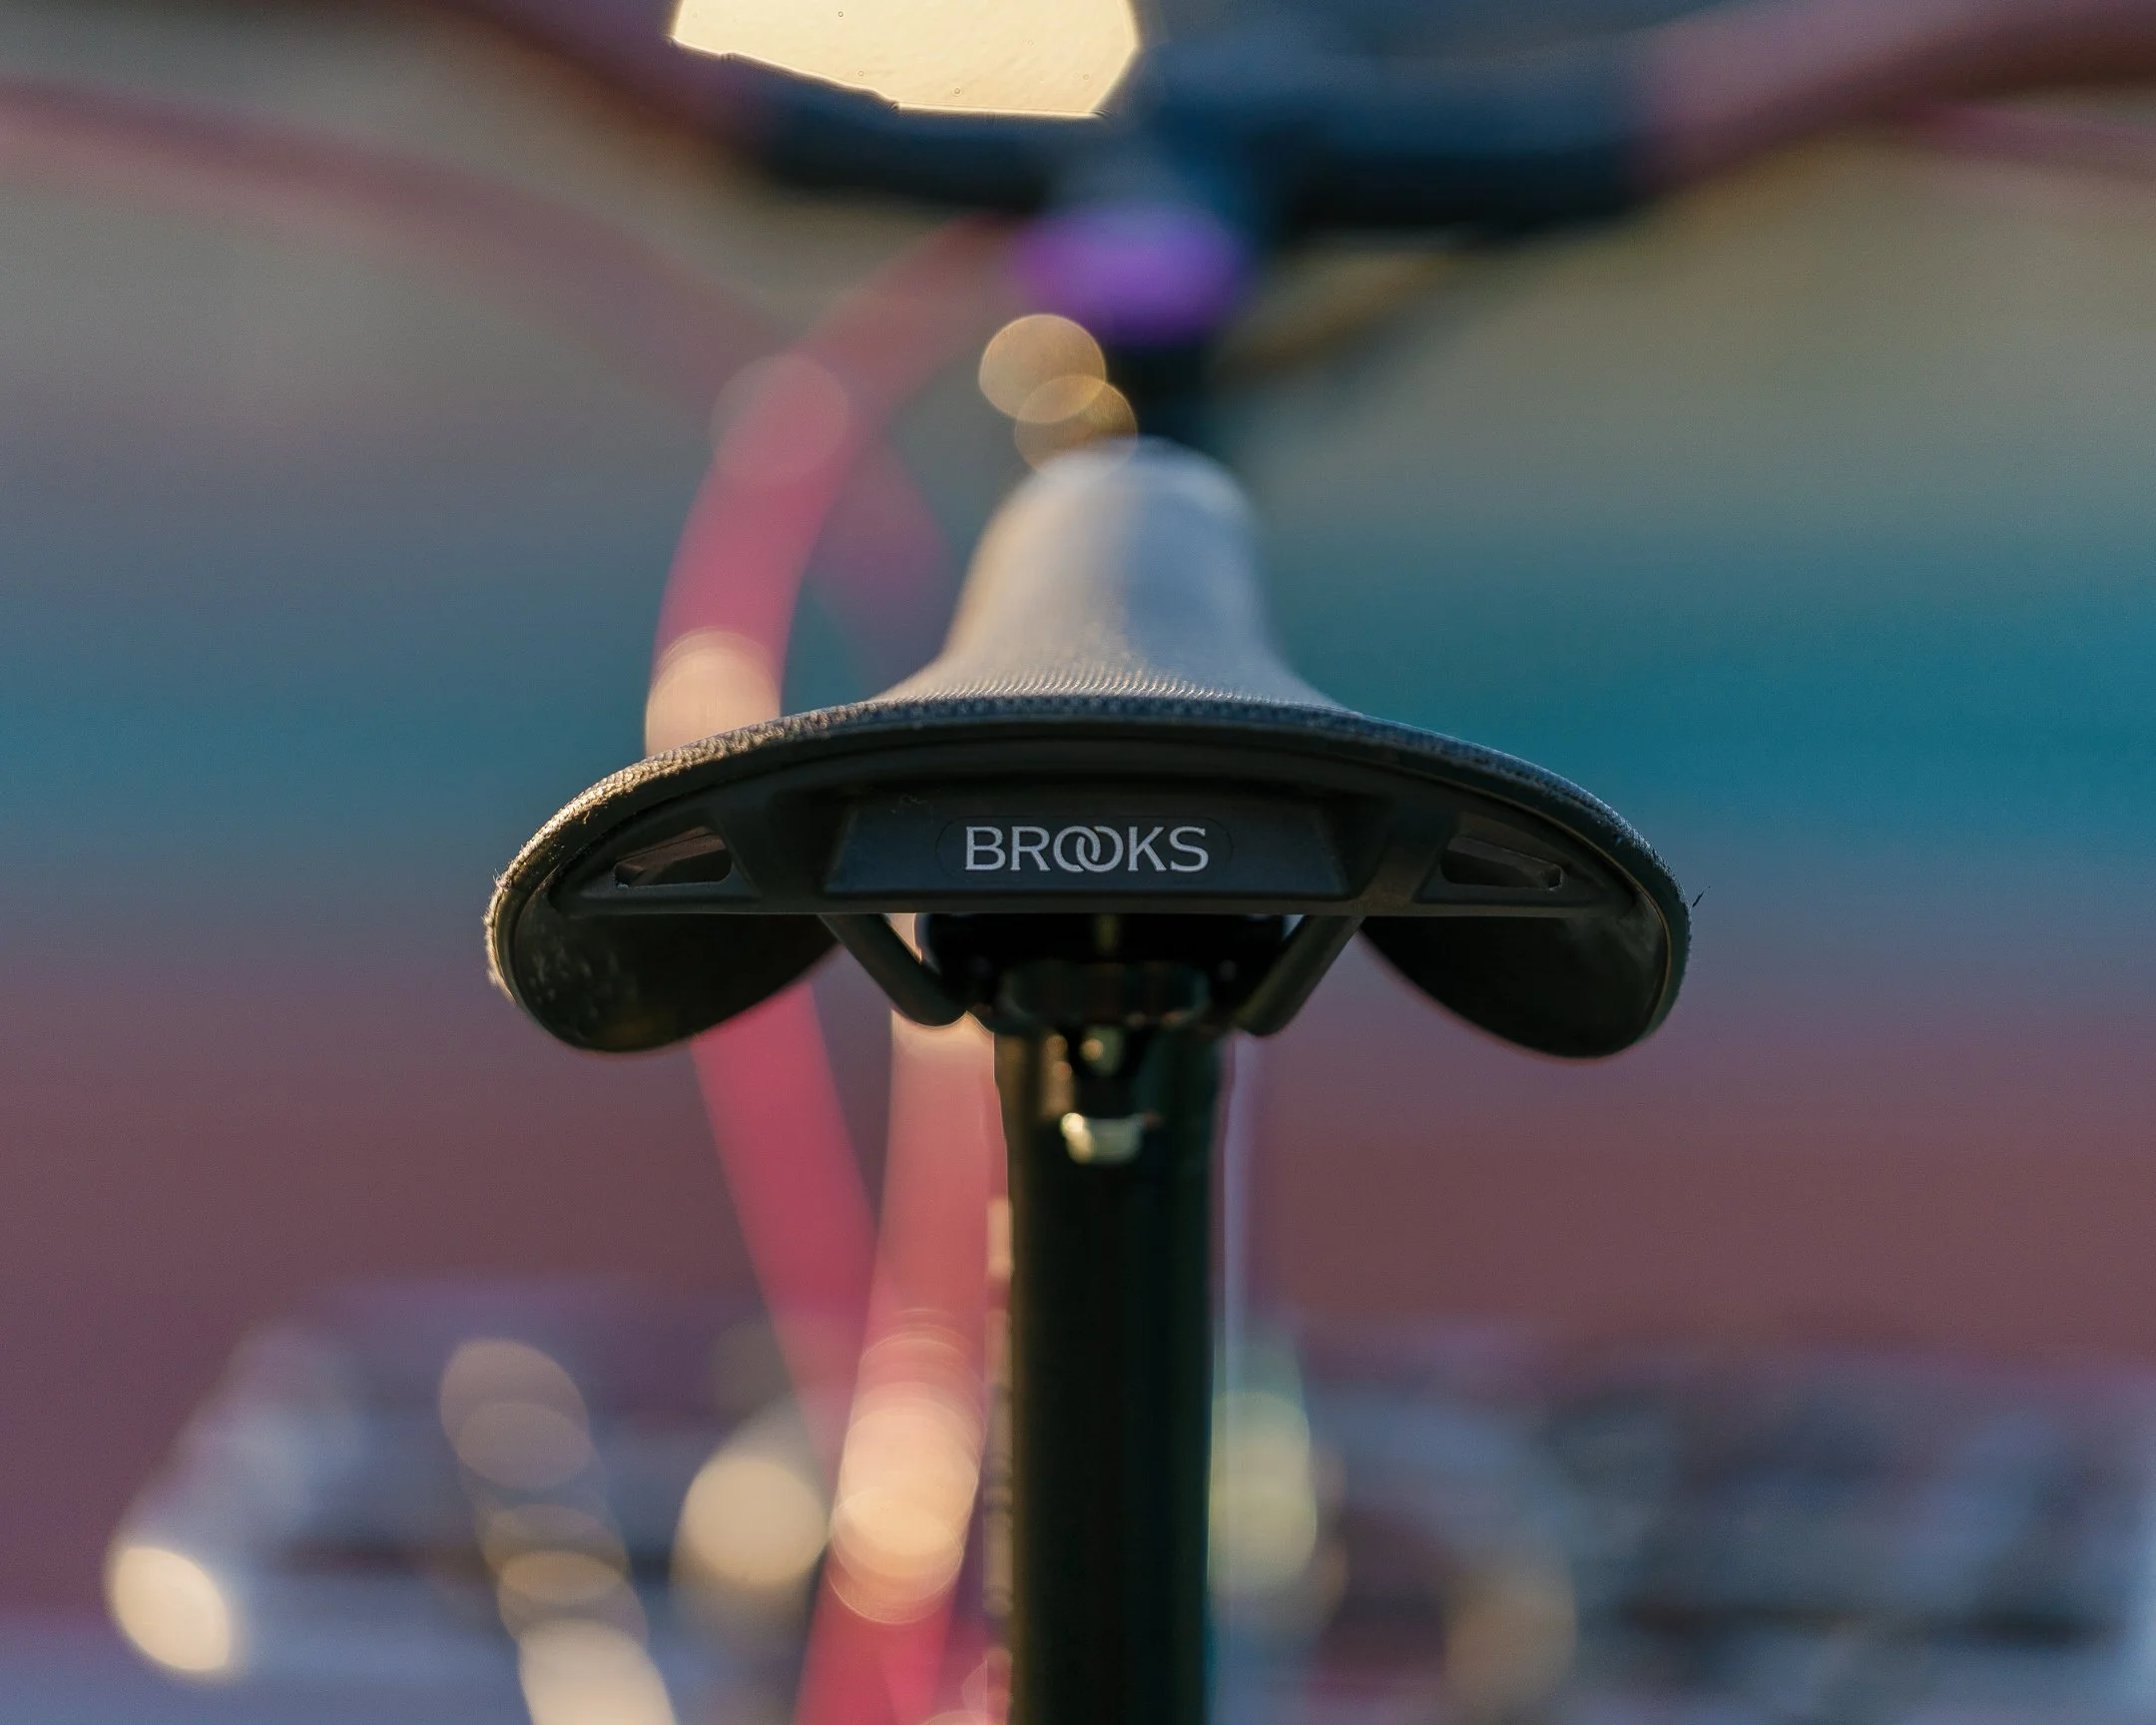
Paul Love Lever in Purple
Bike Haus Tampa (Huge Help on This Build)
I could not have pulled this off without Bike Haus Tampa.
Jorge over there walked me through pretty much everything:
Making sure parts were actually compatible (huge)
Talking through gearing options
Helping me not make dumb, expensive mistakes
And ultimately putting the whole thing together the right way
If you’re in Tampa and even thinking about building a bike, go talk to him. It makes the whole process way less overwhelming.
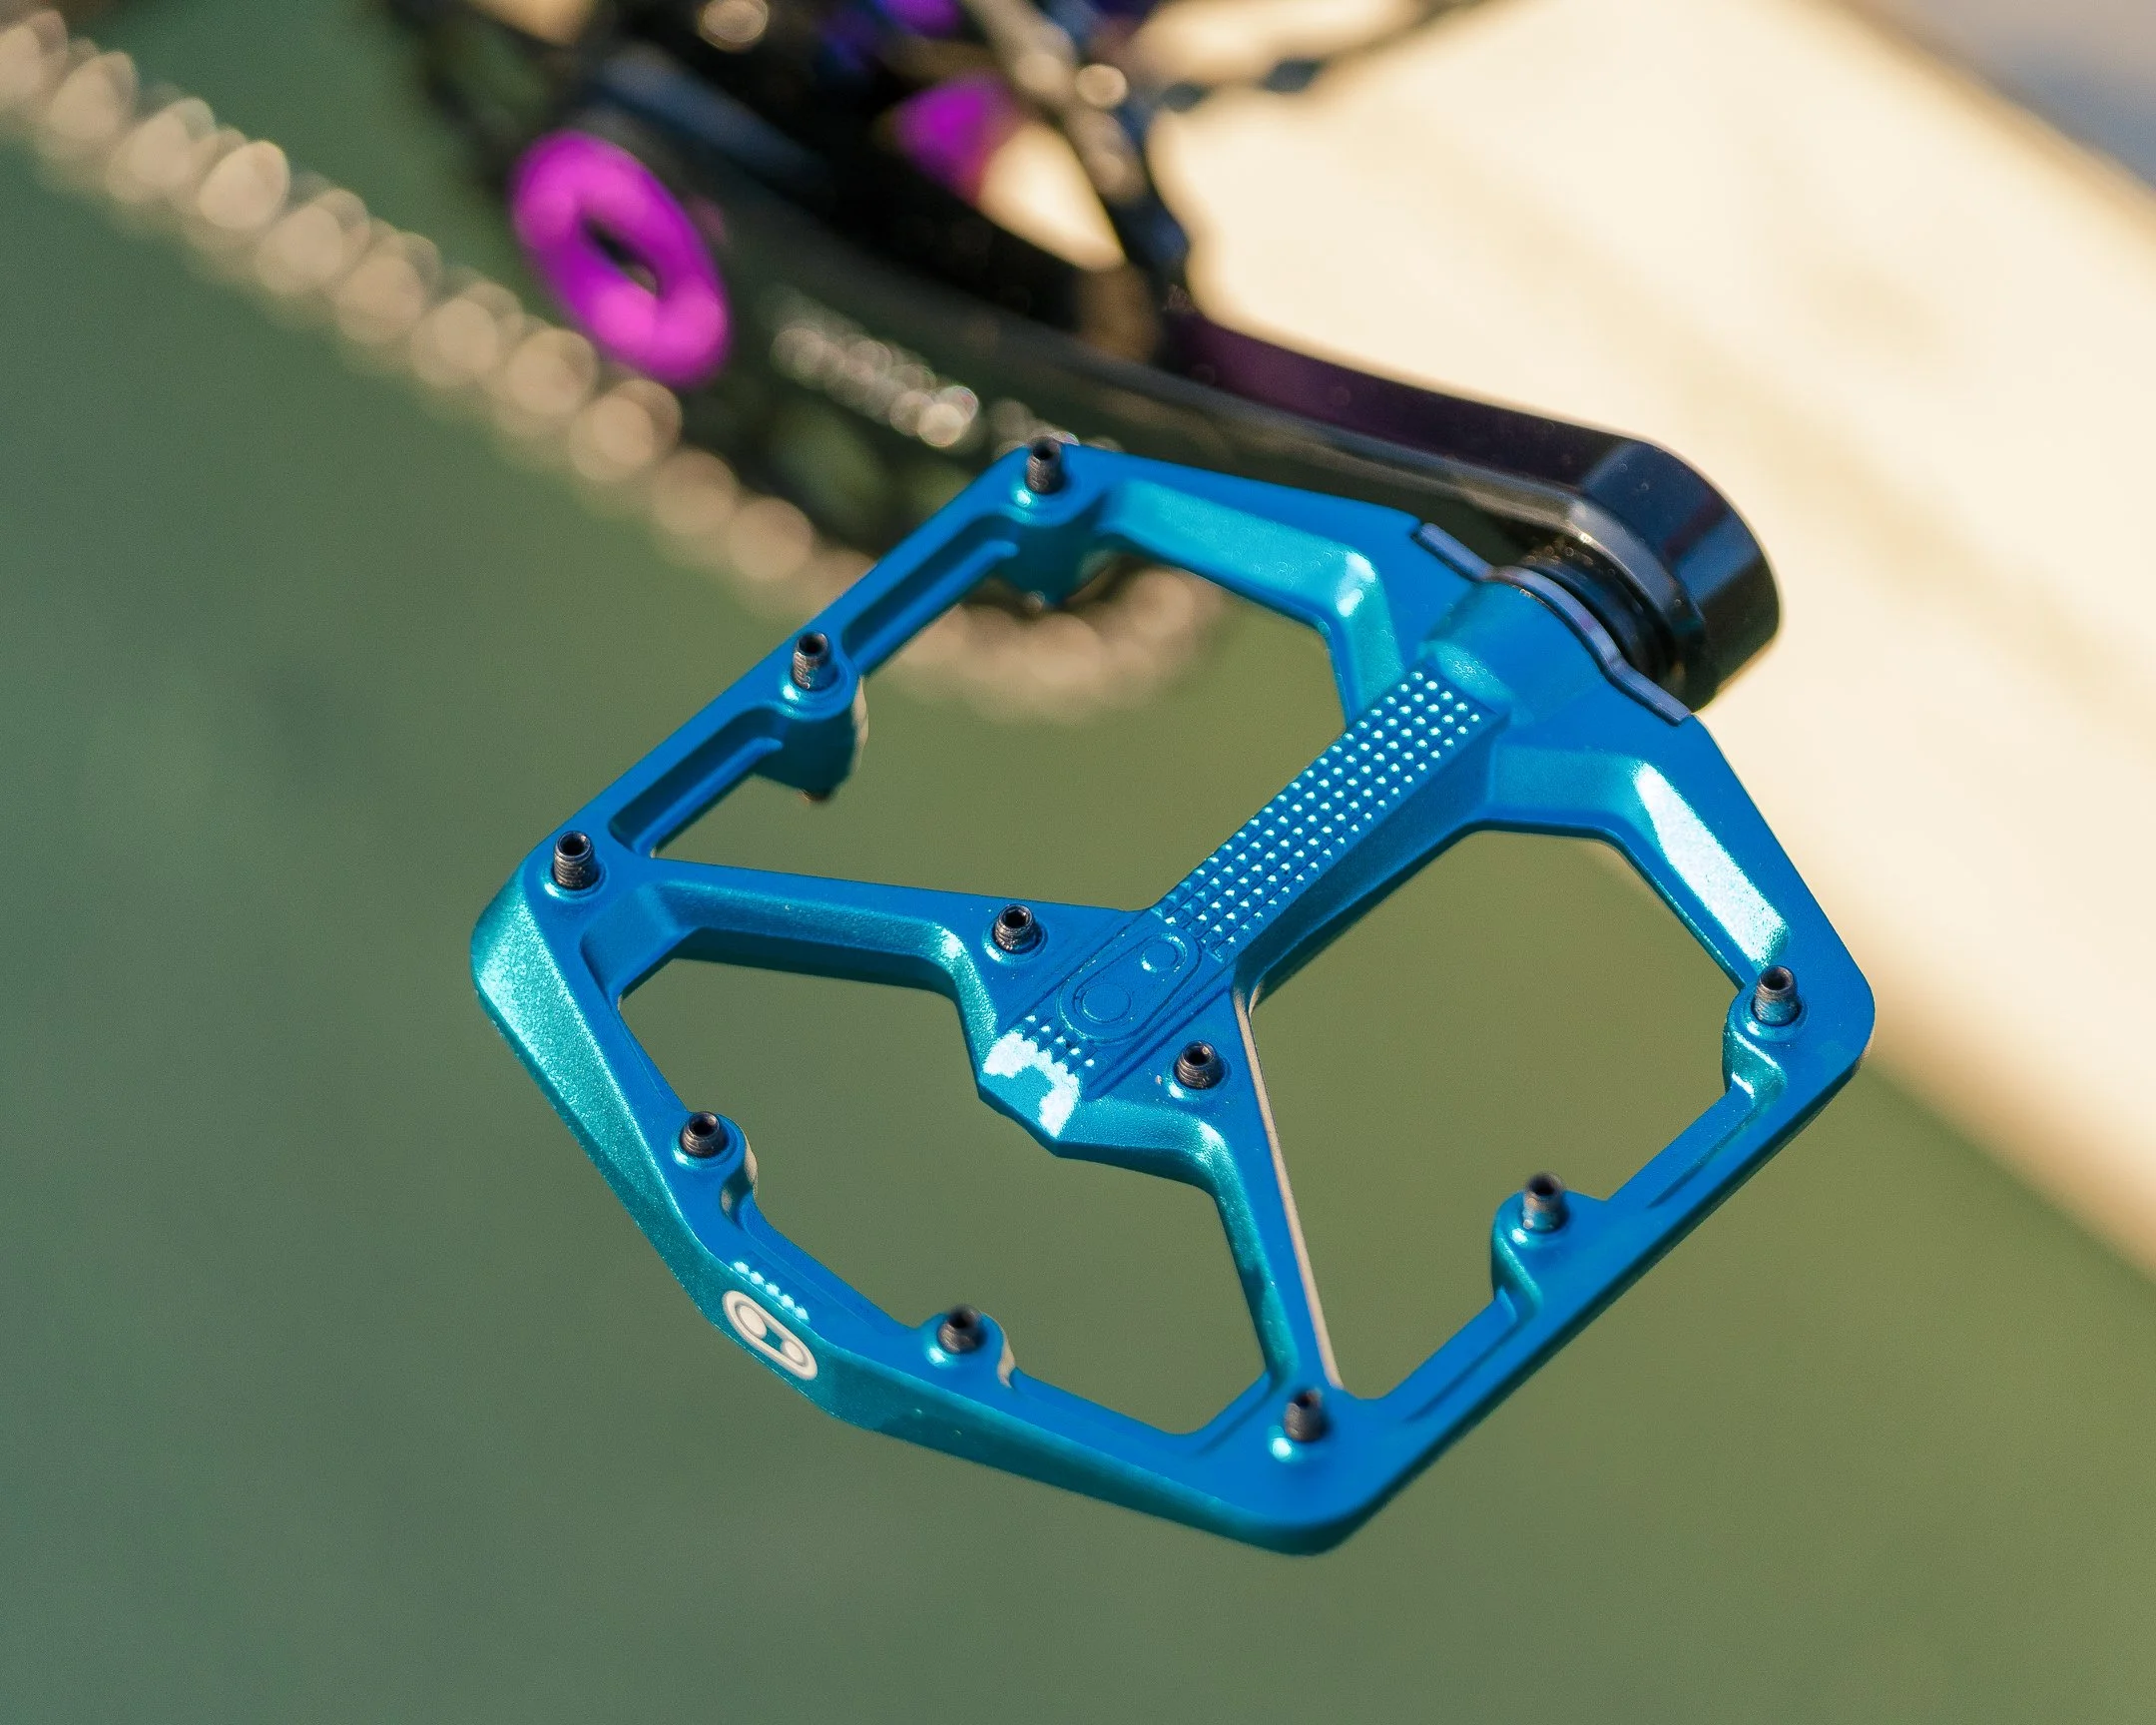
Crank Brothers Stamp 7 Pedal (Large)
What I Learned Building This Bike
1. Compatibility is everything
You can go down a serious rabbit hole trying to mix parts. Having someone like Jorge double check things saved me more than once.
2. Strong > light (for Tampa riding)
Between brick roads and rough pavement, I’d take durability all day.
3. Tire choice changes everything
This is probably the biggest feel difference on the bike. I put these tires on my Surly Ogre (my previous bike) and I was really happy with them. Smooth enough in the center to still feel fast, enough volume to help soften the blow of the many brick roads in my area.
4. It’s okay to not optimize everything
You don’t need the “perfect” build. You need something that makes you want to ride.

How It Rides (First Impressions)
Short version: it feels exactly how I wanted it to.
Stable but not slow
Comfortable on rough roads
Still fun on pavement
Just easy to ride
It’s the kind of bike where you go out for a quick ride and end up riding way longer than you planned.
If You’re Thinking About Building a Bike in Tampa
Do it.
But also:
Talk to someone who knows what they’re doing
Be realistic about how you actually ride
Don’t overcomplicate it
And if you’re local, seriously, go see Jorge at Bike Haus Tampa.
Final Thoughts
This build took a minute to come together, but it was worth it.
It’s one of those things where the process is part of the fun, and now I’ve got a bike that feels like mine every time I ride it.
If you’ve got questions about the build, feel free to reach out.